Friday, January 6, 2012

Exciting News!


If you have been following my blog for some time now, then you know how much I enjoy playing along with the challenges at the Heart 2 Heart blog. The challenges are dedicated to using Close To My Heart products, which happen to be my product of choice! You can see my intro here.

I was a guest designer for about a month back in the summer of 2010. Now with more free time, I decided to apply as a Design Team Member. I will be on Team A which is lead by Mary Vogel who is also the blog creator and owner. Each team will altar week by week with new and exciting challenges. You can bet that when it's not my team's week, I will still be playing along!

On the right hand side of my blog you can view a list of the other talented designers of both team's. Please take a look at their beautiful artwork and play along with us each week.

The brand new 2012 challenges begin this Monday the 9th of January. The new year is already off to a great start : ) !

Thursday, January 5, 2012

Roxie Mojo


Kids are back to school today. The Holiday vacation flew by, it always does. I love having my kiddo's at home with me. However, it's also nice to have some peace and quiet in the house too. It allows me time to focus and to get some crafting done!

Jumping back into challenges, I could not resist the Mojo Monday sketch this week. I am also trying to use up some older papers before new ones arrive! I really love these Roxie papers still, so stylish and hip!


Speaking of "challenges", come back soon as I will share some very BIG and exciting news!!!


Tuesday, January 3, 2012

January Cricut Club

New year, new club! This year I've decided to host a Cricut Club and it's going to be so much fun! Each month we will create a different project using the new Art Philosophy Cricut Cartridge. I will show guests how to use the cricut machine to complete an entire project. Items will include gift sets, interactive scrapbook pages, 3D items, home decor items and card kits like our first project shown here.


This projects begins with a petal box held closed with a belly band~


Once open guests will discover 4 beautiful circle cards and envelopes~


Saturday, December 31, 2011

My Annual Album

Every year we do a gift exchange in my Husband's family. This is the second year I did an annual album as my gift. The sister-in-law that received it this year has a young daughter at home still and this January will have a total of 3 grandchildren, so she will get plenty of use from this album!

This is how I wrapped my gifts this year. I used the Remarkable Wreath stamp on the tag. It was tied on to sheer ribbon with scraps of ribbon and a big jingle bell I got on clearance last year. This was a great way to keep the kids wondering what was in the boxes. When they would "shake" the boxes all they could hear was a jingle bell! Ha, Ha!


The faux leather album contained a two page layout for each month.


January~

February~

March~

April~

May~

June~

July~

August~

September~


October~

November~

December~


Sunday, December 25, 2011

The Reason for the Season


To all who visit my little blog, I'd like to wish you and your families a very

Merry Christmas!

Saturday, December 24, 2011

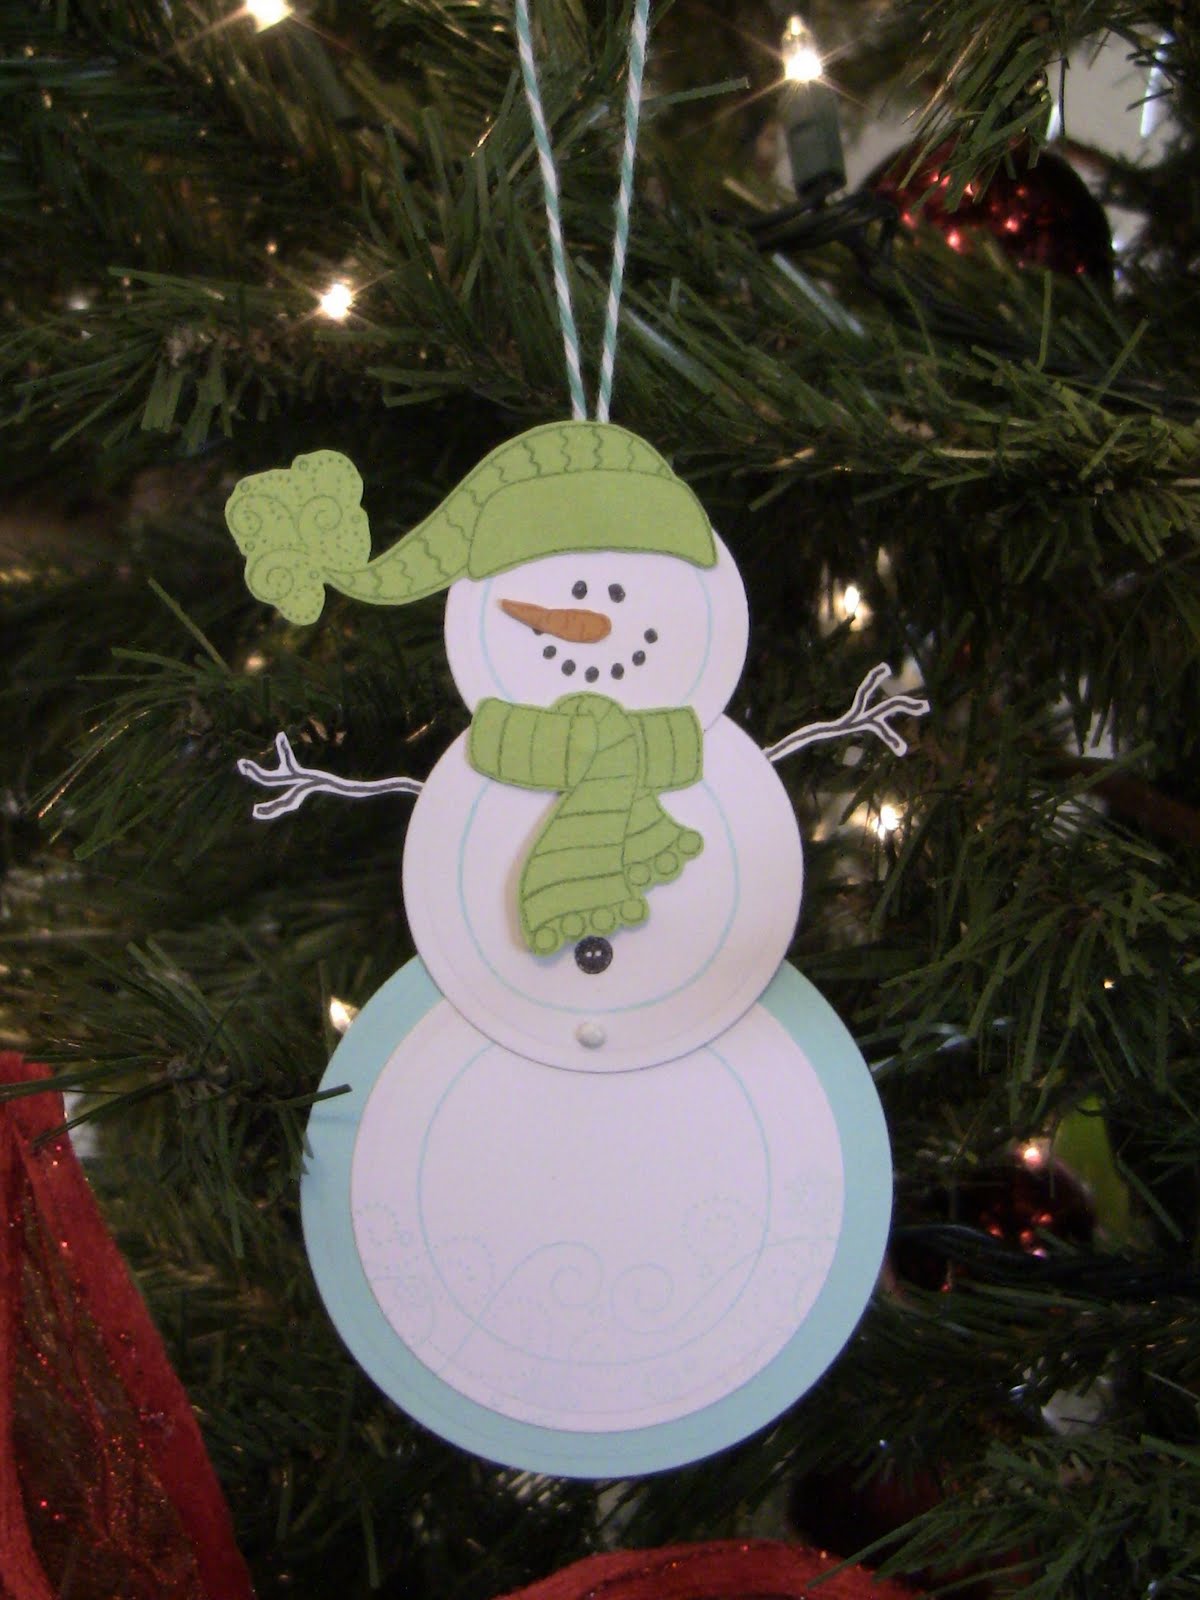
Snowman Ornament

I added a new ornament to my tree this year. This adorable little snowman is hanging out and he is soooo cute!


He is a telescoping snowman, so at the end of the year he will "melt" down for easy storage!


Friday, December 23, 2011

Inspired Christmas Wall Hangings

I was inspired by some tone on tone wall hangings on Jeanette Lynton's blog. At first I just made one, this one~


Then I decided to make some more in cheerful festive colors. However, I kept them all tone on tone still! The photography is not the best, they are much nicer in person.


Thursday, December 22, 2011

Believe Banners

Hope you haven't seen enough Holiday banners, because I have two more for you today! They are both "believe" banners made almost entirely from the Cricut AP cartridge. The first one is more a traditional home made banner. It uses the colors of colonial white, barn red, kraft and new england ivy. I joined the pennants together with the lovely striped chocolate grosgrain ribbon. I kept it very simple.


This believe banner is more playful and has lots of fun ribbons and twine. Most of the pieces were cut using the Cricut AP cartridge except the scallop circles that the letters are adhered to. The color combination is similar to the other except lighter shades of red (cranberry)and green (garden green).


I have it hanging here above my Tai Pan Trading snowmen I picked up last year at the after Christmas clearance sale. They are soooo cute!


My daughter said, "Mom, we have too many believe banners in the house." I told her that one of them might become a gift for someone.... I wonder who might like one?!?!

Wednesday, December 21, 2011

Jingle Banner

Do you ever create one of those projects that makes you happy. When it's completed you feel a sense of accomplishment and so proud of your creative abilities. This is one of those projects for me.

I tend to do my best work when I create for others. When I have a specific person in mind and want them to have something one of a kind, those projects become my favorites. Who was in mind for this festive Jingle Banner? My mom of course!


I used some older tags from a tag book that Close To My Heart sold. The white base is from the Top Note sizzix die. The "jingle" letters and snowflakes were cut from the Cricut AP cartridge. I added several different types of ribbon & twine.


You have to add some bells for a "jingle" banner!


So difficult to capture through photography, but the base of the tags are sprayed with some shimmer paint and there is a bit of glitter glue flakes in the center of the white snowflakes.


I placed it in some cute packaging to mail it off to her!


Also, while my mom was visiting in November we sat down one day to create her Christmas cards. She wanted something with snowflakes and unique, hence the pink and brown color combination.


inside~


Tuesday, December 20, 2011

Home Made From the Heart

A few years ago I met a group of ladies from my church. Our children are close in age and we quickly found that we all had a passion for cooking. We started getting together at each others homes to cook and let the kids hang out. We always have a feast to eat and several stories and laughs are shared.

We had our Christmas get together last weekend and as usual had more than enough food to eat. Thank goodness our "guys" like to eat too! I wanted to give them something special for Christmas. Here is what they received.


My little tag cards with this darling snowman matched perfectly with the gift bag.


The tag swings open to reveal the greeting.


M&M cookies in a jar look so festive! It looks as if the M&M's are packed in snow!


The Holiday Fudge bars was an idea from a friend and the Close To My Heart consultant that I signed up under. The poem is to the tune of Jingle Bells.


I fell in love with chocolate popcorn when I discovered it at a little novelty shop. When we moved I had to figure out how to make it myself. The red and green M&M's and colored chocolate make it perfect for Christmas. It's awfully hard to eat just plain buttered popcorn now!


Yummy!


And of course I must include some paper craft items. I made some Holiday Cap Magnets using some old bottle caps and the Believe papers.


I adore these gals, they have really become a part of my life. I hope they enjoy all their goodies and can't wait for the next get~together. I wonder what we'll eat...chicken curry, pea soup, tamales, lumpia, tiramisu.....?