I had a post before on my Blog about how the Magical papers are great for more than just your Disney vacations. Here is a layout I finally got around to creating with the iconic Universal Studios globe and some pics from the entry gate. As you will see, these papers and complements worked perfectly for this theme park, no mouse required! {Check out my post with more Universal Studios pictures and the Wizarding World of Harry Potter here.}
On the left side of the layout I chose some nice big block letters for my title. I used the globe from the new Smarty Pants stamp set to replicate the photo background. I decided to emboss it in a little bit of silver and gold like the big one. It also complemented the arrow from the Magical accessories. You will see I added lots of the little embellishments from that collection with the banners, arrows, hearts, stars and camera. However, the blue picks with the Universal Studios emblem on it came from some sandwiches we had at lunch! ;)
A closer look at the embossed globe and the hint of color in the block letters of the title.
On the right side of the layout I showcased some great pictures of my kids at the entry gates. I wanted to focus on our passes to get in the front of the line. The journaling at the bottom tells the story of how we were treated like celebrities with our passes and never had to wait in line all day! I also kept the passes and displayed them in a 4x6 flip flap.
Under the flip flap of passes is a fun Magical PML card dressed up with some embellishments and under that is a photo of my daughter trying out a director's chair. *ACTION* Those flip flaps are such a magical surprise on any layout!
You can order the Magical papers and complements online here. Don't wait too long, they will be magically disappearing at the end of July!
Showing posts with label embossing. Show all posts
Wednesday, June 22, 2016
Thursday, March 24, 2016
Some Favorite Spring Stamps
There are only a few days left to take advantage of the Stampaganza sale! I just recently shared a few of my favorite stamp sets at a Spring Card Class. Here are the cards we made and the stamps I used. You can find all of these in the current Seasonal Expression 1 Idea Book.
This first card was inspired by another consultant Chris Lothian who posted on Instagram. I loved the combination of stamps to create an adorable scene. I used the Spring Critters stamp and the Stuck on You cactus set. These are both compatible with Thin Cuts which makes them even easier to stamp and color!
This card shows what you can do with just one stamp set. Woodland Romance is a beautiful stamp that allows all sorts of images to come together in a lovely romantic design. It especially looks amazing with the Charlotte papers and some diffused embossing!
Even though I called this a Spring class this card will get you in the mood for summer. I just love this octopus, he is so cute and ready to make a splash! Like the Woodland Romance stamp set several of these images can be cut on the Cricut. The crab is equally as cute and the banner with the sentiments are perfect for cards and scrapbooking pages.
Now you have a few more ideas for these awesome stamp sets. Which one will you choose to get for free?! Order online here.
This first card was inspired by another consultant Chris Lothian who posted on Instagram. I loved the combination of stamps to create an adorable scene. I used the Spring Critters stamp and the Stuck on You cactus set. These are both compatible with Thin Cuts which makes them even easier to stamp and color!
This card shows what you can do with just one stamp set. Woodland Romance is a beautiful stamp that allows all sorts of images to come together in a lovely romantic design. It especially looks amazing with the Charlotte papers and some diffused embossing!
Even though I called this a Spring class this card will get you in the mood for summer. I just love this octopus, he is so cute and ready to make a splash! Like the Woodland Romance stamp set several of these images can be cut on the Cricut. The crab is equally as cute and the banner with the sentiments are perfect for cards and scrapbooking pages.
Now you have a few more ideas for these awesome stamp sets. Which one will you choose to get for free?! Order online here.

Wednesday, July 15, 2015
The Scrap Room Renovation Layout
I have been working in my newly renovated scrapbooking room for a couple of weeks now. I'm adjusting to the various changes, but can say that I really love having everything organized again. The wood floors make me so happy every time I walk into the room and I'm very conscious about caring for them. A great way to remember all the hard work that went into renovating this room (and keeping it nice) was to create a layout about the transformation!
I held nothing back in creating this layout. I made it a true reflection of what this space means to me and feels like. The colors and embellishments in the layout represent my new room. I used lots of bits and pieces that I rediscovered through the clean up process.
When looking at the layout as a whole, your eye moves from left to right, starting with a before picture and moving through to the after photo. It also flows in a rainbow color scheme with pops of black & white, as do several areas of my scrapbook room. {ribbon, storage bins, Heidi Swapp color shine bottles, markers & inks}
I used one of the Heidi Swapp color shine templates, not as a template to spray mist, but literally the template! I added a color shine heart misted with sweet cherry and attached some ancient Basic Grey ribbons. A little FABulous stamped in black at the top from CTMH Happiness Lives Here, Design Decor Framed Art stamp set.
New and old patterned paper banners with some fun Washi tape.
More Washi tape used as labels and embellishments galore.
A cluster of stamps from an Operation Smile stamp set and Documenting Moments. More bright colors with a pop of black!
Here I used a Jillibean Soup "hello" photo frame, Heidi Swapp color shine "love" heart and a mix of papers and embellishments.
And finally, a Heidi Swapp color shine label card misted in teal and mint green with the date stamped in black. A zip strip with a great message and a few more buttons and twine finish this page.
I held nothing back in creating this layout. I made it a true reflection of what this space means to me and feels like. The colors and embellishments in the layout represent my new room. I used lots of bits and pieces that I rediscovered through the clean up process.
When looking at the layout as a whole, your eye moves from left to right, starting with a before picture and moving through to the after photo. It also flows in a rainbow color scheme with pops of black & white, as do several areas of my scrapbook room. {ribbon, storage bins, Heidi Swapp color shine bottles, markers & inks}
![]() |
| {left page} |
![]() |
| {right page} |
I used one of the Heidi Swapp color shine templates, not as a template to spray mist, but literally the template! I added a color shine heart misted with sweet cherry and attached some ancient Basic Grey ribbons. A little FABulous stamped in black at the top from CTMH Happiness Lives Here, Design Decor Framed Art stamp set.
New and old patterned paper banners with some fun Washi tape.
More Washi tape used as labels and embellishments galore.
A cluster of stamps from an Operation Smile stamp set and Documenting Moments. More bright colors with a pop of black!
Here I used a Jillibean Soup "hello" photo frame, Heidi Swapp color shine "love" heart and a mix of papers and embellishments.
And finally, a Heidi Swapp color shine label card misted in teal and mint green with the date stamped in black. A zip strip with a great message and a few more buttons and twine finish this page.
Now I will always remember the love and hard work that went into creating the space,
where I CREATE!
Wednesday, September 21, 2011
Only Cardstock!
Heart 2 Heart challenges us to create something this week using only cardstock, no background and texture papers! I can do only cardstock, no problem, but I still want some 'texture'! I chose some fun Halloween colors and ran them through my Big Shot in a variety of Cuttlebug folders. I kept the rest of the card fairly simple with a stitched ribbon and spooky sentiment.
Sunday, June 12, 2011
Wedding on H2H
It's wedding week on Heart 2 Heart challenges. I loved the samples of inspiration from the design team this week. Here is what I came up with.
I am drawn to the Kraft cardstock lately, especially the fact that I can emboss in a lighter color on it. I first did a tone on tone stamping in colonial white, which unfortunately does not show well in the pictures. I embossed the congratulations in white daisy then using a spellbinders die, punched a label in the center. I second generation stamped the flowers on the front and stamped the butterfly. I also stamped the butterfly again on another piece of cardstock and cut out only the wing, popping it for added dimension. Finally, I finished the card with some opaque pearls.

I am drawn to the Kraft cardstock lately, especially the fact that I can emboss in a lighter color on it. I first did a tone on tone stamping in colonial white, which unfortunately does not show well in the pictures. I embossed the congratulations in white daisy then using a spellbinders die, punched a label in the center. I second generation stamped the flowers on the front and stamped the butterfly. I also stamped the butterfly again on another piece of cardstock and cut out only the wing, popping it for added dimension. Finally, I finished the card with some opaque pearls.
Labels:
card,
embossing,
h2h challenge,
kraft cardstock,
wedding
Thursday, May 19, 2011
Embossed Background ~ H2H Technique Challenge
Everyone is sharing their favorite technique this week on Heart 2 Heart Challenges Blog. How do I choose just one! I enjoy learning new techniques and applying them often to various projects.
I absolutely love that we can create our own background papers with any of the stamps that Close To My Heart offers. I combined my love of background stamping with another favorite, embossing! Wet embossing is such an easy technique, because the product basically does all the work for you.

I stamped a flourish stamp on some Kraft cardstock with VersaMark ink. You can see that it stayed really wet on the Kraft paper so I was able to see where I needed to apply the black embossing powder.

Once it was all covered in embossing powder I simply heated it and watched it become shiny. Imagine this look on a larger scale in your home!
I absolutely love that we can create our own background papers with any of the stamps that Close To My Heart offers. I combined my love of background stamping with another favorite, embossing! Wet embossing is such an easy technique, because the product basically does all the work for you.
I stamped a flourish stamp on some Kraft cardstock with VersaMark ink. You can see that it stayed really wet on the Kraft paper so I was able to see where I needed to apply the black embossing powder.
Once it was all covered in embossing powder I simply heated it and watched it become shiny. Imagine this look on a larger scale in your home!
Friday, May 13, 2011
Calendar Club ~ April & May
Calendar Club meets this Saturday to create the April & May pages. Each has gorgeous spring colors and fun, whimsical themes.
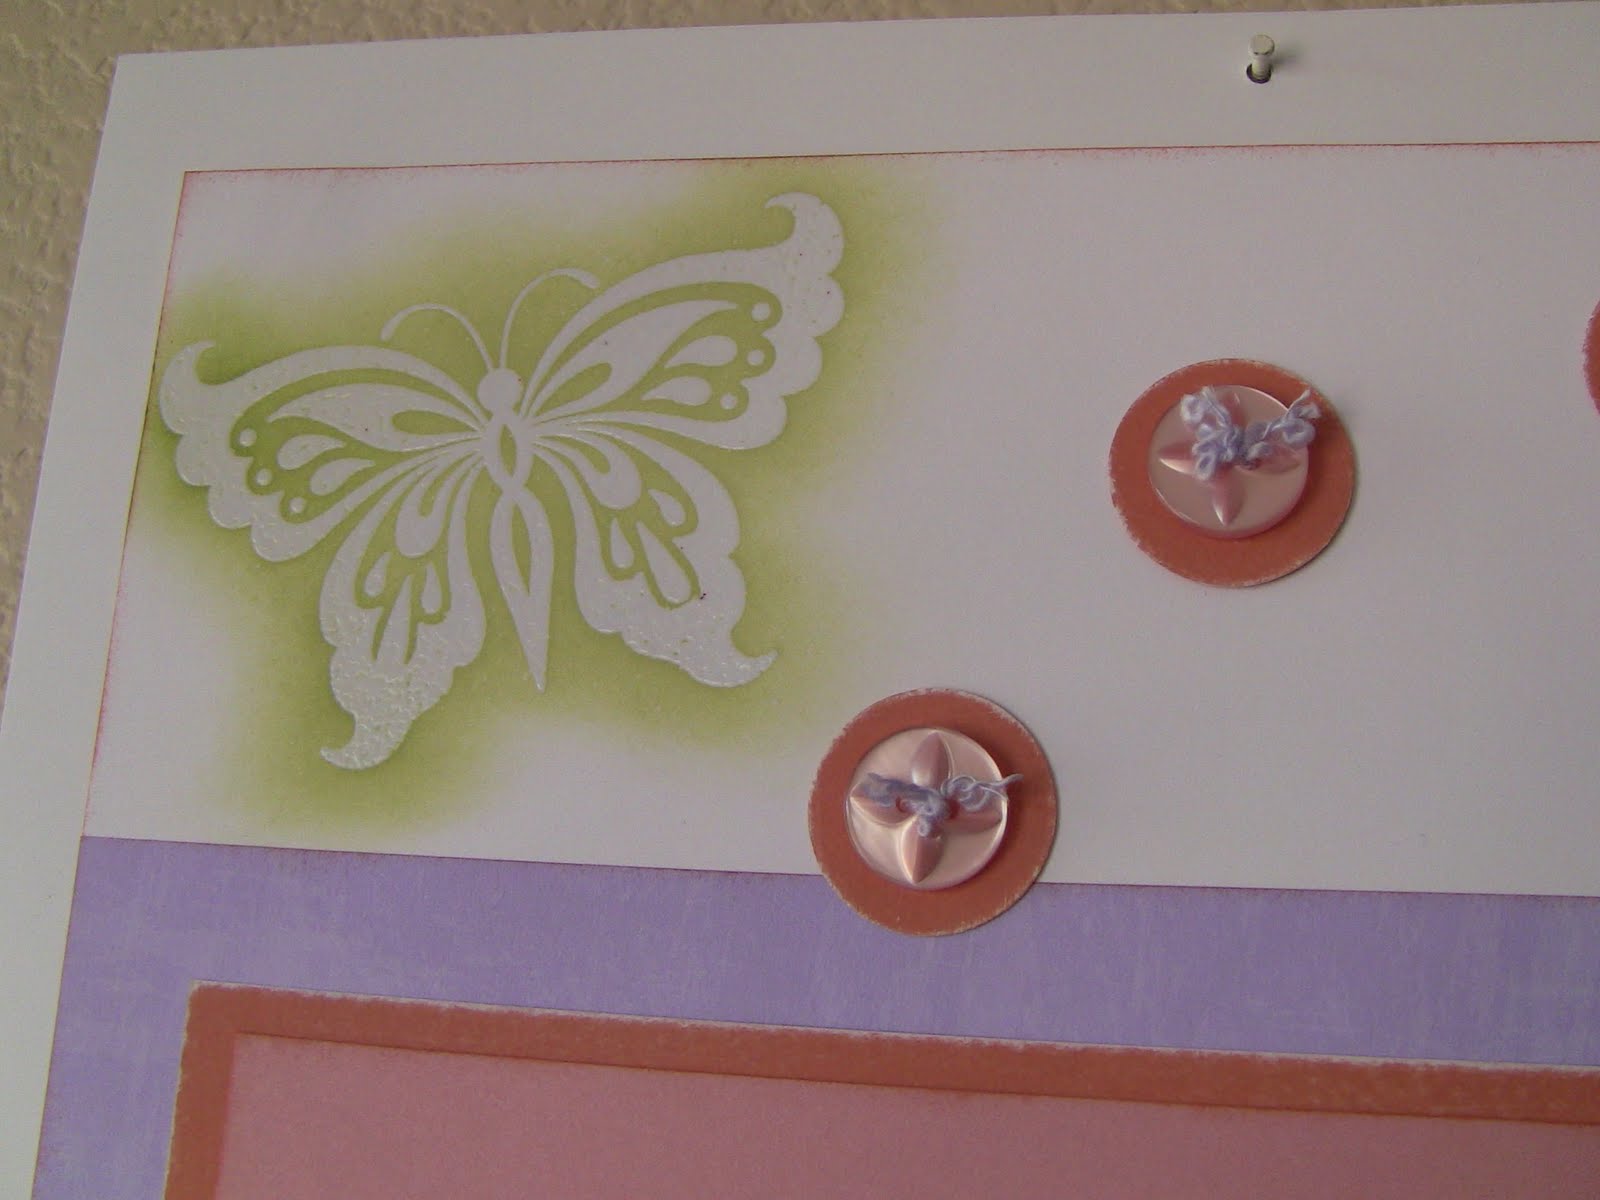
For April's page they will learn stamp resist embossing with the butterfly stamp. It coordinates perfectly with the reverse side of the Wings paper. We will also get to have some fun with buttons!

For April's page they will learn stamp resist embossing with the butterfly stamp. It coordinates perfectly with the reverse side of the Wings paper. We will also get to have some fun with buttons!
Labels:
april,
calendar club,
embossing,
may,
pinwheels,
stamp resist
Tuesday, October 19, 2010
H2H Embossing Challenge
I could not "resist" the challenge on the Heart2Heart Blog this week. It's all about embossing. Dry embossing or heat embossing. I chose a heat embossing with a resist technique and lots of layers.
This first card features an older, but favorite stamp set, Vintage Christmas. The first layer is some Christmas text done in Desert Sand. I then used a clear stamp pad and clear embossing powder for the mistletoe image. Once heated and cooled I sponged over the top with Cranberry, New England Ivy and Olive ink. The card was finished off according to a template in the Wishes book called Lower Layers. {I flipped the template as you can see, because my layers are not 'low'}


This card was done the same way, just with different stamps and a frosty blue color combo. Don't you just love this little Polar Bear?
This first card features an older, but favorite stamp set, Vintage Christmas. The first layer is some Christmas text done in Desert Sand. I then used a clear stamp pad and clear embossing powder for the mistletoe image. Once heated and cooled I sponged over the top with Cranberry, New England Ivy and Olive ink. The card was finished off according to a template in the Wishes book called Lower Layers. {I flipped the template as you can see, because my layers are not 'low'}
This card was done the same way, just with different stamps and a frosty blue color combo. Don't you just love this little Polar Bear?
Labels:
christmas cards,
embossing,
mistletoe,
polar bear
Wednesday, September 15, 2010
Sentiments For Everyone
This weeks challenge on H2H is called Sentimentally Yours. Create a card or project with a sentiment on it. Perfect!! That just happens to also be the theme of the next card exchange I am hosting this month. The sentiments could be basically anything other than Birthday or other Holidays. They are those perfect cards for last minute mailings or just because. Here is my card for the challenge over on H2H, but not the one I've chosen to swap. {I'll keep you guessing on that!} Once I've received all the cards from those ladies that participated I will post them here, so come back for more sentiments!

Labels:
card with bird,
embossing,
paper roses,
sentiments
Subscribe to:
Posts (Atom)