Showing posts with label home decor. Show all posts

Monday, September 10, 2018

Beginning with Boutique

It has been over a week now that the brand new Holiday Expressions Idea Book was released. By now you had a chance to look through the pages to see all the new collections of papers, stamps, and more!

The first collection featured in the book is Boutique. This collection has gorgeous, subtle colors and beautiful, everyday complimenting images and sentiments.


A Classic Scrapbooking Workshops Your Way kit is offered in this collection as well as a Deluxe Kit that includes Texture Paste, palette knives and stencil sheets. This will take your scrapbooking to a whole new level with dimension and interest!


{Classic}


{Deluxe}


There are also so many stamp collections that coordinate fantastically with this collection. I will have to show those to you at another time as I have so many amazing projects to show you.

I will however show you one of the first projects I created with this paper collection while at Convention.


Not only does this layout use the boutique papers, it also contains a few of the papers from the Seasonal Mix-in paper packet found on pages 74 & 75 of the Idea Book. They all go together so beautifully. I wasn't sure about the little bits of yellow when I originally assembled the layout, but once I added the photo's of my daughter in her current favorite choice of yellow fashion it all really came to life!


I also loved the cluster of complements, the squares placed on a diagonal and puppy faces of course!

I will have another layout to show you how these Mix-in papers can be used with all of our paper collections. Stay tuned for that coming soon as well as several cards made using the stamp collections found within the pages of the Boutique papers. (pages 30-32)

Thanks for stopping by!

Friday, September 7, 2018

September Celebrations!

I told you earlier this week about the September special to celebrate National Stamping Month. I even made a video so that you can see how the Cut Above kits come packaged to you and how easily they can be created. You can find that video here.

This kit can be added to a 12x12 calendar or they can simply be a scrapbook layout. I even showed you how some pages coordinate well with one another and can be combined to form a two-page layout. Each page assembled as shown in the workshop guide can literally be assembled in under 15 minutes.


For some of you the pages may not have as much dimension or stamping as you wish and you can always embellish more as you see fit. For myself I found that one page in particular just was not appealing to me. I did not care for the background of the base page,so I found an easy fix and made it work for another picture....another celebration!

September is when my husband and I celebrate our wedding anniversary and this page would work wonderfully for the "Together" title. I pulled out some older whimsy fundamentals paper that had the word love all over it and that made the rest of the colors and picture come together.


If you are thinking about ordering the Making Memories special in September, keep in mind that you have multiple possibilities for each of these pages and you can make changes however you like. Most of the work is done for you, yet you have the option to pull in your own creative choices.

You can see all of the ordering options online here. Don't let this incredible offer pass you by!

Friday, February 16, 2018

Step Right Up!

It's showtime!


Step Right Up and take advantage of an exclusive, limited-time offer that is sure to delight crafters of all ages! Introducing the limited-time My Acrylix® Showtime stamp set, featuring fun, playful, circus-themed icons and sentiments that will be the perfect fit for birthday celebrations, theme park visits, or any fun-filled adventure. This stamp is available on its own or as part of the Step Right Up bundle that pairs the stamp with 12 paper sheets—including 10 cardstock sheets in 5 colors and gold foil paper — gold pearls, and red shimmer trim. Best of all, this bundle is available at a sensational discount! Order yours today before this deal leaves town!


Product Description

Includes the following:
1 – My Acrylix® Showtime stamp set
2 – gold foil paper sheets
2 – White Daisy cardstock sheets
2 – Sapphire cardstock sheets
2 – Black cardstock sheets
2 – Saffron cardstock sheets
2 – Cranberry cardstock sheets
1 – gold pearls
1 – red shimmer trim
 Purchase the entire bundle for only $28.95


While online check out the Pretty in Pink deals too!


Friday, June 10, 2016

Flash Sale Number 2

The second Flash Sale this month is on now! Don't wait to get these deals! Sale ends Monday, June 13th. Let's go shopping!


Tuesday, September 22, 2015

Happiness Is a Handmade Wreath

I've admired this wreath on the front cover of the latest Idea Book ever since seeing sneak peek's from convention. When available, I downloaded the recipe for it. It listed the Cricut collection, image, page number and sizing, but the rest of the instruction was up to me. I had no idea what the finished size would be? I thought it would be about the size of our 12x12 wooden frames. After making it I soon realized this was larger than our frames. I cut some cardboard from one of our shipping boxes as the base. {about 15" in diameter} Assembling the leaves and flowers was fun, but I'll warn you that it required lots of hot glue! The white is super hard to photograph, but I will say that the finished result is gorgeous!


If you are interested in making your own wreath you can download and print the recipe for yourself. In fact you can look up the recipe for any of the artwork in the Idea Book by clicking here then selecting "recipes". Please share with me if you make one, I'd love to know what you think about it!


Wednesday, November 19, 2014

First Ever Crate Card Club

Last month I introduced my customers to a new club I was starting. I call it the Crate Card Club!


This is the original photo I made for the flyer and introduction. I did an example and explanation of the club and handed out 6 colorful crates that day.

Our very first club met this past weekend and it is already a success! In fact I already gained an eighth member for our next club in January!

Here is how the club works~

Each member brings their crate filled with a sample card and all the materials for all other members to create their sample card. Each person gets a turn to be the teacher. We rotate to each member around the table until we have completed everyone's cards. In the end you create/design one card yourself and get to make 7 (depending on how many members you have that day) more cards taught by other members. They can be any occasion they desire, I only require that they use mostly Close To My Heart products.

Each member received a plastic crate that they could decorate as they desired. I gave away all the brightly colored crates so I used an older clear one that I dressed up in some black gross grain ribbon and a Base & Bling pendant.


Inside I had my designed card (inspired by the Snowhaven card making WOTG) the papers already cut, stamp set, embellishments and envelopes. I also had all the stamps we were going to use already mounted on blocks.


Here are the cards that were created from all the members~

My card

Nanette

Pat

Tommie  

Barbie

Janet

Lori

What did we learn from our first get together?

1. We get to use stamp sets that we don't already own
2. We learn different styles as everyone has unique ideas
3. We learn clever and creative techniques we never tried before
4. Everyone has a different way of teaching
5. Several cards can be made in a little amount of time
6. We will have a variety of cards for many occasions
7. We laugh and have way too much fun being members of this club!!
I can't wait to meet again in January!

Also~

In conjunction with the Crate Card Club I held a Holiday Open House where I showcased some of the Autumn and Winter collections available in the Annual Expressions Idea Book. I also hosted a Base & Bling buffet and gave a sneak peek to several products that will be featured in the newest Seasonal Expressions Idea Book. Whew!!! Yes, it was a big day for me!{and that's only the half of it!}. Stick around and I will have photo's from my Open House soon!


Tuesday, August 19, 2014

Picture My Life Workshop


I held my Picture My Life workshop this past Saturday. As you can see from the photo above I gave a sampling of different projects that can be created using any of these collections. The ladies enjoyed the workshop, had the freedom to create their own pages and were inspired by the ideas I shared. They had several more ideas to contribute by the end of the class. Here are a few ideas I showed them.


I started by showing the basic idea of the Picture My Life collections. I had a few sample pages using the new Pear & Partridge cards. I also had some pages from my own personal scrapbook in the Surf's Up collection. They were able to see pages with photo's and lots of my own journaling. These pages also had a few added embellishments and stamping on them so they could see how to incorporate more products and our amazing My Acrylix stamp sets.

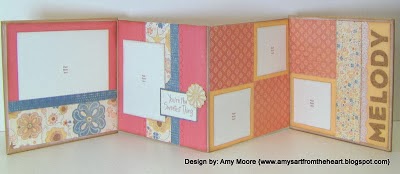
To add even more interest and possibility to the page, I showed the ladies how you can add an accordion folded section of cardstock that can be unfolded and pulled out for more pictures or journaling. 


How about using the cards in your home decor! They can easily be added to the designer decor frame with little wooden clothespins. I like this idea, because you can change up your decor with the latest events in your family!


Mini albums are a quick and easy way to showcase pictures from a recent celebration or event, rather than a 12x12 scrapbook page. You can use the cards in a Kraft binder mini album like I did in this post of my son's graduation book or you can actually create a mini album with the cards and some Washi tape. For this mini book I used the Later Sk8r PML collection and some various Washi tape to bind them all together.


Finally, I showed them how easily the PML cards can be added to a standard greeting card. You can use them alone with just some papers or dress it up further with some stamping and embellishing. Here is one of the boxed card samples I showed them in the Laughing Lola papers. I also demonstrated this using the Pear & Partridge collection, but gave both the sample cards away before taking a picture of them! {oops!}


I think the only way I did not show the PML collection was in our Base & Bling jewelry, but I bet we can create that too! Don't forget about the special this month where you can purchase additional protector sheets for only $3 when you order one of the Picture My Life collections. See all the details in the right hand column or shop online here.

Monday, February 24, 2014

Balloon Ride Pennant Frame Update

Just to give you an update on my Pennant Frame workshop I held last week. The ladies had a good time picking and choosing their papers and embellishments to create their own frames. As promised I remembered to take a photograph of them completed. I knew they would all do something different and that would be a fabulous thing to post so that you can see all sorts of ideas and hopefully be inspired!


They still need to add their photo's for the center mat, but as you can see each is so unique and beautiful! How clever is it that these papers coordinate so well with the complement chipboard pieces and yet you can get a very feminine version and a more masculine version. Close To My Heart products make it so easy.

Thursday, February 20, 2014

Balloon Ride Pennant Frame

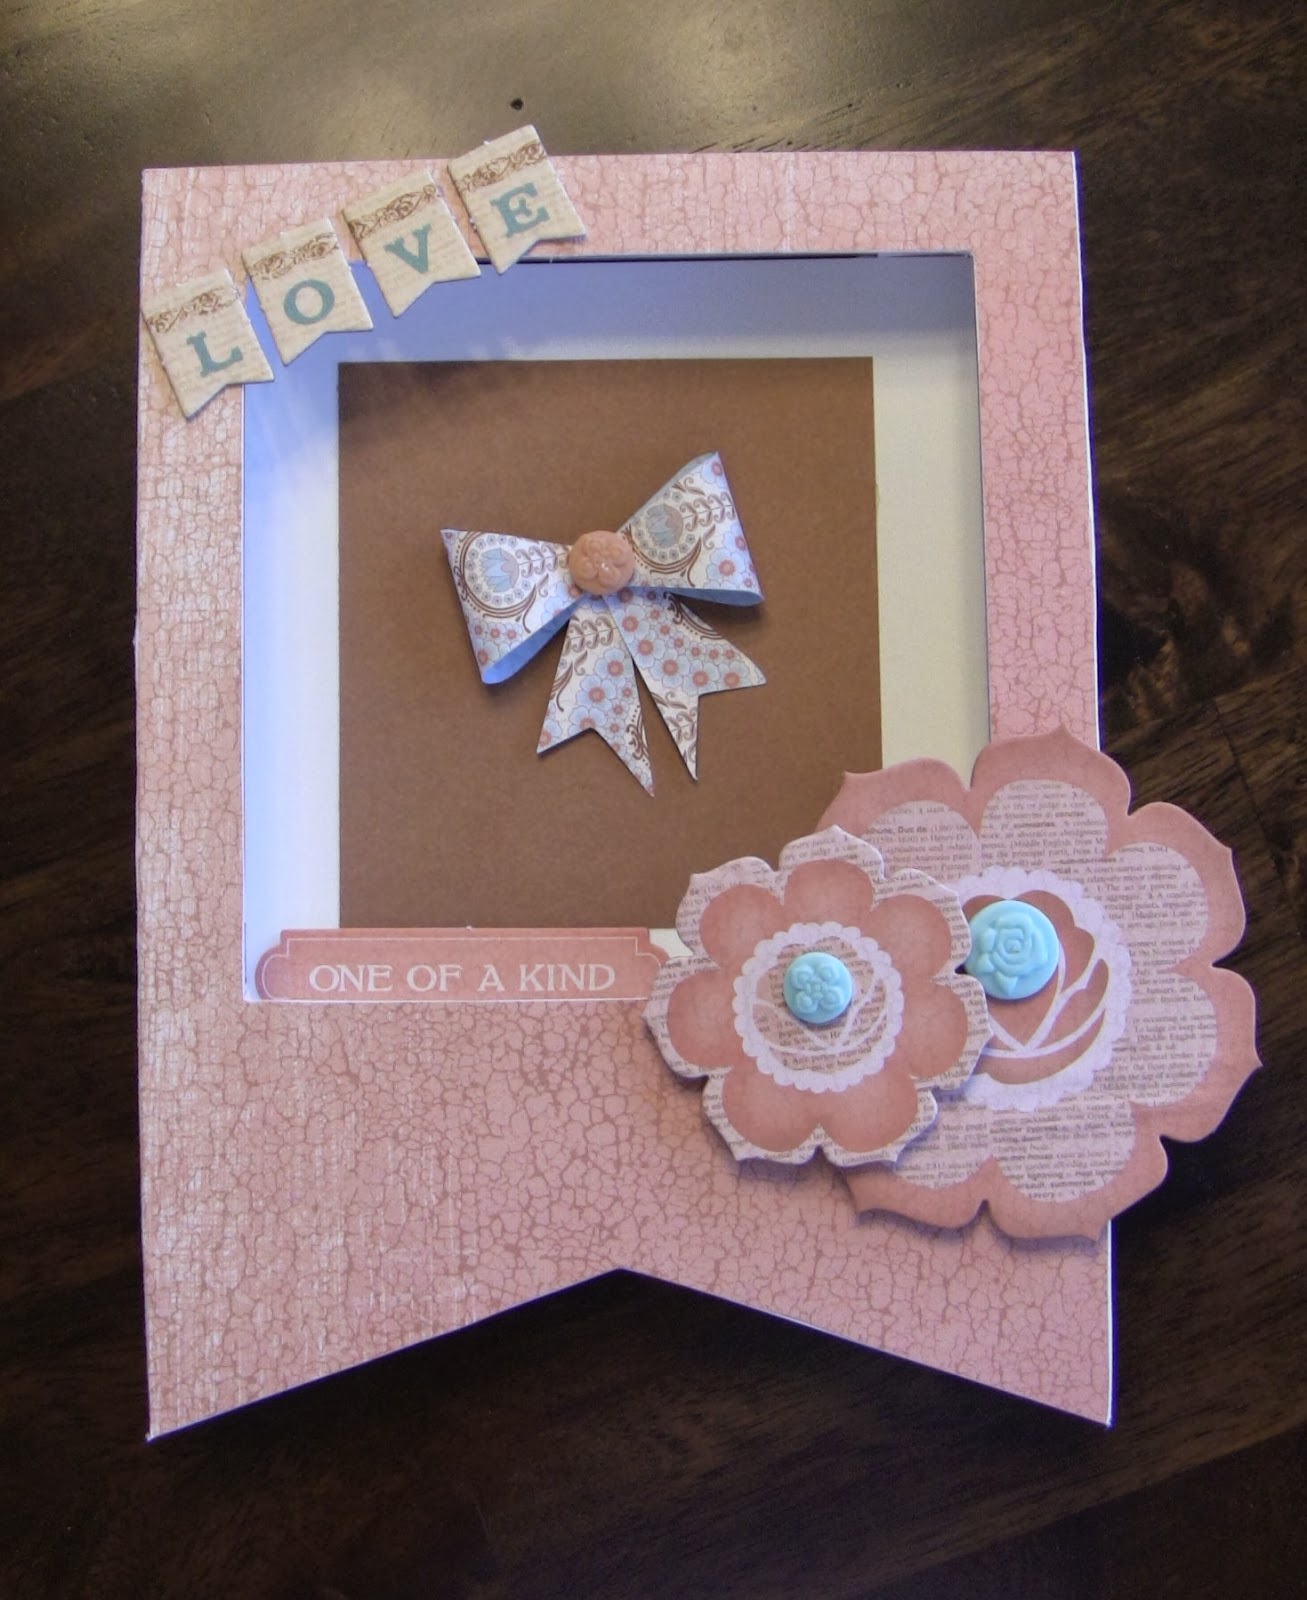
Today I am hosting a Pennant Frame workshop. I chose the gorgeous Balloon Ride papers and complements to decorate them. This is a fun and simple project to complete. The participants will get the option to decorate their frame exactly as they wish, each will be different and unique! Here is what my sample looks like~


I will try very hard to take pictures of the other finished frames as I know they will each be different. I can't wait to craft and play today!!!


Sunday, December 29, 2013

My Favorite Projects of 2013

Looking back through this year of several Blog posts, I have found some of my favorite projects. Some projects are still in my home or scrapbooks, while others are in the hands of the loved ones I made them specifically for. I enjoyed creating each of them from my heart and hope that the recipients of some of these items are cherishing them also!

In no particular order~


I took a risk with pairing some winter snow pictures on a black background, the result was awesome and that's why I love it!


A folding album for a little baby girl turning one! Why I love it... The Clementine papers were so pretty and soft. It only needed a few embellishments, because the sweet girl will be the star of this album!


This card was from a Spring card exchange. I fell hard for the honeycomb trend! This card has multiple layers, lots of trendy supplies and fun techniques!


This layout is wild and is a favorite for many reasons! One of my first layouts using background layers created on the new Artbooking cartridge. It has a great pocket feature to hold more photo's and a informational booklet. It's also a favorite, because the pages capture one of the best adventures of our summer!

If you know me, you know that I love bicycles! I repainted this metal bike and display it in my craft room. I also incorporated a bicycle on some canvas artwork. Both are super fun projects!


I always look forward to the Stamp of the Month. This was one of my favorites all year...it has chocolate...who doesn't love chocolate!!


A Pinterest inspired project! How sweet are these onesie cupcakes?! Not too sweet, they are 0 calories!!


Close To My Heart has offered several home decor options this year. The display tray is incredibly easy to decorate and looks so nice in any decor!


I used the Frosted papers and a trio of trees stamp set to create this soft and elegant Christmas card. I love all the elements and dry embossing, it came together beautifully!


Another fun seasonal project was this "Be Merry" gingerbread banner. It just makes me happy!


Mini albums everywhere!! Thanks to the Artbooking cricut cartridge I am able to create several mini albums. This Halloween album was a workshop I did in conjunction with a card exchange. It was a big hit!


My Summer album has lots of fun elements. It also features the very cool Dream Pop papers that were a special promotion this year!


Often my inspiration comes directly from my customers. They always find interesting products and ideas for me. These Valentine heart trees turned out super cute! {Cra Cra Adorbs!!}


Finally, this Halloween luminary/card for Halloween was a great idea and later inspired a Fall and Christmas luminary.


I love looking back at past projects, they often inspire future projects! Who knows what this next year will bring. Please visit my Blog in 2014 to see new creations, amazing products and hopefully be inspired!