The chevron paper is one of the new Fundamental Papers. Underneath is just a bit of polka dot Washi tape. Here is my color and design inspiration~
Wednesday, February 26, 2014
A Cheerful Hello!
Today I'm playing along with The Dynamic Duos Challenge. They have a bright colorful challenge using not two choices this week, but three! {Triple Threat!}While Dynamic Duos was posting their new challenge on Saturday, I was out shopping with my daughter. We were having fun sampling all the new soaps and scents at Bath & Body Works. I found this really pretty scent called Mad About You. It came in the cutest bottle with a very cheerful color combination of bright pinks, orange and green with a graphic black and white pattern. Wouldn't you know that the next day I checked the Dynamic Duos Blog and those were the colors in this week's challenge! How crazy is that!
Labels:
card,
chevron,
color challenge,
dynamic duos,
paper fundamentals
Monday, February 24, 2014
Balloon Ride Pennant Frame Update
Just to give you an update on my Pennant Frame workshop I held last week. The ladies had a good time picking and choosing their papers and embellishments to create their own frames. As promised I remembered to take a photograph of them completed. I knew they would all do something different and that would be a fabulous thing to post so that you can see all sorts of ideas and hopefully be inspired!
They still need to add their photo's for the center mat, but as you can see each is so unique and beautiful! How clever is it that these papers coordinate so well with the complement chipboard pieces and yet you can get a very feminine version and a more masculine version. Close To My Heart products make it so easy.
Saturday, February 22, 2014
Ariana Cards & Box
At my last workshop {Balloon Ride Pennant Frame}I previewed my next class. I decided to create a card box and four coordinating cards using the gorgeous Ariana papers. The new My Creations Journaling Cards Box is perfect for storing small cards, photo's or the Picture My Life journaling cards. It is simple to cover in any papers you like and embellish as little or as much as you want. I decided to add some beautiful Artiste roses, color misted petals and a pretty little flourish which is the challenge this week on Heart 2 Heart Challenges Blog.
What a fantastic little box and the cards look so elegant with these papers. This is going to be a fun class!
Thursday, February 20, 2014
Balloon Ride Pennant Frame
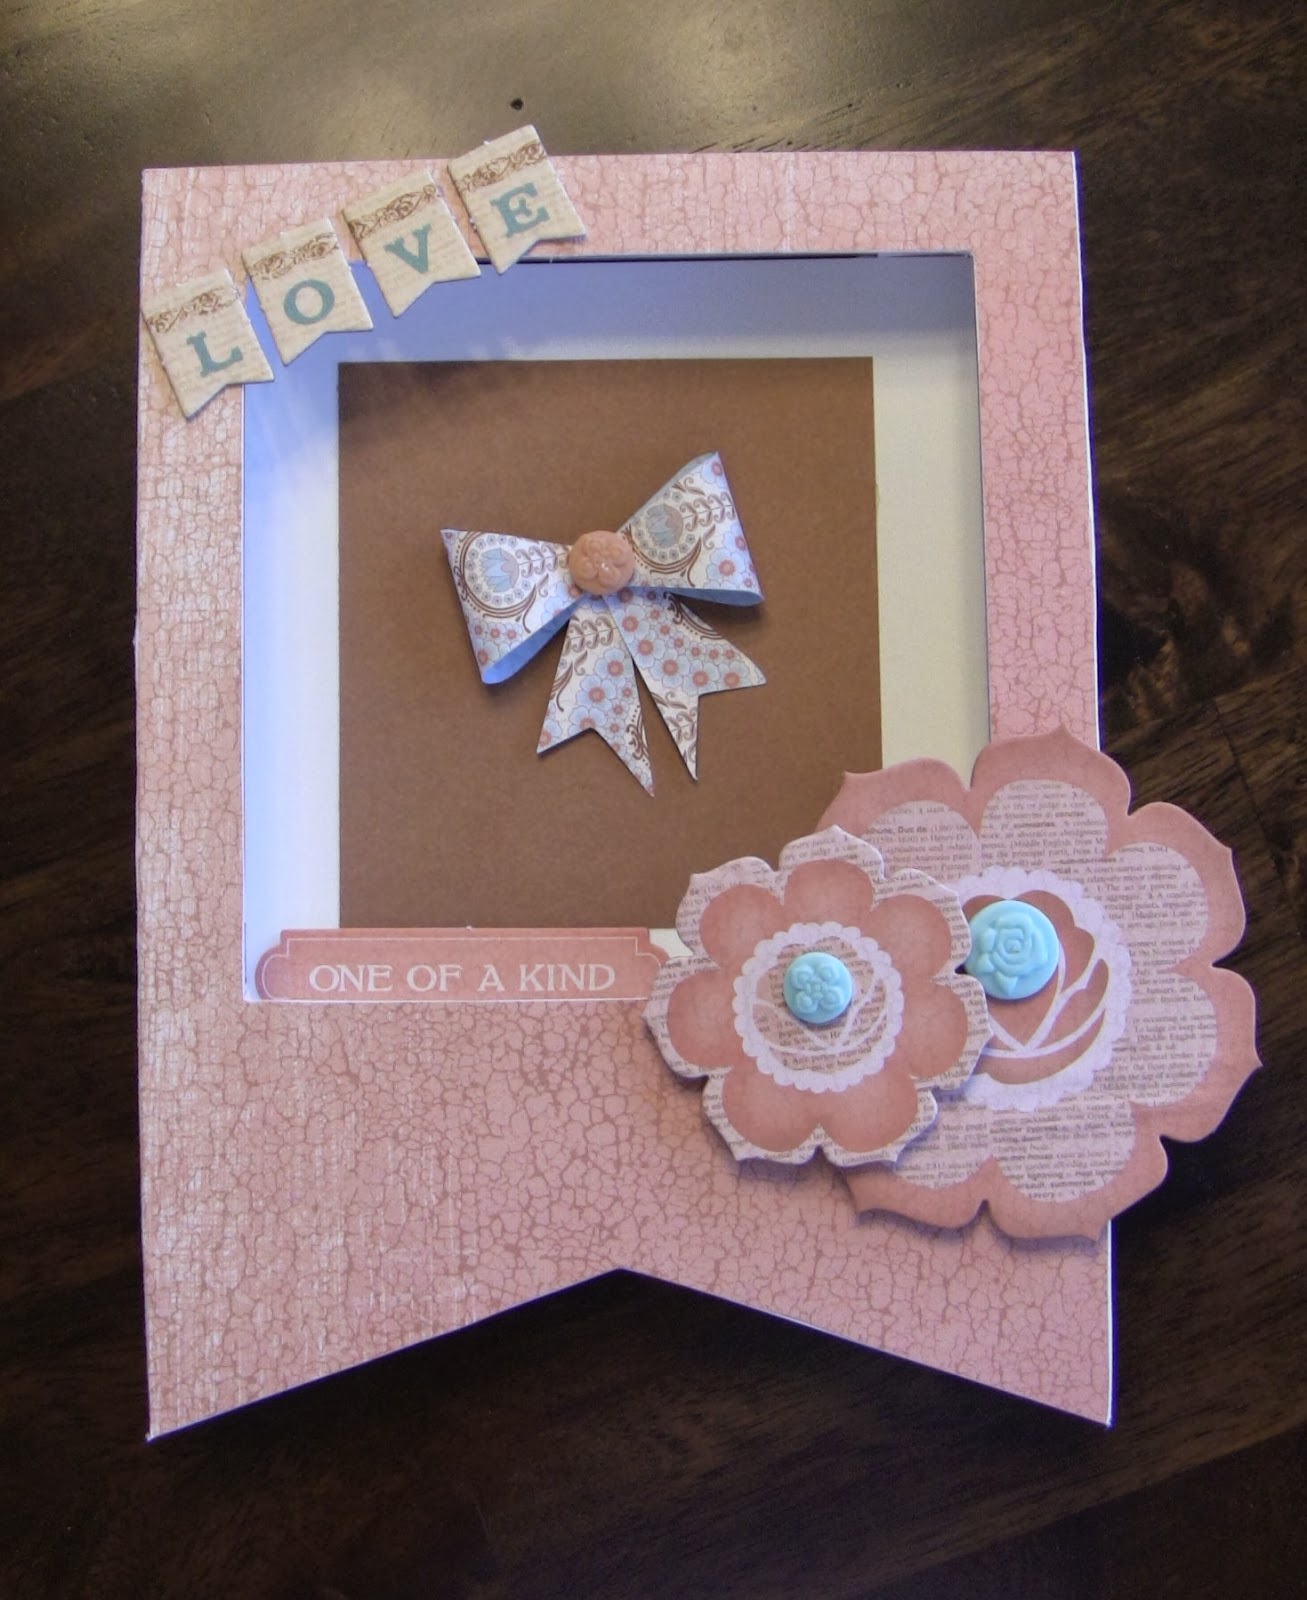
Today I am hosting a Pennant Frame workshop. I chose the gorgeous Balloon Ride papers and complements to decorate them. This is a fun and simple project to complete. The participants will get the option to decorate their frame exactly as they wish, each will be different and unique! Here is what my sample looks like~
I will try very hard to take pictures of the other finished frames as I know they will each be different. I can't wait to craft and play today!!!
Tuesday, February 18, 2014
Base & Bling with Ariana
My project today was inspired by Jeanette Lynton's favorite things in the latest Idea Book {found inside the cover page}. She has chosen pieces from the new Base & Bling, but has them displayed so neatly in a folded card.
I wanted to re-create this project myself using some Ariana papers that happened to match the necklace image I chose from the Storyteller style sheet. Now the necklace is perfect to give as a gift, complete with elegant packaging.
Friday, February 14, 2014
My Foxy Valentine's!
Happy Valentine's Day Bloggers! I hope you got to show those special people in your life how much you love them.
I started my day off in a Kindergarten room where the kids were wildly excited to pass out their yummy treats and hand written Valentine's. Then off to see some second graders do the same while the teacher was hopeful to get them re~focused to begin their math lesson. {good luck with that!} Fifth graders were hard at work, but still anxious to celebrate. A couple of girls came to the conclusion that this would be the last year they get to exchange Valentine's. They seemed disappointed about that and not exactly looking forward to starting Middle School. I re-assured them that when they get older and enter Middle School and High School they get to attend dances with boys they like and before they know it they will be driving to school! That made them grin and giggle!
All the fun festivities at school made me anxious to get home and start my Valentine gifts for my very special someone's! I made some delicious desserts for tonight and a hand made Valentine for my Husband, Son & Daughter. I of course had to use the adorable Stamp of the Month and Lollydoodle papers!
You still have time to get this stamp set at a discounted price, order here. Be sure to add the darling Lollydoodle papers too!
Show some love today!!
I started my day off in a Kindergarten room where the kids were wildly excited to pass out their yummy treats and hand written Valentine's. Then off to see some second graders do the same while the teacher was hopeful to get them re~focused to begin their math lesson. {good luck with that!} Fifth graders were hard at work, but still anxious to celebrate. A couple of girls came to the conclusion that this would be the last year they get to exchange Valentine's. They seemed disappointed about that and not exactly looking forward to starting Middle School. I re-assured them that when they get older and enter Middle School and High School they get to attend dances with boys they like and before they know it they will be driving to school! That made them grin and giggle!
All the fun festivities at school made me anxious to get home and start my Valentine gifts for my very special someone's! I made some delicious desserts for tonight and a hand made Valentine for my Husband, Son & Daughter. I of course had to use the adorable Stamp of the Month and Lollydoodle papers!
You still have time to get this stamp set at a discounted price, order here. Be sure to add the darling Lollydoodle papers too!
Show some love today!!
Labels:
designer décor frame,
fox,
lollydoodle,
valentine,
wild about you
Wednesday, February 12, 2014
Hey Foxy!
The theme this week on Heart 2 Heart Challenges is "Hearts Galore"! I'm showing some love to the adorable Wild About You Stamp of the Month. How cute and totally trendy are these fox? They are everywhere right now and you can't help from singing 'that' song when you see one! Now even though the challenge is to show some hearts on your project, I made the cute chevron hearts just a subtle addition to this card.
Labels:
fox,
heart 2 heart challenges,
love,
valentine card,
wild about you
Saturday, February 8, 2014
Base & Bling Necklaces
One of my favorite new products this Spring are the new Base & Bling necklace craft pieces. Wearable art is all the rage these days. I love that you can create something for yourself or a loved one that is simply unique and personalized! Here are a few I did to show at my Open House.
This first necklace represents my nickname given to me by my parents; 'Birdie' is what they would call me! I used a bird cage image from the style sheets and added the silver bird and feather charms.
Monograms are the perfect way to personalize a jewelry piece. On this one I chose a flashy and fun chevron image in bright colors. Before adding it to the pendant base I used an older black rub-on letter 'A'. I added the scissors and another charm of my own, a mustard seed given to me by my sister.
You can make these all your own, the possibilities are endless. To see all the style sheets and charms look in the latest Idea Book pages 80 & 81 or go online here.
This first necklace represents my nickname given to me by my parents; 'Birdie' is what they would call me! I used a bird cage image from the style sheets and added the silver bird and feather charms.
Monograms are the perfect way to personalize a jewelry piece. On this one I chose a flashy and fun chevron image in bright colors. Before adding it to the pendant base I used an older black rub-on letter 'A'. I added the scissors and another charm of my own, a mustard seed given to me by my sister.
You can make these all your own, the possibilities are endless. To see all the style sheets and charms look in the latest Idea Book pages 80 & 81 or go online here.
Labels:
base & bling,
bird cage,
charms,
feathers,
monogram,
necklace,
wearable art
Sunday, February 2, 2014
You Are So Loved
Can you believe that Valentine's Day is just around the corner? I know that I better get started on my cards now if I want to be ready!
The sketch at Freshly Made Sketches inspired me to use some newer and older items. One of the brand new items from Close To My Heart are the versatile Basic Fundamental papers. These double sided papers are incredible. One side has a glossy resist pattern, while the other side in the same pattern is a flat, non-glossy design. This paper with a tiny heart pattern was perfect for this cute little banner that I found at a local craft store made by Me&My Big Ideas company. It too has a shiny quality on the gold banners and some glitter on the bitty hearts. In my older stash of goodies, I pulled some assorted hearts from my Heidi Swapp collection and sprayed them in Sweet Cherry Color Shine mist. Just a bit of glitter glitz was added to these to match the other elements.
At a closer look you can really see all the glitter and shine of all these products together. Even the Washi tape has some glimmer!
The Fundamental papers and that gold polka-dot Washi tape are available now for purchase. You can order online here or with me personally.
Saturday, February 1, 2014
It's All New!
Today is the day that the Spring 2014 Idea Book goes live! This book is filled with the best artwork and most innovative, on-trend products on the market. Take a look at all the newest paper collections.
Which paper collection is your favorite?
Ariana
Balloon Ride
Ivy Lane
Jubilee
Lollydoodle
Skylark
Timberline
Which paper collection is your favorite?
Tuesday, January 28, 2014
Spring 2014 Open House
Just a few highlights from my recent Open House. I was focused on just a few new items from this Spring Idea Book~
New fresh paper collections~
Making your own jewelry with Base & Bling~
These are just a few of the delightful new offerings in the Spring 2014 Idea Book! Check back here often to see more products and how I will use them in my projects!
New fresh paper collections~
Making your own jewelry with Base & Bling~
Picture My Life Scrapbooking Program~
Paper Fundamentals Basic Assortment~These are just a few of the delightful new offerings in the Spring 2014 Idea Book! Check back here often to see more products and how I will use them in my projects!
Monday, January 27, 2014
Side Step Calendar
I love the idea of having a small calendar near me when I'm working on my laptop or in my craft room. There are all sorts of ideas out there for smaller desktop calendars, but this idea was really fun to create. It was partially inspired by another CTMH Consultant Gail @Greetings from Gail and by a Christmas card that one of my customer/friends made for our Holiday card exchange. It is a side step card that as been altered so that a calendar and photo could be added. I found the little calendar's at Taylored Expressions for a minimal price. A piece of cardstock was added to the back step on the right side for a photo to be pinned.
I am also entering my little calendars in Heart 2 Heart's "Two-Faced Challenge"! I have chosen to use the dual sides of some brand new papers from the Spring Idea Book available on February 1st! The first paper is called Skylark and the second is Ariana, both are amazingly gorgeous. Take a look at these fun calendars and get a sneak peek at the brand new papers! Be sure to visit H2H for more ideas of using both patterns of your paper!
{Skylark}
{Ariana}
Labels:
ariana,
calendar,
cricut artiste,
desk,
side step card,
skylark,
washi tape
Sunday, January 26, 2014
Lollydoodle Camper
I have another camper for you today! The Camper Crazy stamp set is just so cute that I can't put it away yet! Today I've used it with the darling Lollydoodle paper and added some paper piecing on the camper. I have also used the sketch this week at Freshly Made Sketches to put the cute camper front & center!
Wednesday, January 22, 2014
One Layer Valentine
This one is for The Paper Players! I love their challenges, but I must admit that creating a one layer card is so challenging for me. I love the patterned papers, twine, Washi tape, etc., etc., all those fun products we layer over and over on our projects. It is so restricting to create something with one, single layer. However, when I see examples of this style, I do appreciate the clean, simple lines.
Labels:
chevron,
one layer card,
The Paper Players,
valentine card
Monday, January 20, 2014
C-T-M-H Challenge on Heart 2 Heart!
I'm just a little bit behind on this challenge. This was Heart 2 Heart Blog's challenge last week. Create a project using items that represent C-T-M & H! Here is what I decided for my letters~
C is for~ Camper! I am in love with the new Camper Crazy MyAcrylix stamp set. {don't worry, you can order yours in just a few more days!}
T is for~ Trees! Just a few cute trees stamped in Topiary ink.
M is for~ Mist! I sprayed just a bit of Color Shine misting spray in Citron and Teal. It creates the background of forest and sky.
H is for~ Heart! These campers are happy in love! My chipboard heart was sprayed with the mist in Sweet Cherry then sponged with a dauber in Tulip.
C is for~ Camper! I am in love with the new Camper Crazy MyAcrylix stamp set. {don't worry, you can order yours in just a few more days!}
T is for~ Trees! Just a few cute trees stamped in Topiary ink.
M is for~ Mist! I sprayed just a bit of Color Shine misting spray in Citron and Teal. It creates the background of forest and sky.
H is for~ Heart! These campers are happy in love! My chipboard heart was sprayed with the mist in Sweet Cherry then sponged with a dauber in Tulip.
Be sure to check out the Heart 2 Heart Blog and all the fabulous creations from the design team and other participants. What products or techniques would you use to represent your C-T-M & H?!!
Thursday, January 16, 2014
Happy Camper!
I was a Happy Girl yesterday when some new items from the Spring 2014 Idea Book arrived at my home! I am really thrilled with several new products, tools and the gorgeous papers from this new book premiering February 1st. Many of the new stamp sets are also on my list, but I only ordered one for this order. I just love the new Camper Crazy stamp set. It has the cutest campers and adorable sayings like, "RV there yet?".
I started creating right away with it using the clever sketch at Freshly Made Sketches this week. Oddly I did not choose any new papers for my card though. Instead I reached for a cute mini paper stack that my sister gave me for Christmas called Quilting Bee by My Mind's Eye.
If you want to see the other images and sayings on this stamp set you will need to get the new Idea Book, come to my Open House or wait to see it online February 1st. I will most likely be stamping with it lots more, so visit my Blog again soon!
I started creating right away with it using the clever sketch at Freshly Made Sketches this week. Oddly I did not choose any new papers for my card though. Instead I reached for a cute mini paper stack that my sister gave me for Christmas called Quilting Bee by My Mind's Eye.
If you want to see the other images and sayings on this stamp set you will need to get the new Idea Book, come to my Open House or wait to see it online February 1st. I will most likely be stamping with it lots more, so visit my Blog again soon!
Friday, January 10, 2014
I didn't forget your Birthday! {for my sweet niece, Mad Dog!}
I'm trying a new technique today using Washi tape and my Cricut machine. This is for the "new" challenge on Heart 2 Heart Challenges Blog. I have incorporated this easy idea on the Freshly Made Sketch this week.
I was simply cutting a number nine on the Art Philosophy cartridge to the determined sizing according to the chipboard package label. I loaded my cutting mat and made sure that my cutting blade was on the Washi tape surface. I set my key, size of 1 1/2" and pressed cut. It cut out the "9" perfectly. I simply peeled it from the cutting mat and adhered it to the chipboard with some liquid glue.
You can use this technique for alphabet letters to create a title, a bracket shape for a mini album, or mix and match different colors and patterns of Washi tape before cutting it out. It's a great "new" technique and the possibilities are endless!
I used some Chantilly papers as my base and added in more color with greens, blues and pink. Instead of a square element as in the sketch I chose to do a scalloped circle from the Perfect Fit Frames. What I really want to point out is the number "9". It may look like paper in the photograph, but it is actually Washi tape that has been adhered to a chipboard number.
This is an easy and fun technique to try! Using a spare piece of white daisy cardstock, I taped strips of this darling pink polka dot Washi tape being sure to line up the spots. Depending on the shape and size you want to cut out will determine how long and how wide your strips of Washi tape will be.
I was simply cutting a number nine on the Art Philosophy cartridge to the determined sizing according to the chipboard package label. I loaded my cutting mat and made sure that my cutting blade was on the Washi tape surface. I set my key, size of 1 1/2" and pressed cut. It cut out the "9" perfectly. I simply peeled it from the cutting mat and adhered it to the chipboard with some liquid glue.
You can use this technique for alphabet letters to create a title, a bracket shape for a mini album, or mix and match different colors and patterns of Washi tape before cutting it out. It's a great "new" technique and the possibilities are endless!
Subscribe to:
Posts (Atom)