Showing posts with label BirchBox. Show all posts

Sunday, November 12, 2017

Holiday Card Buffet 2017

Recently I held my annual Holiday Card Buffet. This event has become one that the ladies anxiously, but patiently wait for each year! I knew I had to really bring the fun this year. I did that by first, making 14 different card designs and a little over 100 card kits in total! Second, I threw in a little twist that involved raffle tickets and prizes!!

Here is my table full of cards. (both sides)

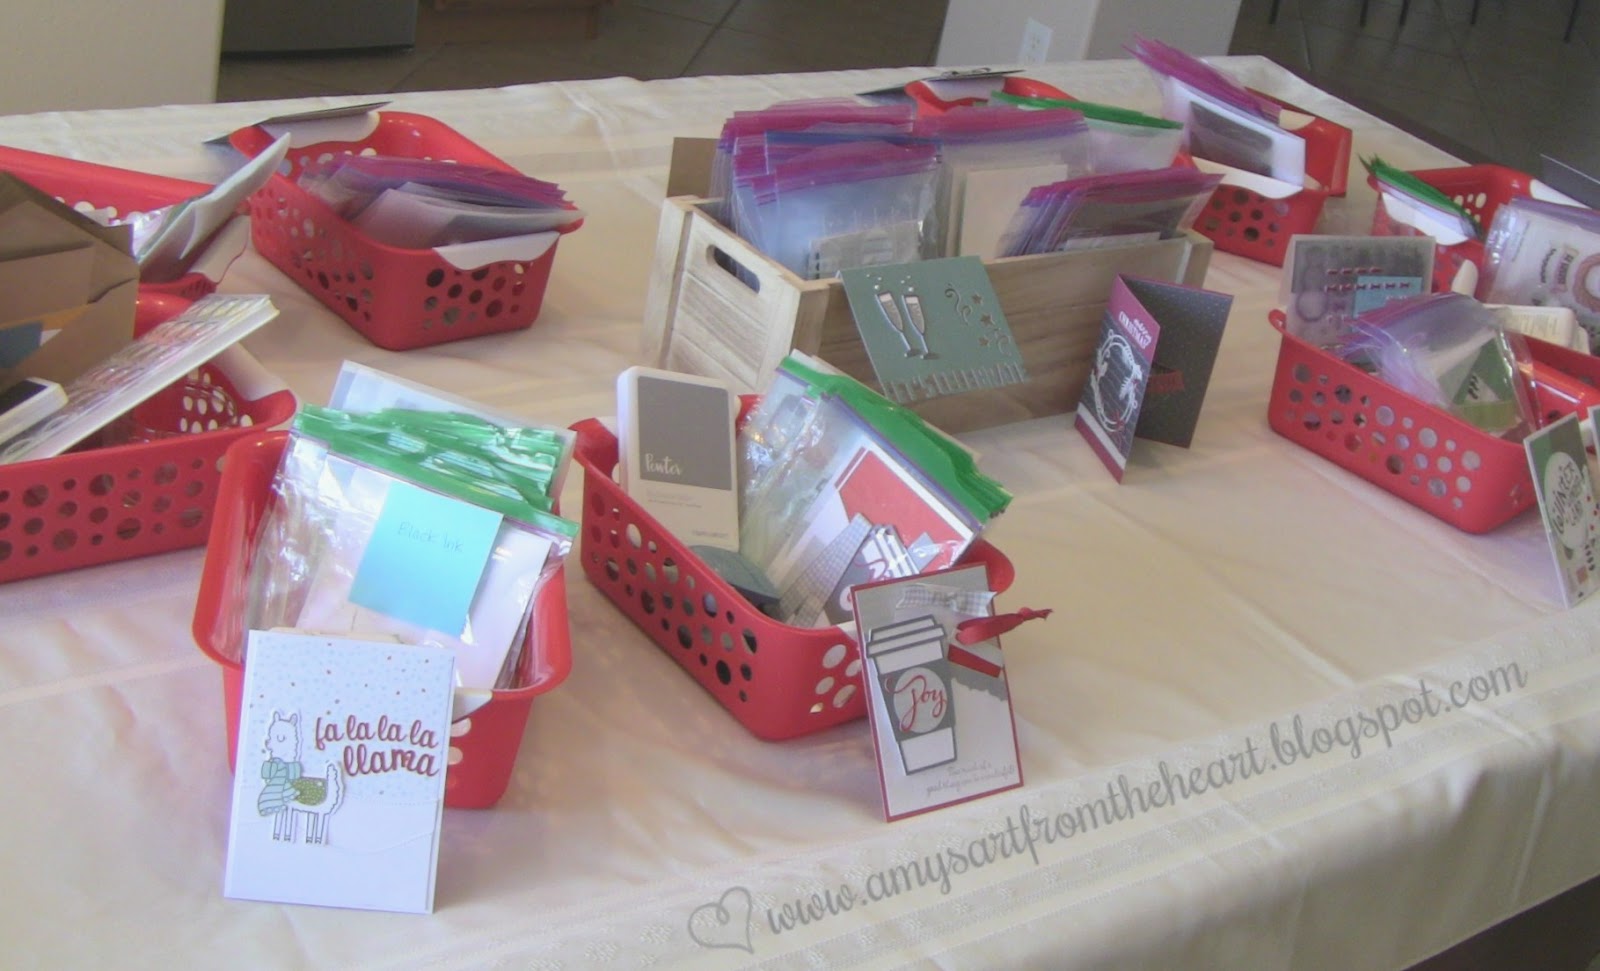

In the red baskets are the card kits and the items needed to complete the card. This may have included stamps, inks, embossing powder with heat tool, embossing folders, thin cuts, watercolors and embellishments. The wooden crate in the center of the table contained a card kit that only required assembly as it was cut on the Cricut and had no further stamping involved.

Here are the ladies hard at work. They are very focused!


I announced at the beginning of the workshop that inside some of the card kits they will find a raffle ticket with a number on it. If they find it, they were to put their name on it and drop it in the corresponding pail on the counter top. I had a total of 5 prizes that coincidentally matched the card that they found the ticket in! This became somewhat of a scavenger hunt to find the tickets!!


Here are just a few of the prizes~


For those that made the pop&twist Beary Christmas card, they had the chance to win a boxed set of cards featuring the Beary Christmas PML cards. It was a set of 5 cards in an altered, decorated box.


This next one was my favorite card and prize. I didn't get enough of that darling Llama from this summer, so he came to visit again for the Holiday!


Ladies who made the Fa la la la Llama card, found the ticket to win a matching chipboard banner. It was even packaged up so cute with a little funny tag.


Who needs a little caffeine pick-me-up during the hectic holidays? I do! This card featured a Cricut cut coffee cup on a pocket card where a tag and gift card could be neatly tucked away. The prize for this card was a K-cup holder using that same Cricut coffee cup.


Some of the other prizes included an ink pad with mini thank you stamp and a set of snowflake ornament gift tags.

In the next few days I will share some of the cards that the ladies created from the delicious buffet!

Tuesday, August 30, 2016

Crazy Cat Card Kit

Okay you crazy cat lovers! August is almost over, that means you can only get the Stamp of the Month for just $5 if you order right now! I have an idea for this stamp set that will make you think of other occasions, not just for Halloween. I've created a Crazy Cat Card Kit using a variety of papers, colors and various images from the stamp set, pre-stamped and cut out. It's fun in a box, ready to be assembled any way the recipient wishes.


I used a Birchbox to contain all the fun! I simply decorated the top with one of the cat images, a title frame and some fun accessories that scream party!


Just look at all those cats purring for attention! All of the stamped and cut images are on the top of the decorated card bases.


Here is just a sample of how the cards can be decorated. You will see that there are some Halloween themed cards, but there is also other fun occasions too.


The Purr-fect Halloween Stamp of the Month goes away tomorrow night. Place your order online here.

Friday, July 22, 2016

New Home Calypso Cards

I love making card ensembles and packaging them up in a coordinating box. This ensemble is a gift for some friends that recently moved into a new home. I decided to use the Calypso paper with the pineapple image as it is a symbol of hospitality and welcoming. The couple can use these cards to send their new address to friends and family.


The pineapple on the front of the box is a Stickease from the Calypso collection, but the pineapples on the cards were cut from the Cricut Artistry collection. The sentiments are from an older stamp set no longer available.


Monday, June 27, 2016

Manly Thank You Box

Not too long ago I shared with you some cards I created with the guys in mind. The cards were masculine and would be great for a husband, brother or father. Shortly after my man themed card workshop, I was preparing for my nephew's graduation. I'm not a fan of just giving cash, although it is always well received,  I like to give a little gift that was handmade by me.

I decided to make a box full of some Thank You cards for my nephew to give to those in attendance at his graduation party or gave him a graduation gift. He could also use them to write a note to a teacher or mentor that was a great influence to him through his schooling years. Either way, I felt the cards needed to be simple and masculine.


The cards and box were decorated with the Urban paper collection. I used a couple of distressing techniques and adorned the box with some triangle studs. What's more manly than diamond plate and messy ink blots?!


Since I decorated a box to hold the cards I am entering this project in Heart 2 Heart's 3D challenge this week. The studs and chipboard "J" are also 3D on the cover of the box. {The J is for my nephew's name. He can store other trinkets in the box when all the cards have been mailed out.}


The card itself is a simple design with the center focus on a Cricut cut "thanks". I used just a bit of decoration on the envelope as well.


The Urban papers are essential for those manly cards or projects. Be sure to get them before they retire at the end of July!

Tuesday, June 2, 2015

Year Noted in a Box

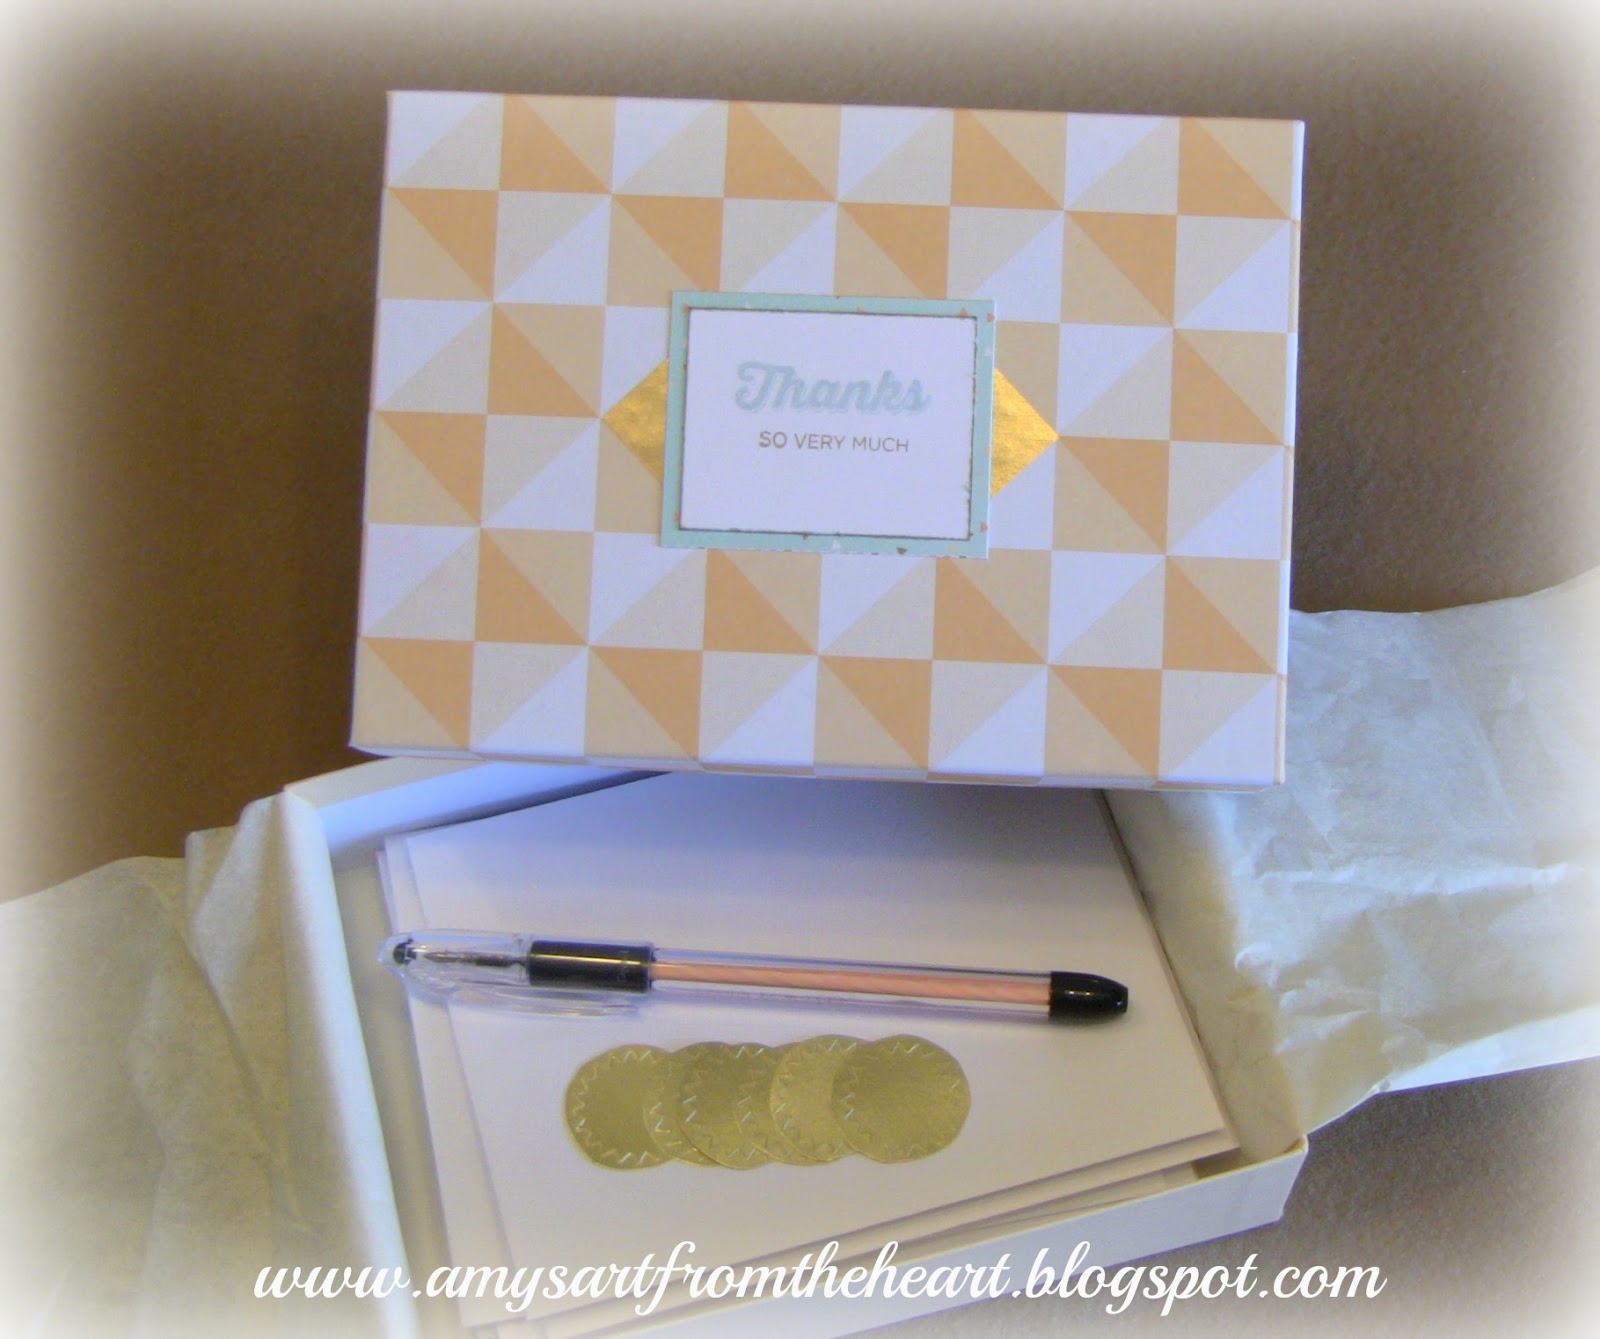
As I was cleaning up my craft room I couldn't help but notice how my Birchbox boxes were piling up! I like decorating them to hold sets of coordinating cards and just happened to need a gift for someone. Lately Birchbox has been mailing out some really cute boxes in a hue of colors and patterns rather than just the kraft brown. For this box I did not need to cover it at all, I simply added a little sentiment to cover the Birchbox name. The colors and pattern of the box reminded me of the older Year>>Noted promotional papers. I also incorporated some of the gold foil stickers that were included with the special and some sparkly twine that was from a card workshop.


Outside of the box


Inside of the box I included a coordinated pen and some gold foil stickers to seal the envelopes.
 

The box contained a total of six different cards. The designs were inspired by a couple of workshops in the Wishes book.


For all the sentiments I used this newer stamp set from the Seasonal Expressions 2 book called Finding the Words. A great stamp set that does have about any phrase you are looking for!
 

Wednesday, December 24, 2014

The Reason for the Season

One last post before you celebrate the Holiday with your family and friends. I originally saw these die cuts on Katy Taylor's Blog. Immediately I knew this would be a perfect Christmas gift for a couple of very special little girls! They were purchased from Pretty Paper Pretty Ribbons Graphics site then cut on my Cricut Explore. Katy did such a wonderful job on her scene and even made them 3D so they stand on their own. I left mine flat, but the thought did occur to me later that I should add magnets behind them so they could be placed on a refrigerator or metal board like Close To My Heart's chalkboard.


I used a Birchbox to store all the little pieces and decorated the outside.


All of the tiny layers were tedious to assemble, but the final result is so cute!


Thank you so much for the inspiration Katy!

I hope that all of you are enjoying your Holiday and remembering the Reason for the Season!

Merry Christmas!


Monday, December 23, 2013

Special Care Card Kit

I was inspired by this month's Stamp of the Month and decided to use it for creating a sweet little card kit! The kit is contained in a Birchbox and includes 10 cards with envelopes, stamped sentiments, pre-cut cardstock and patterned paper, grey twine and accessories that include buttons and clothespins.

The cover of the kit {top of box} shows the design of the card. It is a simple template that can be altered. The colors are bright and colorful and can easily be mixed and matched. I used one patterned paper from the Sarita collection. It's a fun design and can be feminine or masculine!


Here are just some examples of how the cards can be assembled. Each one will be different making it a unique kit!

 
Here are all the pieces tied up with string. Everything fits nicely in the box.


The front cover of the box.

 
Those sentiments are super cute! If you haven't purchased your December Stamp of the Month yet you only have until December 31st. Shop online here.


Thursday, April 11, 2013

Happiness is Homemade {and recycled!}

I am constantly saving my BirchBox's to be repurposed as card boxes. The challenge on The Paper Players was the perfect reason to get me motivated. With Mother's Day just around the corner it was a great opportunity to get some homemade gifts made!

The box is a kraft material which makes recycling it super easy! I only needed to simply decorate the top lid to cover the BirchBox label.

Here is the before~


I inked up the County Born stamp once more this week to create a country themed box and set of cards. Here is the outside of the box recovered! Don't you just love the little wooden clothespin?!


Inside the box is a set of 10 cards, 2 each of 5 designs.

 
 Here is a close up of each card. One of the cards matches the outside of the box.