Showing posts with label card box. Show all posts

Monday, May 25, 2015

The Wedding Planner!

I wear many hats in my life, as several of us mother's do! Lately, I got to try a whole new, completely different hat. I was asked by my co-worker and friend to decorate and coordinate her wedding. I was thrilled to take on the challenge!

The wedding took place this past Saturday night. I'm happy to say that it all came together beautifully!


Me and the beautiful bride~

She knew her colors and I got a sense for what the couple wanted. I took a look at the venue and knew right away that I had a challenge! I pulled some inspiration from the venue, a local winery, and from Pinterest of course! With the large open space I wanted to create little areas to break it up. I also put a little bit of handmade love throughout.

Just as guests entered the room, they could drop off any cards or gifts they had for the couple. The bride found these lighted cherry trees and I was able to borrow a few old wine barrels from a friend.


When I was shopping for something to hold the cards I was not happy with the choices and especially not the price tag! I found this paper mache trunk at Hobby Lobby on sale for around $7. I painted it myself and mod podged some CTMH paper inside. I created the little banner using some Cricut cuts, twine and mini clothes pins. I'm glad I didn't just purchase an ordinary item. Plus, the couple now has a great little keepsake!


Another area I created was an idea for guests to leave the couple a message to be read on their anniversary!

In order to break up the large white wall behind the bride and grooms table I created a false wall. My first idea was to drape fabrics on a PVC frame. After talking to my hair stylist about my latest project she suggested these metal screens she had laying around. They were unique and a little weathered. I loved them and wanted to dress them up. I scalloped some satin fabric and attached it to the frame with some wrapped flowers. Then we strung some white lights through the panels.


Here is how the table looked after the flowers were delivered and the lights dimmed.


I found some images on the internet of cake tables and knew right away I wanted to light the underside. The couple loved this idea too! After much pondering on how to pull it off, I finally came up with some tulle and a purple satin sash. It was lovely and so was the cake finished with some pale green & white fresh orchids.


Looking across the finished room~


 Not too bad for my first wedding planning!

I would love to share with you the card and special gift I made for the couple too. Come back soon!


Thursday, April 11, 2013

Happiness is Homemade {and recycled!}

I am constantly saving my BirchBox's to be repurposed as card boxes. The challenge on The Paper Players was the perfect reason to get me motivated. With Mother's Day just around the corner it was a great opportunity to get some homemade gifts made!

The box is a kraft material which makes recycling it super easy! I only needed to simply decorate the top lid to cover the BirchBox label.

Here is the before~


I inked up the County Born stamp once more this week to create a country themed box and set of cards. Here is the outside of the box recovered! Don't you just love the little wooden clothespin?!


Inside the box is a set of 10 cards, 2 each of 5 designs.

 
 Here is a close up of each card. One of the cards matches the outside of the box.


Monday, May 16, 2011

You & Me Kit {plus extra's}

I received this month's You & Me kit last week and started creating! Using the handy instructional guide included I made the first two-page layout for some Easter pictures. It was so satisfying to get some photo's scrapbooked, which is the point of this month...{National Scrapbooking Month}!

I had some little extra pieces left over and simply could not let them go to waste!

With some extra cardstock, including the fabulous new Kraft cardstock, and stamped images from the awesome stamp set included in the kit, I was able to create 8 cards with a box.


The box~


I still have half of the kit leftover! Maybe I'll create a layout, maybe cards, or both. It's not too late to order your kit!!

Friday, May 6, 2011

Cards For Mom {part 3}

The final set of cards for Mom! This set was made using a kit that was offered a few years ago called Just Because. For the most part I followed the instructional guide, but a couple of the cards had my own creative twist on them. Here is the sturdy box they are stored in along with the personal card for Mom. It uses similar colors and some Stickease for the flower.


I believe there are a total of 14 cards all together.


Here is a close up of just a few~


Wednesday, May 4, 2011

Cards For Mom {part 1}

Mother's Day really snuck up on me this year. We just celebrated Easter and enjoyed a well deserved Spring Break vacation. All of a sudden I find myself in my craft room preparing for Mother's Day. So what do you get the women that mean so much to you? Something made from the heart!

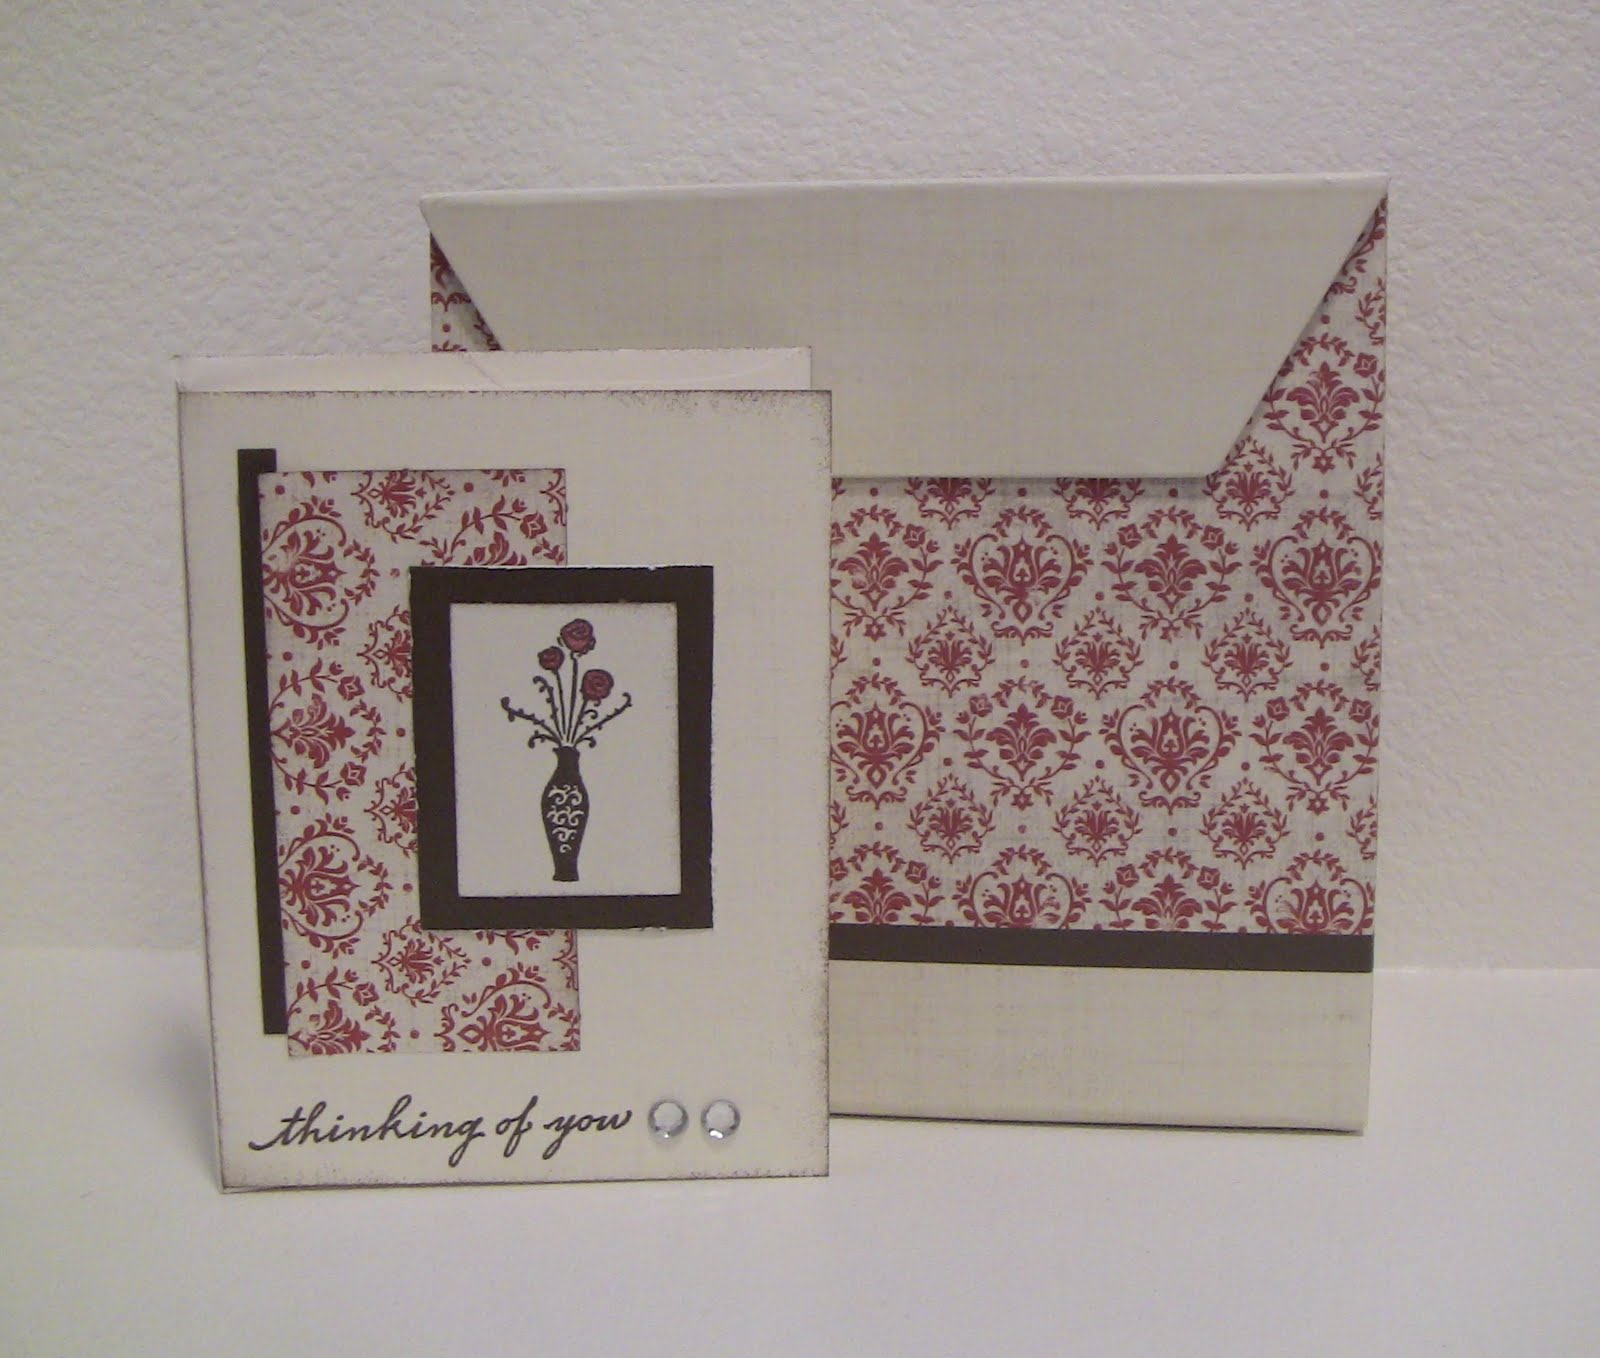
I decided to create handmade card sets. Here is the first one made from the Emporium papers. This set contains 6 cards with envelopes and can be stored in it's own little card holder. Perfect for grabbing a last minute card.


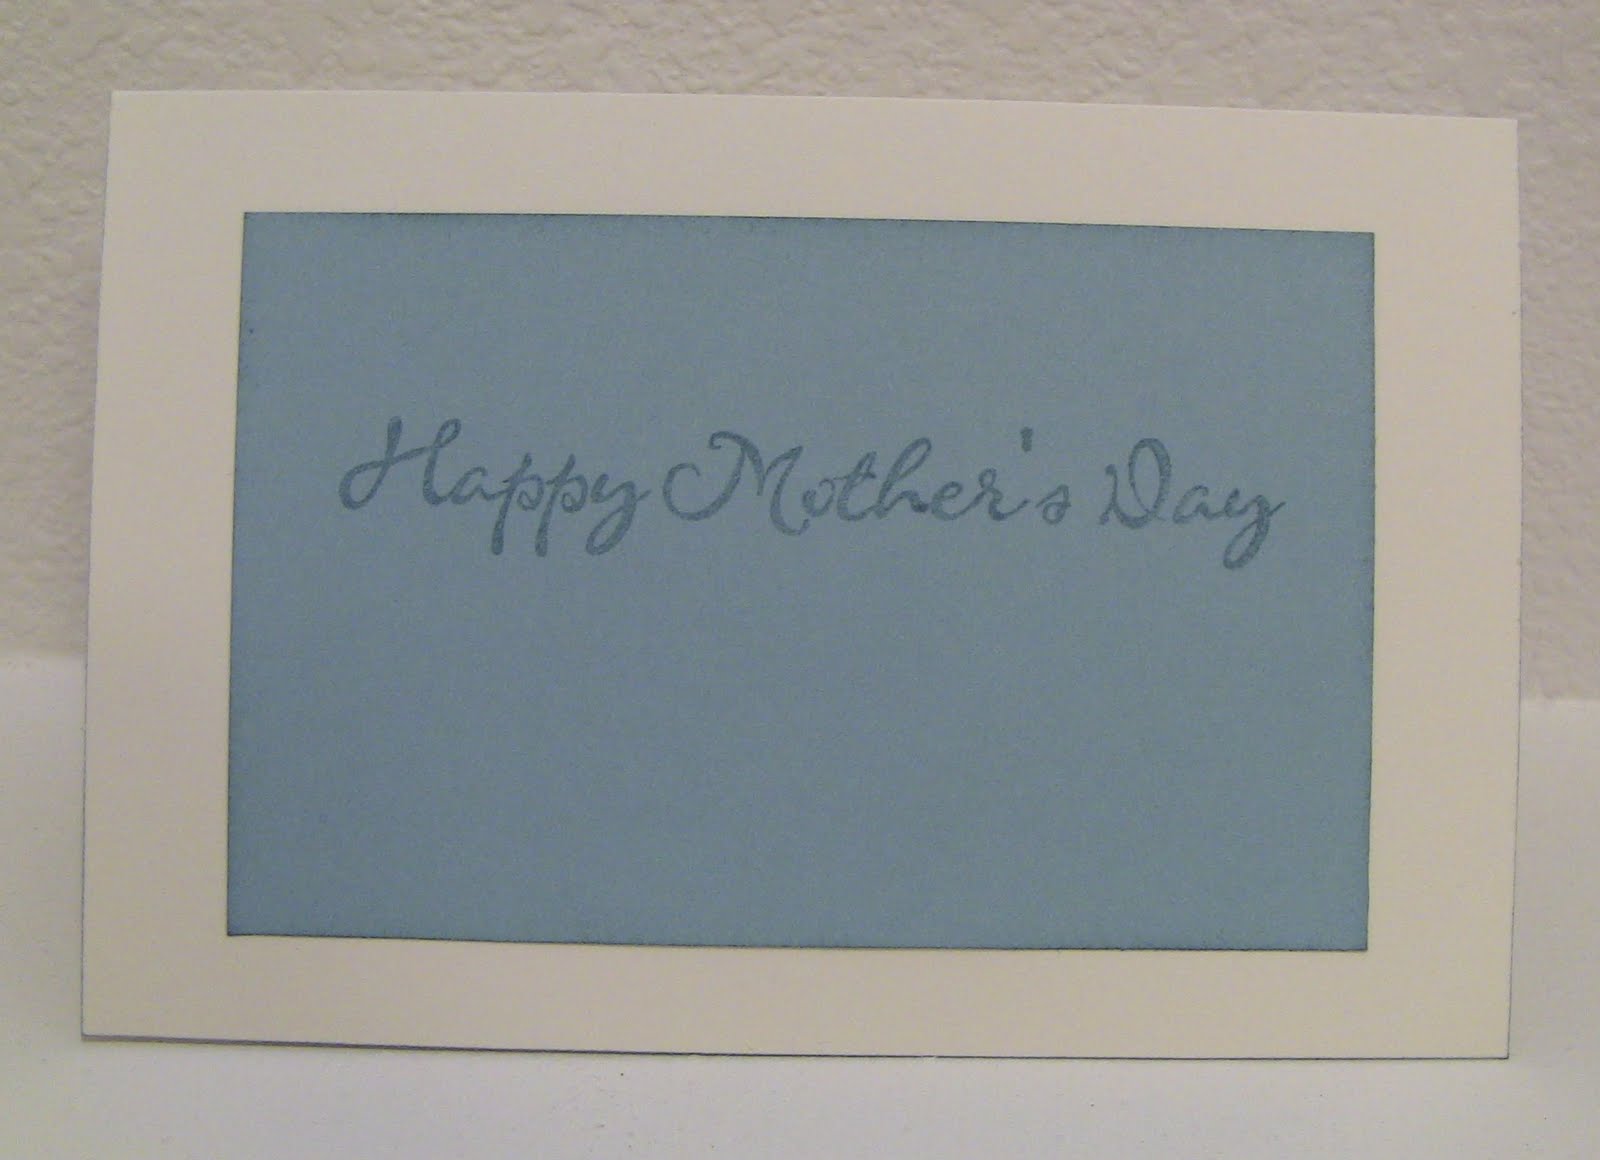
Here is the card that will accompany the gift, also done with Emporium papers.


Need more Mother's Day ideas? This is only part 1, check back soon for more projects I've created. Also, check out the Heart 2 Heart Blog for lovely artwork all about Mom this week!

Sunday, February 13, 2011

Card Boxes and Cupcakes

Yesterday was my first Card Club class. To kick off this club all the ladies created their sweet little card boxes to store all the cards they will be making this year. Speaking of "sweet" I just had to make some Valentine cupcakes for the event.


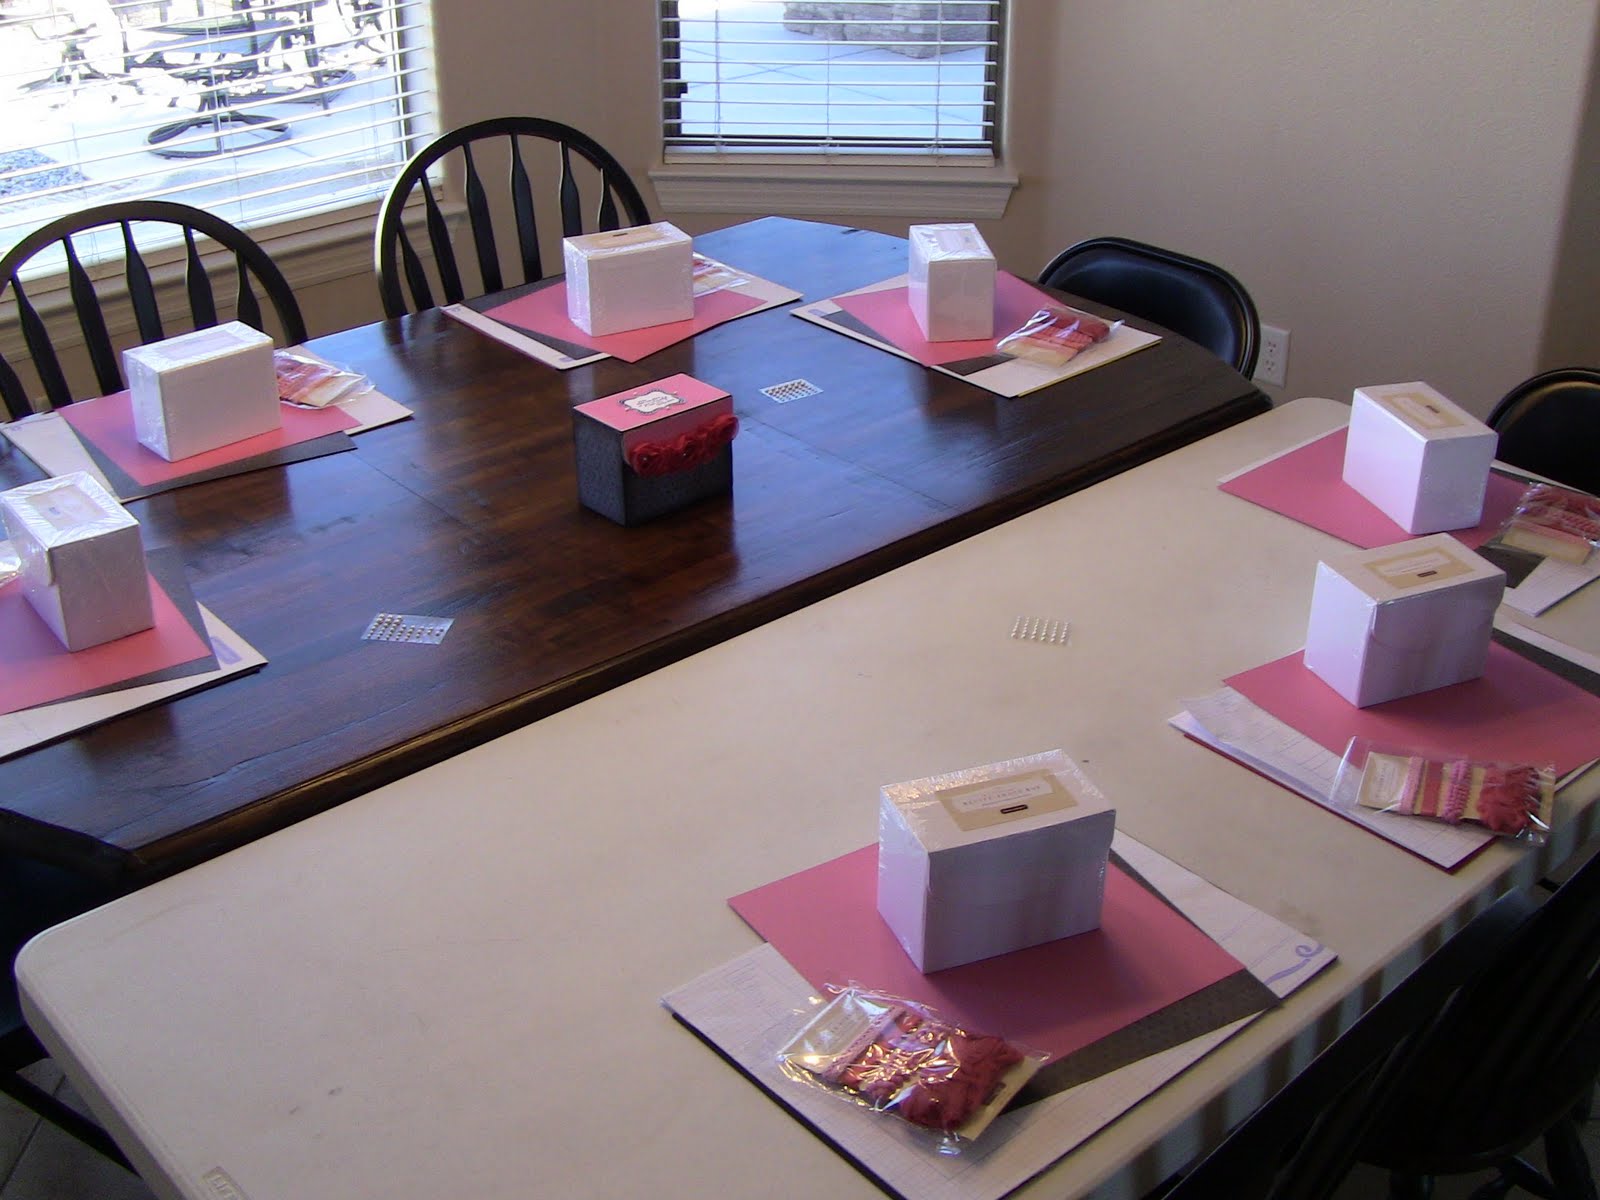
The table is set: Ladies were given boxes, papers, pearls and the new Pink ribbon collection to complete their first project. As we meet each month for club they will bring the ribbons to use on various cards.


Chocolate cupcakes with pink butter cream frosting. Each one was finished with a laced chocolate heart.


Here are the ladies hard at work:


Some of the ladies chose to create their boxes with the reverse side of the B&T papers. I think the light pink boxes are darling and really shows the versatility of Close To My Heart papers.


Wednesday, January 26, 2011

Card Club Box

I held my first Calendar Club this past Saturday. So far everyone is off to a great start and I am excited about the next pages to be completed. I am equally excited to start my other club that will be alternating months with the Calendar Club.

The Card Club will kick off its first class by making this darling, oh so girly, card box. It is made from the same box I used last summer as a Recipe Box. I dressed it up in fancy new Sweetheart papers and adorned it with frilly ribbon and pearls. It is an awesome start to what will be a fun club.