I decided to create a book for our son's graduation. I wanted to fill it with some older pictures that captured several different memories from our son's life. I also wanted to leave open spaces so that guests attending his graduation could sign it with a personal message. Here is the sign I placed on the table next to the book~
I used the My Creations Kraft 3-Ring Album for my project. It is a great way to showcase photographs and guests are able to sign the pages still. The albums total measurements are 8 5/8 x 9, so the pages inside are 8x8. The 8x8 pages correspond with the Inspiration Mini-Album found on the Artbooking Cricut Cartridge pages 44 &45.
I ended up with a total of 14 pages {class of 2014}, but you could fit more pages inside this album!
I filled it with photo's of all sizes, flip flaps and several different cards from the Picture My Life Later Sk8r Scrapbooking Program.
My favorite aspect was that the different family members were able to find a special memory with them or their kids and that's where they signed in the book! For example, one of my son's closest cousins signed under a picture of the two of them together.
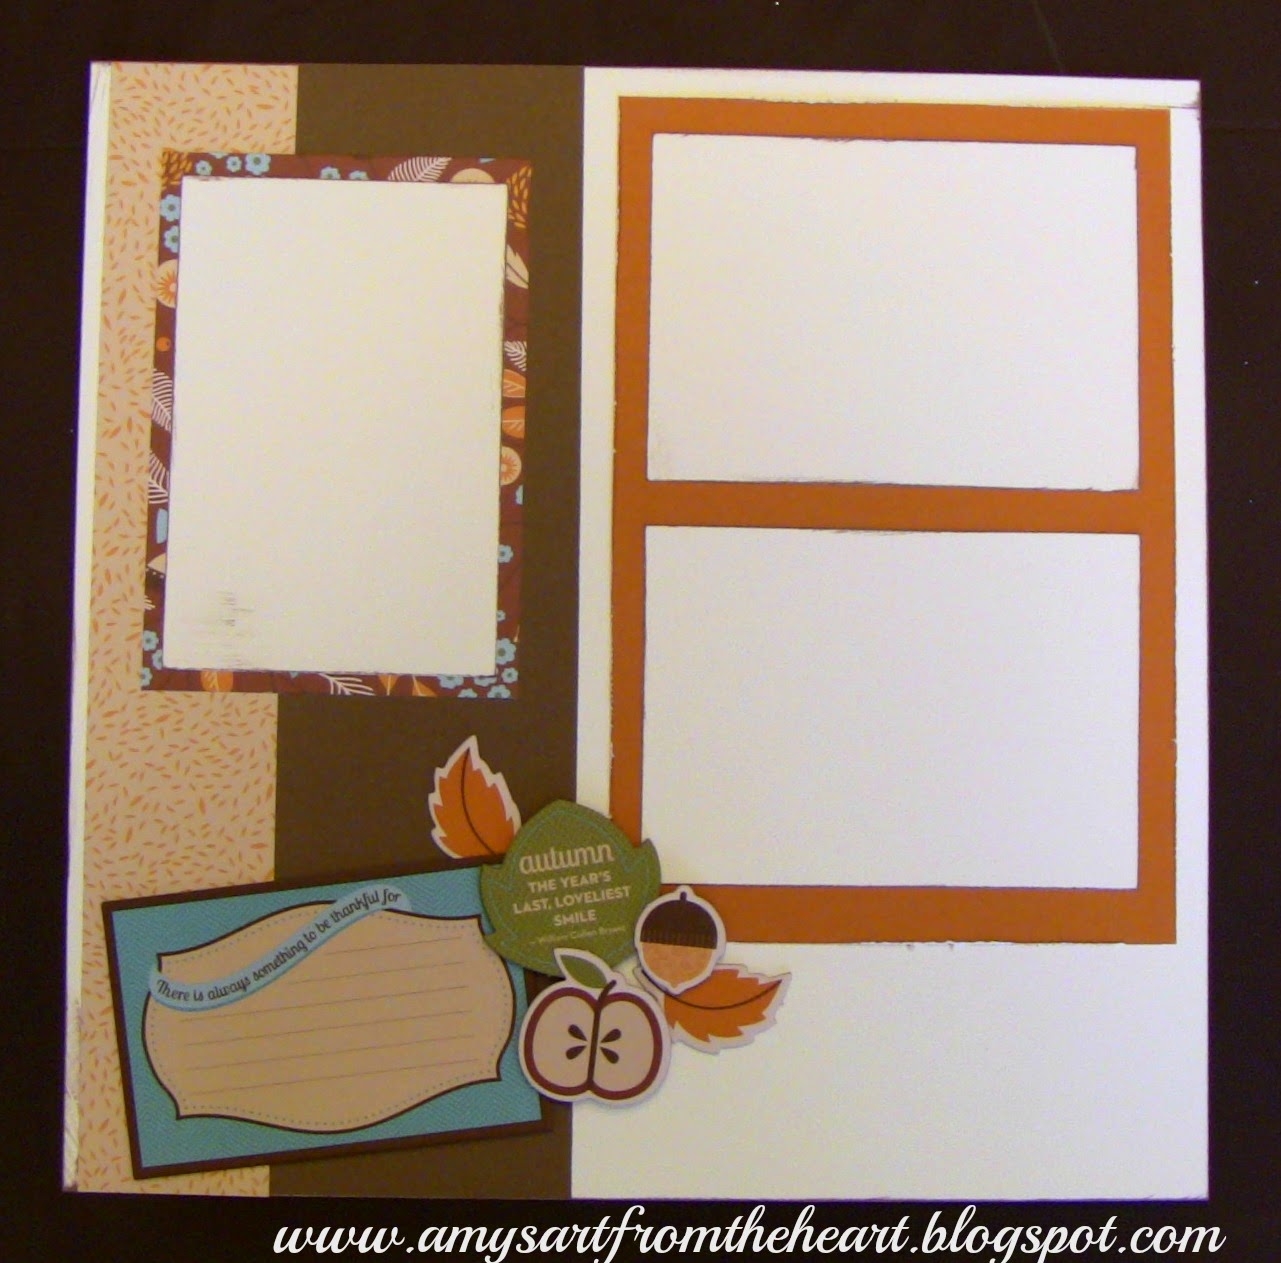
I was able to incorporate the small & big PML {Picture My Life} cards, as well as cutting out portions of the card like the "hero" sentiment on this page.
How cute is this "then & now" page. One of the most difficult challenges in creating this album is that at the time my son was young there were no such things as digital pictures or SD cards or hard drives that contained all my pictures. Oh no! I was digging through old Rubbermaid boxes searching for old photographs!! Thank goodness I always got double copies so that I had extras!
The last couple of pages are just for sister, mom and dad to sign. I'm wondering if I left enough journaling lines for myself...luckily with all our guests and excitement lately I have not yet let the circumstances truly sink in. There have only been little moments (like watching him walk down the aisle at the ceremony) that I start to think of it and I come to just the brink of a tear. Things are winding down now and I'm certain that when I finally sit to write the words my eyes will flood.
My Creations Kraft 3-Ring Album (Z1871) $5.95
Cricut Artbooking Collection (Z1906) $99
Picture My Life Later Sk8r Scrapbooking Program (Z1945) $24.95
This album is not only great for graduation, but would be awesome for a baby shower or wedding too! You can find these products or similar items on my website
here.


.jpg)
.jpg)
.jpg)
.jpg)
.jpg)


