More pictures from the Birthday Tea Party for you. This year I wanted to come up with an activity for the kids to do and also give them a little something to take home with them to remember the party. Mad Hatter hats was the perfect craft project. You have to make the food special too! Here is the Dairy Queen cake that my daughter designed herself. Oh! and if you've never had one of these cakes they are soooo yummy! It was layered with vanilla ice cream, chocolate ice cream and in the center crushed Oreo cookies and fudge.

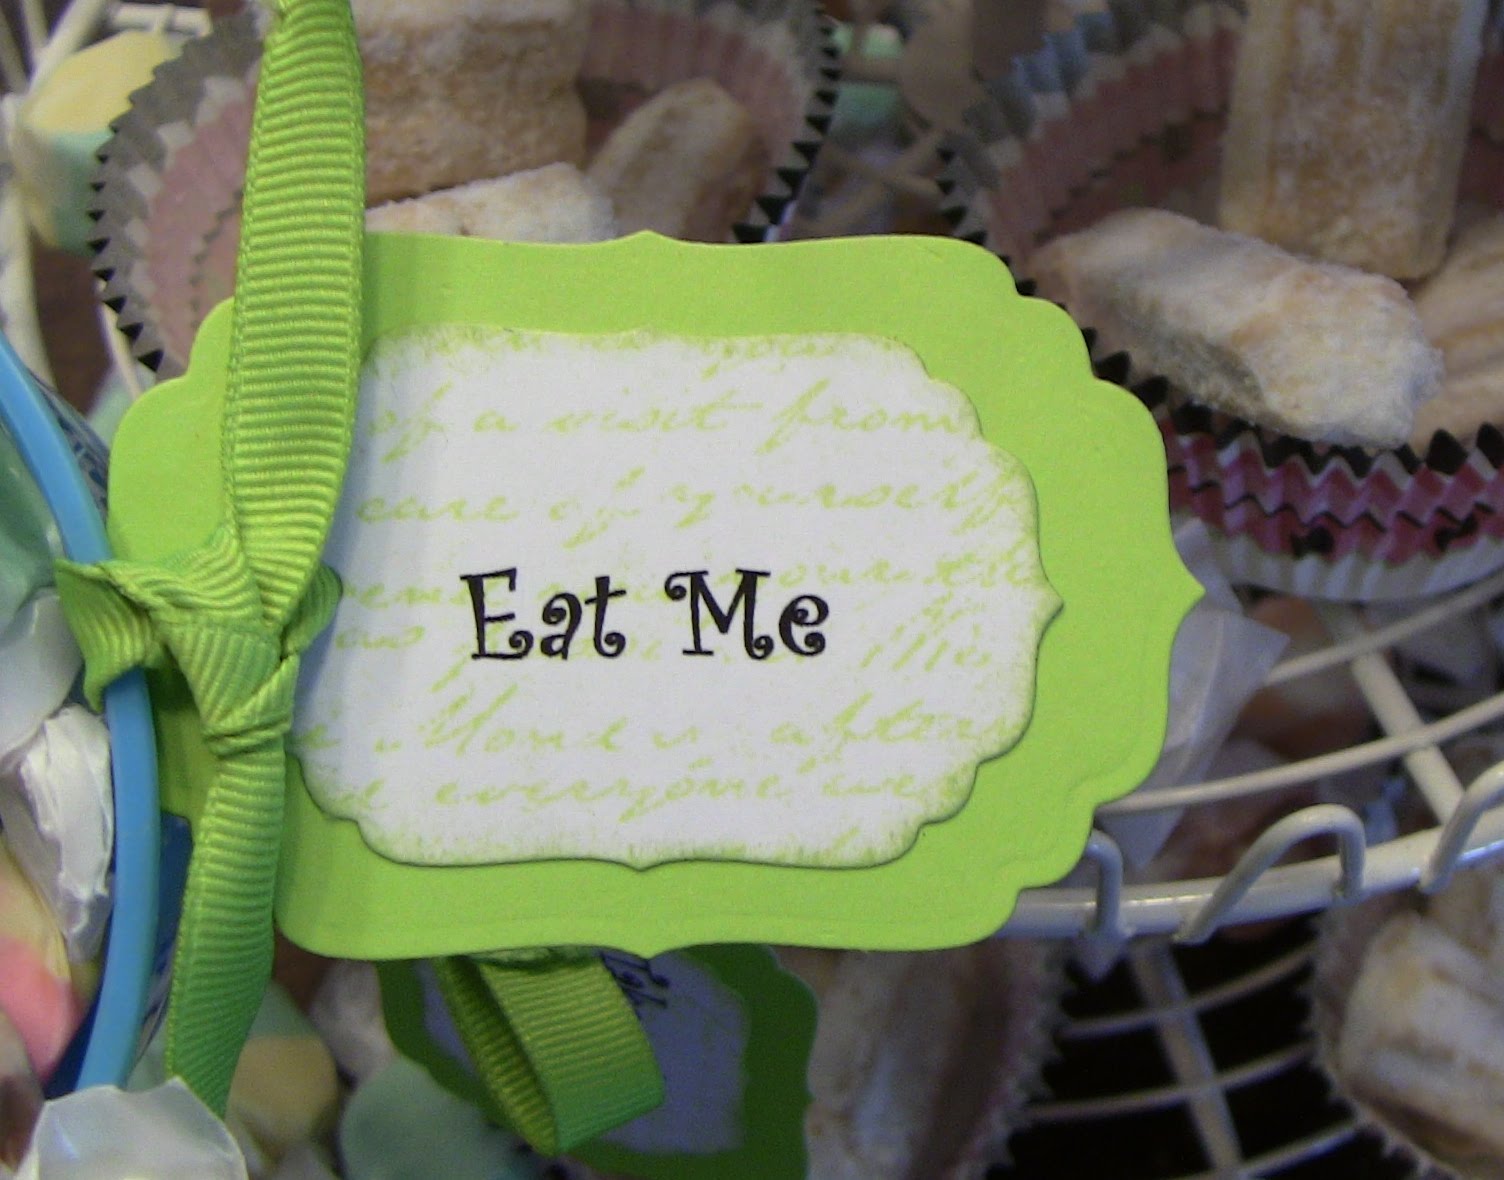
Here are some more goodies for the guests. Little lemon, lime and sugar tea cookies filled these darling cupcake cups. We scattered old fashioned salt water taffy's in a bright array of colors. They were both a big hit. I however, was tickled with how my "Eat Me" tags turned out. Just like the original book and movies. I printed the phrase on card stock then die cut them out with a Spellbinders label. I stamped them in coordinating colors with the Universal Background stamp {D1477}. Then adhered them to another die cut label. Just some matching ribbon to finish them off.


You can't forget the tea at a Tea Party! We chose to have iced tea's though rather than hot considering the gorgeous warm weather we were blessed with this weekend! We had sweet tea, peach tea and raspberry tea. They had tags too! Fortunately no one shrunk or grew bigger than the house !?!


Now on to the FUN!! Preparation for this part took place a couple of weeks ago. I tracked down several paper grocery sacks. This was harder than I thought! Every one is switching over to plastic or recyclable bags these days and the paper sacks are harder to locate. Once I had 20 of them I rolled on a flat exterior paint on all sides and top. The paint gives them a canvas to work on and also makes them more sturdy. You can paint them any color you choose, but I opted for white so that all the embellishments they would add later would truly be the stars!

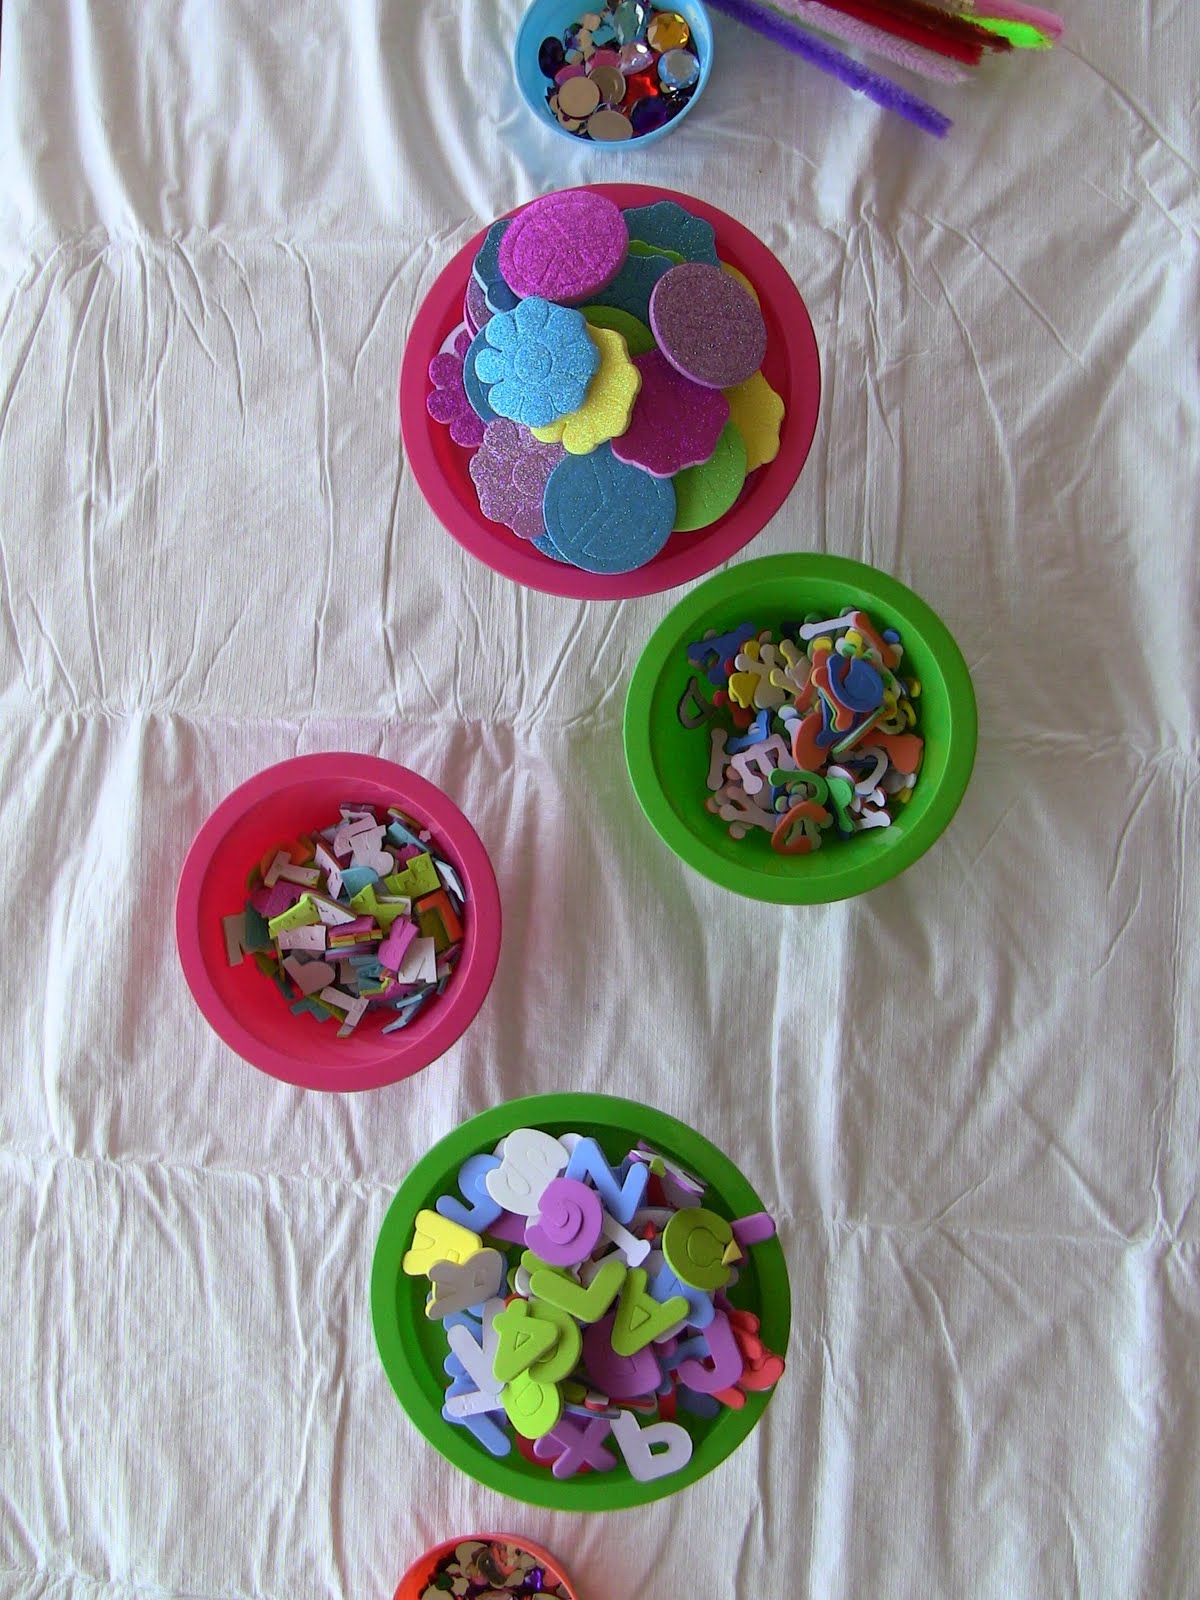
The table was set with embellishments that my daughter and I gathered from all sorts of craft stores. Anything found in the marked down clearance section is the BEST! The raised trays in the center of the table are actually really cheap plastic cups turned upside down and crazy glued to plates. They could be super easy dessert platters too!

Super fun embellishments include: foam shapes and alphabets, rhinestones, pipe cleaners, wiggle eyes, buttons, feathers, flowers, ribbon and pom poms.

All the essential tools were on hand.
Rolling the bottom of the sack about 3 folds will fit most heads. Once each child was fitted the creative process begins.

Here is my daughter with her hat all finished. I had all the kids pose with their hats on and took photo's. They actually turned out like comical Mad Mug Shots! I can't wait to scrap them all.


I hope you enjoyed these Birthday Party posts and gathered some fun ideas to try at your next event.
Daughter~ "I wonder what the theme will be for next year? Ooooh! Yeah, let's start planning it!"
Son~ "Hey, my Birthday is next month, let's talk about that."
Mom~ "Let me get some sleep first, then we'll think about it!"



 Now on to the FUN!! Preparation for this part took place a couple of weeks ago. I tracked down several paper grocery sacks. This was harder than I thought! Every one is switching over to plastic or recyclable bags these days and the paper sacks are harder to locate. Once I had 20 of them I rolled on a flat exterior paint on all sides and top. The paint gives them a canvas to work on and also makes them more sturdy. You can paint them any color you choose, but I opted for white so that all the embellishments they would add later would truly be the stars!
 Super fun embellishments include: foam shapes and alphabets, rhinestones, pipe cleaners, wiggle eyes, buttons, feathers, flowers, ribbon and pom poms.