Tuesday, January 28, 2014

Spring 2014 Open House

Just a few highlights from my recent Open House. I was focused on just a few new items from this Spring Idea Book~

New fresh paper collections~


Making your own jewelry with Base & Bling~


Picture My Life Scrapbooking Program~


Paper Fundamentals Basic Assortment~


These are just a few of the delightful new offerings in the Spring 2014 Idea Book! Check back here often to see more products and how I will use them in my projects!


Monday, January 27, 2014

Side Step Calendar

I love the idea of having a small calendar near me when I'm working on my laptop or in my craft room. There are all sorts of ideas out there for smaller desktop calendars, but this idea was really fun to create. It was partially inspired by another CTMH Consultant Gail  @Greetings from Gail and by a Christmas card that one of my customer/friends made for our Holiday card exchange. It is a side step card that as been altered so that a calendar and photo could be added. I found the little calendar's at Taylored Expressions for a minimal price. A piece of cardstock was added to the back step on the right side for a photo to be pinned.

I am also entering my little calendars in Heart 2 Heart's "Two-Faced Challenge"! I have chosen to use the dual sides of some brand new papers from the Spring Idea Book available on February 1st! The first paper is called Skylark and the second is Ariana, both are amazingly gorgeous. Take a look at these fun calendars and get a sneak peek at the brand new papers! Be sure to visit H2H for more ideas of using both patterns of your paper!

{Skylark}


{Ariana}

Sunday, January 26, 2014

Lollydoodle Camper

I have another camper for you today! The Camper Crazy stamp set is just so cute that I can't put it away yet! Today I've used it with the darling Lollydoodle paper and added some paper piecing on the camper. I have also used the sketch this week at Freshly Made Sketches to put the cute camper front & center!


Wednesday, January 22, 2014

One Layer Valentine

This one is for The Paper Players! I love their challenges, but I must admit that creating a one layer card is so challenging for me. I love the patterned papers, twine, Washi tape, etc., etc., all those fun products we layer over and over on our projects. It is so restricting to create something with one, single layer. However, when I see examples of this style, I do appreciate the clean, simple lines.


Monday, January 20, 2014

C-T-M-H Challenge on Heart 2 Heart!

I'm just a little bit behind on this challenge. This was Heart 2 Heart Blog's challenge last week. Create a project using items that represent C-T-M & H! Here is what I decided for my letters~

C is for~ Camper! I am in love with the new Camper Crazy MyAcrylix stamp set. {don't worry, you can order yours in just a few more days!}

T is for~ Trees! Just a few cute trees stamped in Topiary ink.

M is for~ Mist! I sprayed just a bit of Color Shine misting spray in Citron and Teal. It creates the background of forest and sky.

H is for~ Heart! These campers are happy in love! My chipboard heart was sprayed with the mist in Sweet Cherry then sponged with a dauber in Tulip.


Be sure to check out the Heart 2 Heart Blog and all the fabulous creations from the design team and other participants. What products or techniques would you use to represent your C-T-M & H?!!


Thursday, January 16, 2014

Happy Camper!

I was a Happy Girl yesterday when some new items from the Spring 2014 Idea Book arrived at my home! I am really thrilled with several new products, tools and the gorgeous papers from this new book premiering February 1st. Many of the new stamp sets are also on my list, but I only ordered one for this order. I just love the new Camper Crazy stamp set. It has the cutest campers and adorable sayings like, "RV there yet?".

I started creating right away with it using the clever sketch at Freshly Made Sketches this week. Oddly I did not choose any new papers for my card though. Instead I reached for a cute mini paper stack that my sister gave me for Christmas called Quilting Bee by My Mind's Eye.


If you want to see the other images and sayings on this stamp set you will need to get the new Idea Book, come to my Open House or wait to see it online February 1st. I will most likely be stamping with it lots more, so visit my Blog again soon!

Friday, January 10, 2014

I didn't forget your Birthday! {for my sweet niece, Mad Dog!}

I'm trying a new technique today using Washi tape and my Cricut machine. This is for the "new" challenge on Heart 2 Heart Challenges Blog. I have incorporated this easy idea on the Freshly Made Sketch this week.
 
I used some Chantilly papers as my base and added in more color with greens, blues and pink. Instead of a square element as in the sketch I chose to do a scalloped circle from the Perfect Fit Frames. What I really want to point out is the number "9". It may look like paper in the photograph, but it is actually Washi tape that has been adhered to a chipboard number.
 
 
This is an easy and fun technique to try! Using a spare piece of white daisy cardstock, I taped strips of this darling pink polka dot Washi tape being sure to line up the spots. Depending on the shape and size you want to cut out will determine how long and how wide your strips of Washi tape will be.
 

I was simply cutting a number nine on the Art Philosophy cartridge to the determined sizing according to the chipboard package label. I loaded my cutting mat and made sure that my cutting blade was on the Washi tape surface. I set my key, size of 1 1/2" and pressed cut. It cut out the "9" perfectly. I simply peeled it from the cutting mat and adhered it to the chipboard with some liquid glue.

 You can use this technique for alphabet letters to create a title, a bracket shape for a mini album, or mix and match different colors and patterns of Washi tape before cutting it out. It's a great "new" technique and the possibilities are endless!


Thursday, January 9, 2014

Clean Slate

Hello! Happy 2014! I'm preparing for some new crafting projects and this first project is the perfect start....or should I say finish!? I am playing with The Paper Players this week. Their challenge titled "clean slate" is to create a project with the chalkboard technique. The title really got me thinking though??? Make a clean slate or to start a new meant that I should at least finish other projects I have already started, being my 2013 scrapbook. I always finish my album with a "pocket" page to store and display those awesome holiday photo cards we receive at Christmas. So that is where I started my "clean slate"!

 
This year I made my own family photo card through Shutterfly. That was my jumping off point for my pocket page. It had a black background that was perfect to play with the chalkboard technique. The black was the base page and then I added a 6x12 piece of white card stock to the front. {the pocket} I dressed up the edges with some Washi tape. I also attached my photo card with some Washi tape so that I could peel it back to reveal the back of my card that has a picture of our pooch and greeting. I dressed it up with faux chalk pen stitching, stamping in white daisy pigment ink, some banner pieces and an area for some journaling. 


Then I fill the page with all those cool photo cards from friends and family. I love doing this page in every album! Have you tried the chalkboard technique? See lots of ideas on the Paper Players Blog!

Sunday, December 29, 2013

My Favorite Projects of 2013

Looking back through this year of several Blog posts, I have found some of my favorite projects. Some projects are still in my home or scrapbooks, while others are in the hands of the loved ones I made them specifically for. I enjoyed creating each of them from my heart and hope that the recipients of some of these items are cherishing them also!

In no particular order~


I took a risk with pairing some winter snow pictures on a black background, the result was awesome and that's why I love it!


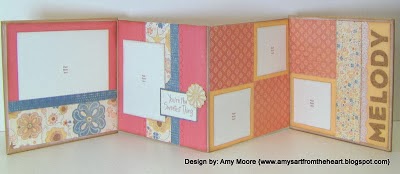
A folding album for a little baby girl turning one! Why I love it... The Clementine papers were so pretty and soft. It only needed a few embellishments, because the sweet girl will be the star of this album!


This card was from a Spring card exchange. I fell hard for the honeycomb trend! This card has multiple layers, lots of trendy supplies and fun techniques!


This layout is wild and is a favorite for many reasons! One of my first layouts using background layers created on the new Artbooking cartridge. It has a great pocket feature to hold more photo's and a informational booklet. It's also a favorite, because the pages capture one of the best adventures of our summer!

If you know me, you know that I love bicycles! I repainted this metal bike and display it in my craft room. I also incorporated a bicycle on some canvas artwork. Both are super fun projects!


I always look forward to the Stamp of the Month. This was one of my favorites all year...it has chocolate...who doesn't love chocolate!!


A Pinterest inspired project! How sweet are these onesie cupcakes?! Not too sweet, they are 0 calories!!


Close To My Heart has offered several home decor options this year. The display tray is incredibly easy to decorate and looks so nice in any decor!


I used the Frosted papers and a trio of trees stamp set to create this soft and elegant Christmas card. I love all the elements and dry embossing, it came together beautifully!


Another fun seasonal project was this "Be Merry" gingerbread banner. It just makes me happy!


Mini albums everywhere!! Thanks to the Artbooking cricut cartridge I am able to create several mini albums. This Halloween album was a workshop I did in conjunction with a card exchange. It was a big hit!


My Summer album has lots of fun elements. It also features the very cool Dream Pop papers that were a special promotion this year!


Often my inspiration comes directly from my customers. They always find interesting products and ideas for me. These Valentine heart trees turned out super cute! {Cra Cra Adorbs!!}


Finally, this Halloween luminary/card for Halloween was a great idea and later inspired a Fall and Christmas luminary.


I love looking back at past projects, they often inspire future projects! Who knows what this next year will bring. Please visit my Blog in 2014 to see new creations, amazing products and hopefully be inspired!


Monday, December 23, 2013

Special Care Card Kit

I was inspired by this month's Stamp of the Month and decided to use it for creating a sweet little card kit! The kit is contained in a Birchbox and includes 10 cards with envelopes, stamped sentiments, pre-cut cardstock and patterned paper, grey twine and accessories that include buttons and clothespins.

The cover of the kit {top of box} shows the design of the card. It is a simple template that can be altered. The colors are bright and colorful and can easily be mixed and matched. I used one patterned paper from the Sarita collection. It's a fun design and can be feminine or masculine!


Here are just some examples of how the cards can be assembled. Each one will be different making it a unique kit!

 
Here are all the pieces tied up with string. Everything fits nicely in the box.


The front cover of the box.

 
Those sentiments are super cute! If you haven't purchased your December Stamp of the Month yet you only have until December 31st. Shop online here.


Sunday, December 22, 2013

My Favorite

Switching gears from Christmas for just a bit! When I originally saw the sketch at Freshly Made Sketches this week, I was convinced that I would create a Christmas themed card. However, I went in a completely different direction once I sat down in my craft room. Instead my card has some lovely muted tones of greys, purples, greens and teal. Can you guess what papers I used to create the banner pieces? They are actually scraps from the My Crush Bluebird assortment. That's right, they don't have to be used for just the Crush book! They work great on cards, scrapbooks or mini albums!


Tuesday, December 17, 2013

Blue & Kraft Snowman

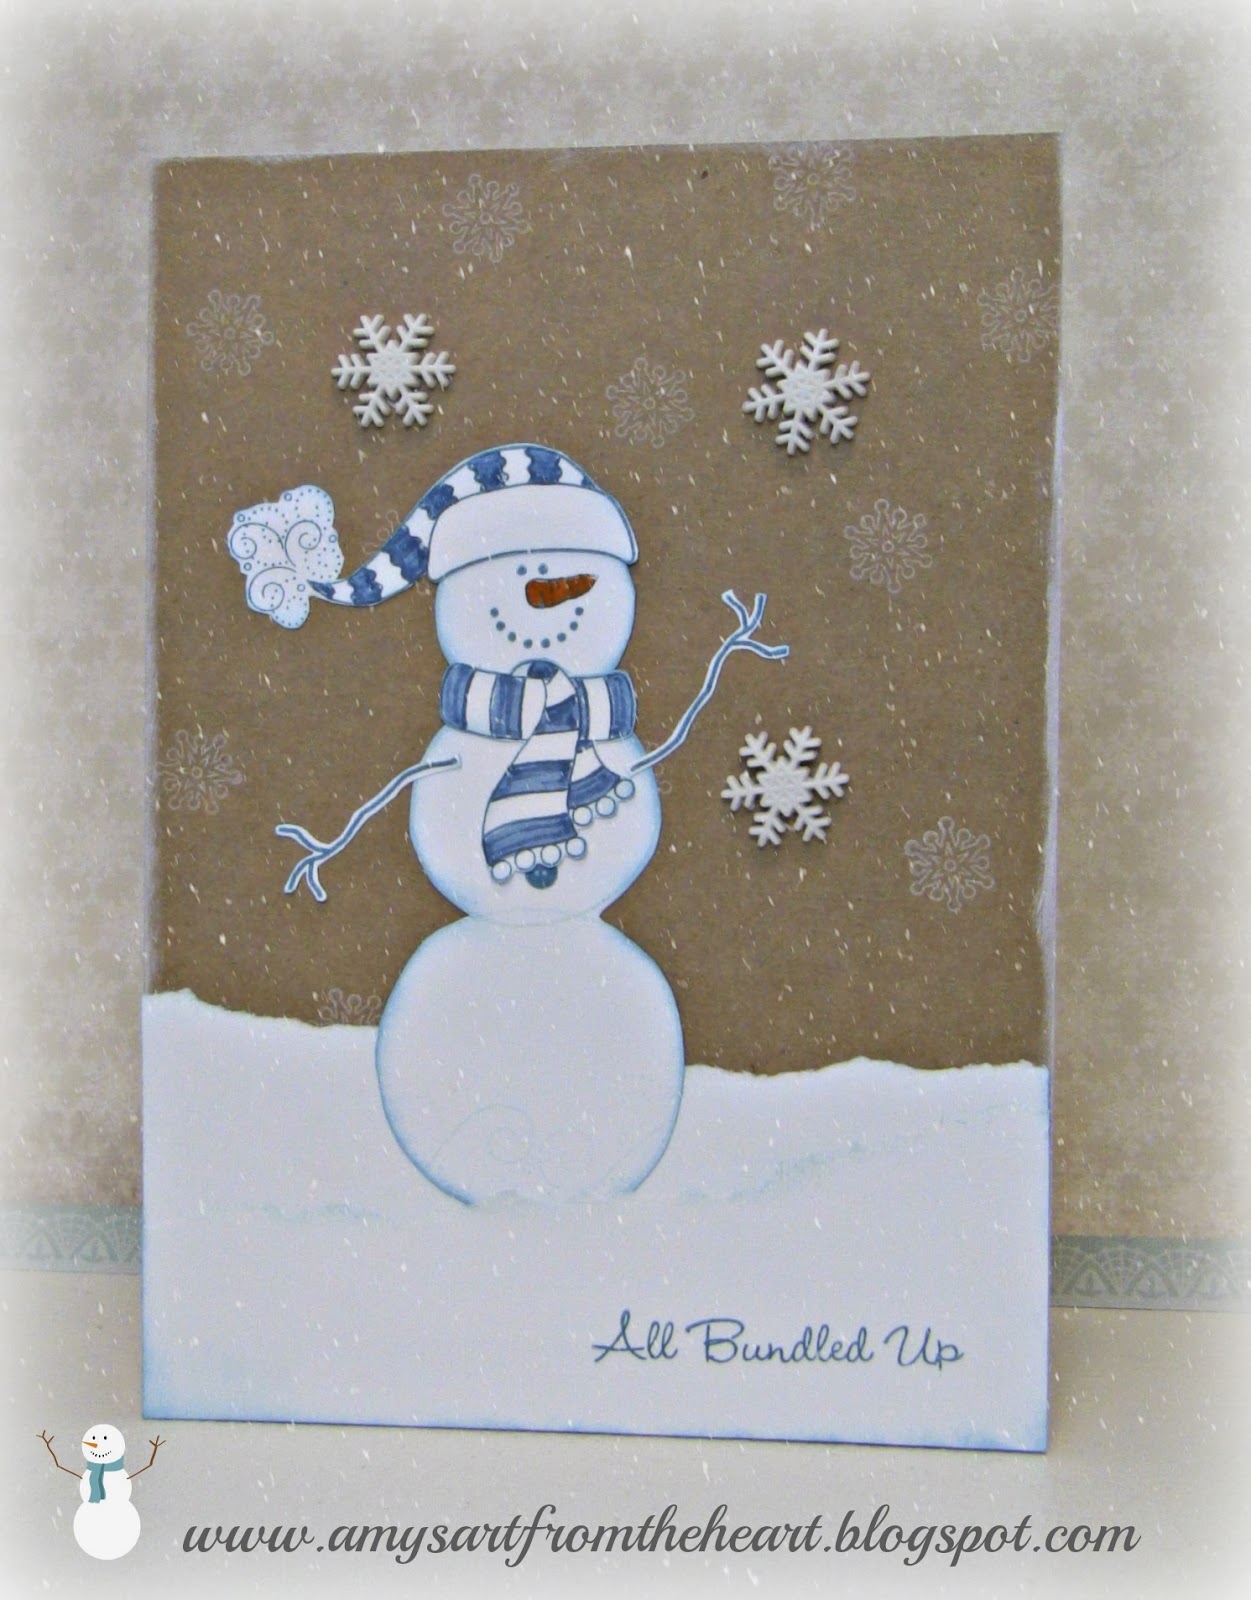
I have used this stamp set before and always enjoy creating these little snowmen. He has different faces, hats and scarves to play with! I put him in a layer of white snow and used kraft cardstock in the background with some soft snowflakes. Using the color combination at Dynamic Duos I added some blue on the stripes of his hat and scarf. It makes him so cute!


Monday, December 16, 2013

Cookies and Cards Mini Album

Today I am sharing the special surprise project I created for my Card & Cookie exchange! I have also been invited to be a guest designer at Heart 2 Heart Challenges Blog this week. Their challenge was to create a project using the Sparkle & Shine color combination. I took the challenge literally and used the papers, but you will see that I have incorporated a few other colors too!

Every year I hold card exchanges, but always do a Christmas themed swap at the end of the year. Each time I save all the cards and usually just store them in a ziplock bag. This year I decided to display them in a mini album made from the Artbooking cartridge. The keys to create this album include the pages and various little pockets. This was perfect to store each card and the recipe from the cookies that the card maker brought to share. The book is dated and I have little notes throughout indicating who made each card. I also adhered photo's I took at the event.

 
I added some Kraft papers to the Sparkle & Shine papers for this book. It blended well and allowed a nice stiff cover to the album. The cute gingerbread man is from the Candyland stamp set. The binding is simply 2 holes punched in the seam and tied together with some cranberry twine.


Here is a peek inside just a few of the pages. Photo's were taken before all the cards and pictures were added, but you get the idea.