I just returned my spooky Halloween decor to the storage boxes and yet I found myself shopping over the weekend listening to Christmas music playing throughout the store! What? I still have Halloween candy in a bowl on my kitchen counter and we haven't eaten any turkey yet! Then again, I do realize the time it takes to prepare for Christmas~ all those handmade cards, projects and scrapbook pages waiting to be filled with memories. That is why you will find Christmas papers and stamps filling every inch of my desk.
Today I'm sharing one of the cards I made with a sketch in mind from Freshly Made Sketches Blog. I wanted to submit it, but simply ran out of time to photograph and post it earlier before the deadline. I used the lovely Oh Deer papers and some of the complements. I used the Perfectly Pine stamp with those sea glass branches, but instead of just stamping the pine cones I opted for some golden kraft complements. I also used a bit of some Uptown gold embossed polka dot paper layered on some sea glass Oh Deer papers. The shiny gold is just lovely and makes me warm up to the idea of Christmas music playing in the stores already!
I hope you are inspired to use some of these paper collections and the Perfectly Pine stamp set. These products will only be available until the end of December. Thanks for visiting!
Showing posts with label paper fundamentals. Show all posts
Monday, November 7, 2016
Thursday, October 13, 2016
Halloween Witch Hats
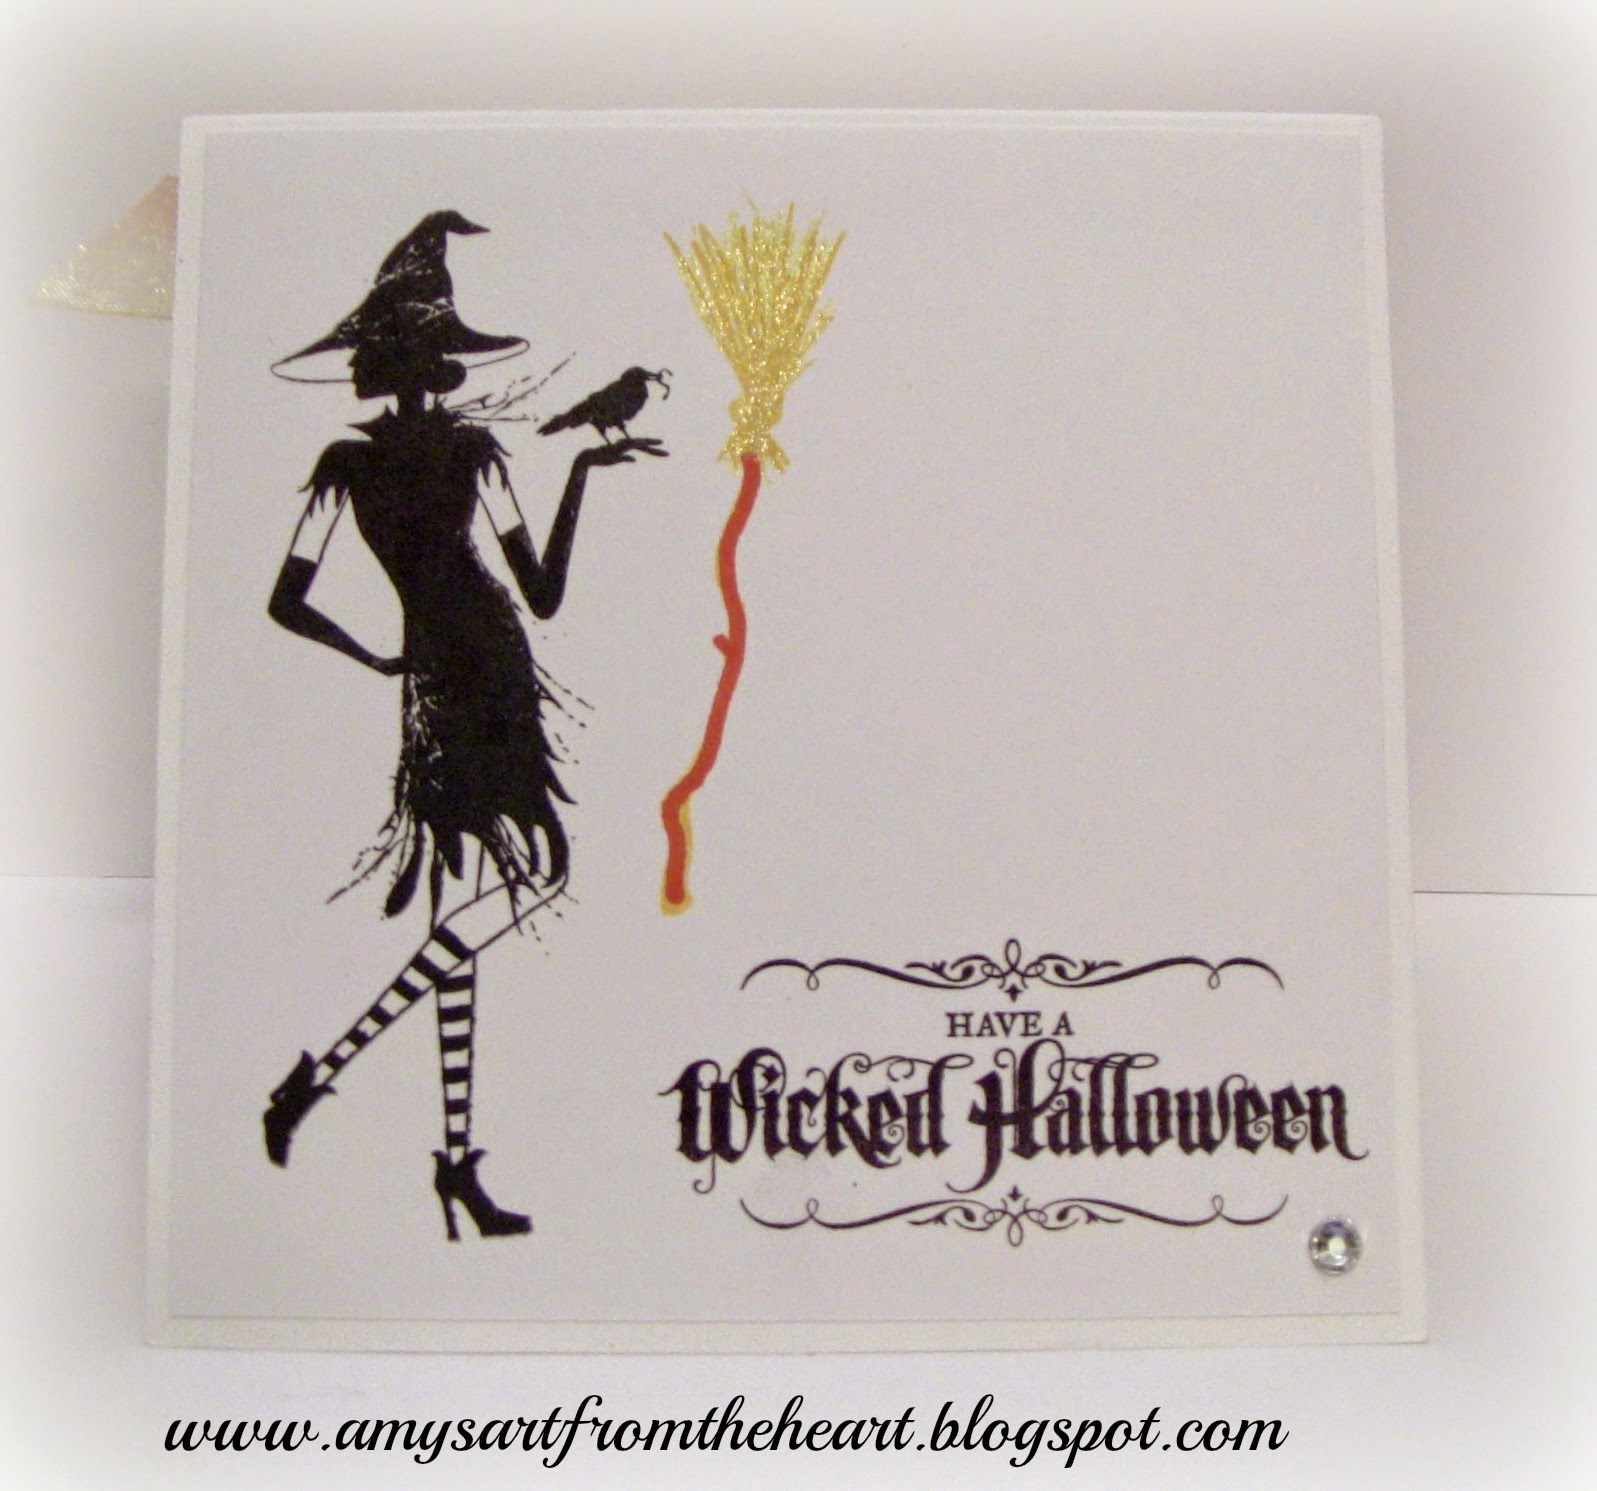
Are you creating your Halloween cards yet? The spookiest holiday is just around the corner, how exciting! I have a not-so-spooky card to share with you today. You may remember the August Stamp of the Month, Purr-fect Halloween set. That is where you can find this witch hat and the bat too. I simply stamped them, colored and laid them evenly on the card front. The bats were stamped once on the reverse side of the stamp, then on the correct side showing the outlined image. Then the strip was placed at the bottom of the card front over some fundamental papers. A little sentiment and free hand outline and this card is complete!
If you missed out on this Stamp of the Month, be sure to check out the other Halloween inspired stamp sets available online. Some of these sets are also limited, so don't miss out!
Shop online here.
If you missed out on this Stamp of the Month, be sure to check out the other Halloween inspired stamp sets available online. Some of these sets are also limited, so don't miss out!
Shop online here.
Thursday, August 18, 2016
Showing Sympathy with Flower Market
The newest Cricut Cartridge, Flower Market, has been very useful lately. I've had to make a few sympathy cards in the last couple of weeks and the detailed flowers and sentiments on this cartridge have worked beautifully. Take a look at two of the designs I've created.
I've used a similar color scheme on both as well as the same sentiment cut. However with some different patterned/embossed papers and two very different layered flowers they are uniquely not identical!
The Flower Market Cricut cartridge is available to order now in the traditional physical cartridge or a digital version. Get more details on my website here.
I've used a similar color scheme on both as well as the same sentiment cut. However with some different patterned/embossed papers and two very different layered flowers they are uniquely not identical!
The Flower Market Cricut cartridge is available to order now in the traditional physical cartridge or a digital version. Get more details on my website here.
Thursday, March 24, 2016
Some Favorite Spring Stamps
There are only a few days left to take advantage of the Stampaganza sale! I just recently shared a few of my favorite stamp sets at a Spring Card Class. Here are the cards we made and the stamps I used. You can find all of these in the current Seasonal Expression 1 Idea Book.
This first card was inspired by another consultant Chris Lothian who posted on Instagram. I loved the combination of stamps to create an adorable scene. I used the Spring Critters stamp and the Stuck on You cactus set. These are both compatible with Thin Cuts which makes them even easier to stamp and color!
This card shows what you can do with just one stamp set. Woodland Romance is a beautiful stamp that allows all sorts of images to come together in a lovely romantic design. It especially looks amazing with the Charlotte papers and some diffused embossing!
Even though I called this a Spring class this card will get you in the mood for summer. I just love this octopus, he is so cute and ready to make a splash! Like the Woodland Romance stamp set several of these images can be cut on the Cricut. The crab is equally as cute and the banner with the sentiments are perfect for cards and scrapbooking pages.
Now you have a few more ideas for these awesome stamp sets. Which one will you choose to get for free?! Order online here.
This first card was inspired by another consultant Chris Lothian who posted on Instagram. I loved the combination of stamps to create an adorable scene. I used the Spring Critters stamp and the Stuck on You cactus set. These are both compatible with Thin Cuts which makes them even easier to stamp and color!
This card shows what you can do with just one stamp set. Woodland Romance is a beautiful stamp that allows all sorts of images to come together in a lovely romantic design. It especially looks amazing with the Charlotte papers and some diffused embossing!
Even though I called this a Spring class this card will get you in the mood for summer. I just love this octopus, he is so cute and ready to make a splash! Like the Woodland Romance stamp set several of these images can be cut on the Cricut. The crab is equally as cute and the banner with the sentiments are perfect for cards and scrapbooking pages.
Now you have a few more ideas for these awesome stamp sets. Which one will you choose to get for free?! Order online here.

Tuesday, December 8, 2015
Joy to the World...and a Gold Glitter Deer
I have another deer head for you today! {This week may very well have a deer theme?!} This time I cut the deer head on gold glitter paper with my Cricut Explore. It sits so pretty atop a White Pines PML card. These cards are typically intended to be used in pocket scrapbooking, but as you can see they complement a greeting card beautifully!
I am also entering this card in Heart 2 Heart Challenges this week as a revisit, or rewind, to the Holiday Expressions product challenge!
The White Pines collection will only be available until December 31st.
I am also entering this card in Heart 2 Heart Challenges this week as a revisit, or rewind, to the Holiday Expressions product challenge!
The White Pines collection will only be available until December 31st.
Sunday, September 6, 2015
No Frills, Fundamental Birthday Card
I created a simple, no frills birthday card for Freshly Made Sketches this week. I used some of my favorite Fundamentals Paper in a subtle beige and blue combination. {flaxen & glacier} The little present comes from this month's promotion Hello, Life!
Sometimes its best not to fuss over the details, in fact these shiny patterned papers are all you need! Did you know that the 2015-16 Annual Idea Book contains all new patterns of the Paper Fundamentals in all of the color collections? Check out pages 108 & 109 to see all the patterns and colors. Plus, if you continue to look on pages 110 & 111 you will see the all new coordinating sticker packs and assortments.
Are those awesome!? Take a look in the new book or shop online in you favorite color combo or get them all for a superior collection of scrapbooking and card making materials!
Sometimes its best not to fuss over the details, in fact these shiny patterned papers are all you need! Did you know that the 2015-16 Annual Idea Book contains all new patterns of the Paper Fundamentals in all of the color collections? Check out pages 108 & 109 to see all the patterns and colors. Plus, if you continue to look on pages 110 & 111 you will see the all new coordinating sticker packs and assortments.
Whimsy Collection
Are those awesome!? Take a look in the new book or shop online in you favorite color combo or get them all for a superior collection of scrapbooking and card making materials!
Friday, August 21, 2015
Freshly Made Sketches 200th Celebration
Freshly Made Sketches is celebrating their 200th sketch! They are celebrating with a ton of inspiration on their blog. Not only has the Freshly Made Sketches Design Team offered gorgeous art, but so has several design team members from the sponsors of some amazing crafting companies!
The sketch is super clean this week and allows for all sorts of themes and ideas.
I pulled in some fabulous Zoe papers and a few little extras that you might not have seen yet?! I'll tell you all about these 'mystery' products soon! For now enjoy the fun friendship card with lots of patterns and pretty colors!
Please visit the FMS blog for more inspiration. You can see more Zoe products online here.
The sketch is super clean this week and allows for all sorts of themes and ideas.
I pulled in some fabulous Zoe papers and a few little extras that you might not have seen yet?! I'll tell you all about these 'mystery' products soon! For now enjoy the fun friendship card with lots of patterns and pretty colors!
Please visit the FMS blog for more inspiration. You can see more Zoe products online here.
Labels:
banners,
freshly made sketches,
hello friend,
paper fundamentals,
zoe
Tuesday, August 18, 2015
Artistry Typewriter
The newest Close To My Heart Cricut Cartridge is available now. Do you own the Artistry collection yet? This is the collection that is available two different ways. You can purchase in the usual way receiving a cartridge with book, stamps and cardstock. Or you can purchase the new digital edition for those Cricut Explore & Explore Air users. I chose the digital collection myself, which was extremely easy to upload and start cutting right away in Design Space.
I tried out all sorts of new cuts from shapes, layers, banners, borders and icons. One of my favorite cuts was this little typewriter. I loved all the layers and that I could add a sentiment to the paper coming out of the roller! I decided to add my finished typewriter to a card. I have already returned to the classroom, so "back to school" was my theme!
I wanted the typewriter to appear as if it were sitting in front of a chalk board. I used some older Chalk it Up papers for the black board and stamped a sentiment with white daisy ink. There is a little bit of shimmery purple fundamentals paper underneath. Finally, I had to add the little coffee cup as it is essential morning fuel!
I will be making many more cards with these fun cuts from the Artistry cartridge, so visit my Blog again soon. You can purchase your own cartridge here!
I tried out all sorts of new cuts from shapes, layers, banners, borders and icons. One of my favorite cuts was this little typewriter. I loved all the layers and that I could add a sentiment to the paper coming out of the roller! I decided to add my finished typewriter to a card. I have already returned to the classroom, so "back to school" was my theme!
I wanted the typewriter to appear as if it were sitting in front of a chalk board. I used some older Chalk it Up papers for the black board and stamped a sentiment with white daisy ink. There is a little bit of shimmery purple fundamentals paper underneath. Finally, I had to add the little coffee cup as it is essential morning fuel!
I will be making many more cards with these fun cuts from the Artistry cartridge, so visit my Blog again soon. You can purchase your own cartridge here!
Labels:
chalk it up,
cricut artistry,
paper fundamentals,
typewriter
Monday, May 18, 2015
Inspired by: Patches of papers and "fabulous" pops!
I was finding myself in need of some de-stressing craft time this weekend. Surfing through some pins and blogs I found inspiration from separate sources that I incorporated together.
The patchwork of patterned paper idea came from a post on the Make it from your Heart, Close To My Heart Blog. I used some left over pieces from the new Blossom papers with some Fundamentals flat and glossy sided patterned paper.
The sentiment for the card stayed in the same place too, but I wanted to use the current Operation Smile stamp set Happy Everything. This sentiment is fabulous on it's own, but when I saw how Wendy Coffman used it I fell in love! You can see her creation on her Blog Stamping Rules! Cutting out the "fabulous" script is tedious, but the result is well worth it!
I hope you are all having a one-of-a-kind fabulous day!
The patchwork of patterned paper idea came from a post on the Make it from your Heart, Close To My Heart Blog. I used some left over pieces from the new Blossom papers with some Fundamentals flat and glossy sided patterned paper.
The sentiment for the card stayed in the same place too, but I wanted to use the current Operation Smile stamp set Happy Everything. This sentiment is fabulous on it's own, but when I saw how Wendy Coffman used it I fell in love! You can see her creation on her Blog Stamping Rules! Cutting out the "fabulous" script is tedious, but the result is well worth it!
I hope you are all having a one-of-a-kind fabulous day!
Monday, February 2, 2015
Home is Where {love} is!
I was asked to be the guest designer this month at Heart 2 Heart Challenges. I love to play along with their challenges week after week, so being their guest is an honor!
The first challenge this month~ Home is where the heart is! My first thought immediately went to an Artfully Sent swing card that I saw in the booklet. {page 19} With an upcoming Cricut class this week it would be perfect to display giving the ladies more ideas and inspiration!
This card cuts out beautifully, is simple to decorate, but not so easy to photograph! I took a few pictures so that you can see it from all angles.
Be sure to visit the H2H Blog to see the other wonderful creations from this challenge!
The first challenge this month~ Home is where the heart is! My first thought immediately went to an Artfully Sent swing card that I saw in the booklet. {page 19} With an upcoming Cricut class this week it would be perfect to display giving the ladies more ideas and inspiration!
This card cuts out beautifully, is simple to decorate, but not so easy to photograph! I took a few pictures so that you can see it from all angles.
Be sure to visit the H2H Blog to see the other wonderful creations from this challenge!
Tuesday, December 30, 2014
Hey There Cupcakes!!
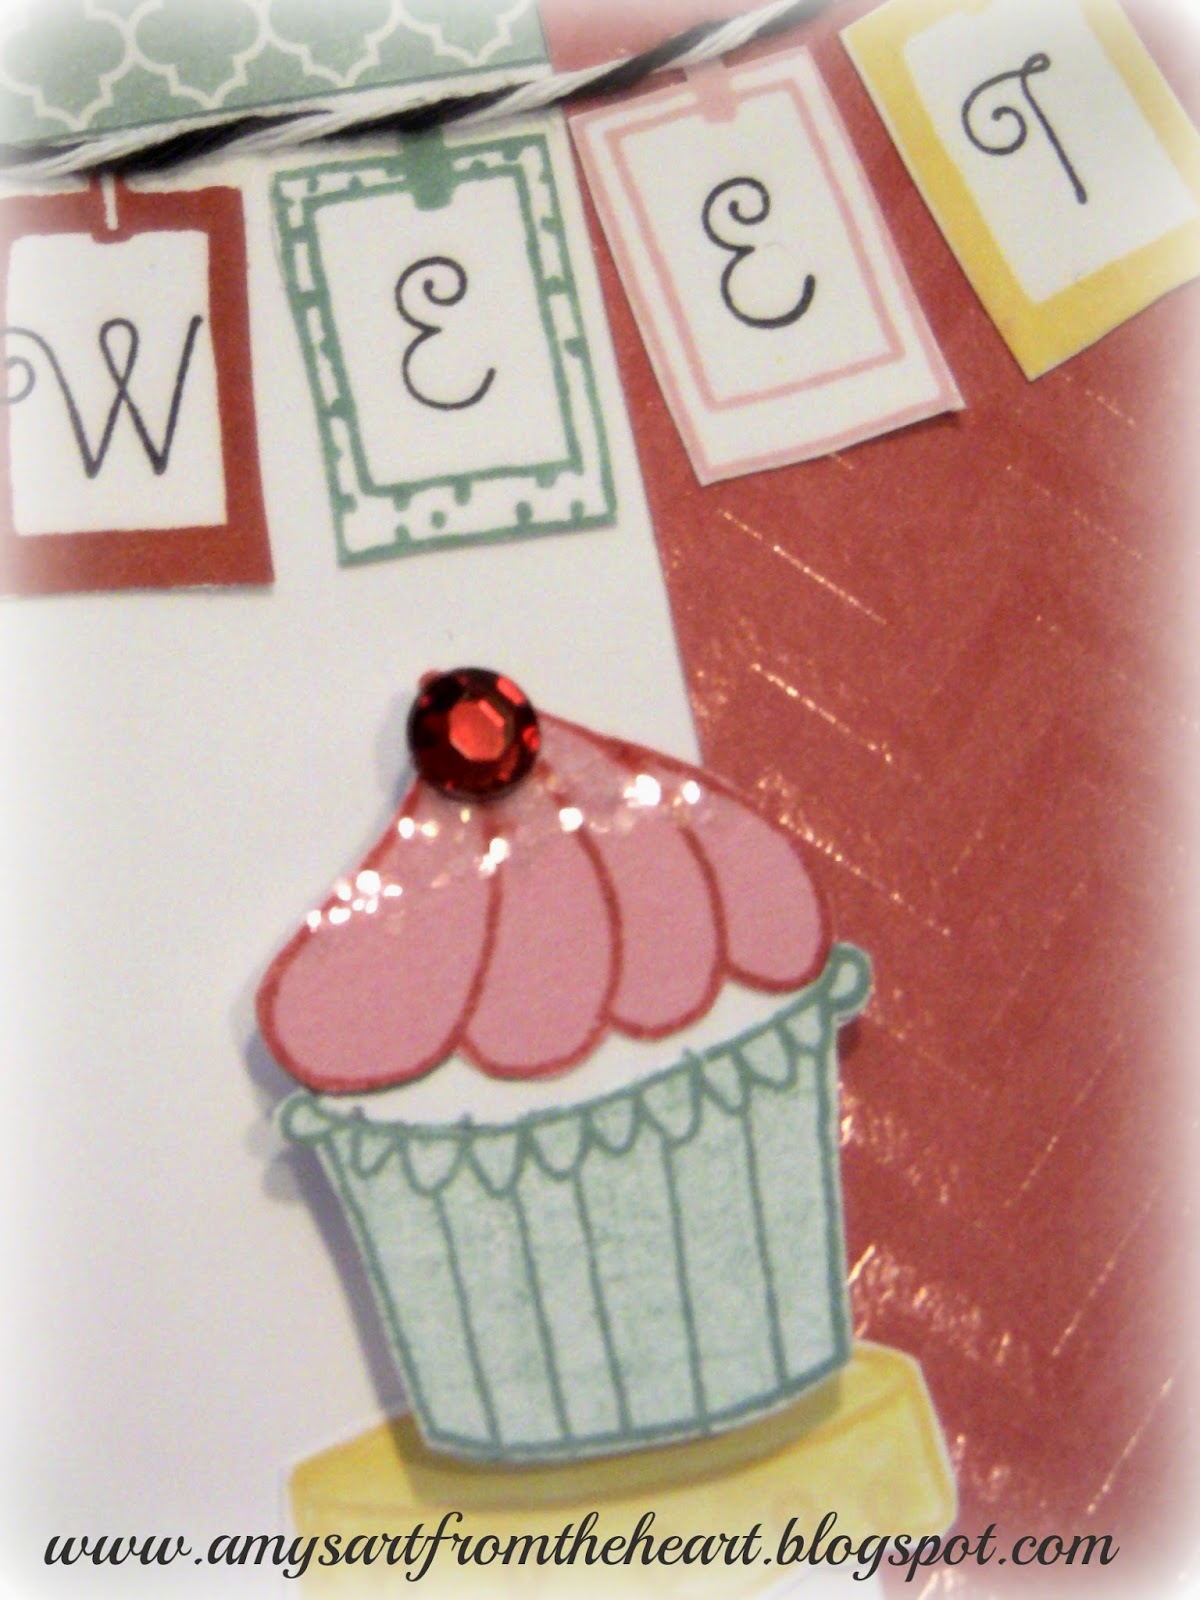
It's almost a new month...a whole new year?! Don't let this month's stamp Cutie Pie not make its way into your craft room. Your going to need lots of sweet Birthday cards in 2015 and this stamp set is simply perfect!
Today I have lots of inspiration to convince you that you need this Cutie Pie of a stamp set!
Well, are you convinced that this is the cutest stamp set?! These cupcakes can be water colored with a water pen and ink pad or water color pencils. You can stamp on cardstock or patterned paper and piece them together. Finally, they can be colored in with the fabulous Shin-Han markers and then dipped in glitter or glitz to make them delicious! December 31st is the last day you can get this stamp for just $5 with a qualifying order.
Today I have lots of inspiration to convince you that you need this Cutie Pie of a stamp set!
4 You cutie!
For the love of cupcakes...enjoy!
Happy Birthday cupcake!
Hey there, cupcake!
Well, are you convinced that this is the cutest stamp set?! These cupcakes can be water colored with a water pen and ink pad or water color pencils. You can stamp on cardstock or patterned paper and piece them together. Finally, they can be colored in with the fabulous Shin-Han markers and then dipped in glitter or glitz to make them delicious! December 31st is the last day you can get this stamp for just $5 with a qualifying order.
Labels:
banner,
birthday card,
brushed,
cupcake,
cutie pie,
glitter,
paper fundamentals,
stamp of the month
Friday, December 12, 2014
Make it Merry
I like to challenge myself to think outside of the Christmas box from time to time when creating my Christmas cards. Every once in awhile I come back to traditions though. The cards I am showing today are exactly that, traditional red and green! They are merry and a little bit bright with some shimmery fundamental papers!
Labels:
christmas cards,
cricut,
make it merry,
paper fundamentals
Sunday, October 12, 2014
A Fall and Halloween Card Exchange
I held my annual Fall card exchange yesterday. The participants had the option of creating a Fall themed card or a Halloween themed card. Last year when I held this event I was the only one that created a Halloween card. This year had a different outcome, which made it very interesting! As always I saw unique ideas and was inspired by all the talent of my wonderful friends & customers!
This is a picture of all the cards, except one. I'll post more about the table decor later!! ;)
First up is the card I made. As you may have seen in previous posts, I teased you a bit with cards that did not make the final cut. I hinted about images that carried forward to my final card. Do you see them now? I used the apothecary jar from the first card I showed with the candy in them. From my Halloween Characters card I stamped the skeleton dudes so they look like their floating in the jar. It was inspired by a card I saw on Pinterest {Consultant Mischelle Smith} and I loved the unique and unpredictable blend of images!
I tried to show the shine of the fundamentals paper in this photo. I love Halloween so the purple hearts were just perfect. The added glitter in the shimmer trim and inside the jar just screams Halloween too!
Janet's card~
Inside Janet's card~
Nikki's card~
Tommie's card~
Julie's card~
Nanette's card~
Pat's card~
So as you can see there was a great mix of Fall and Halloween themes! Please leave a comment and let these ladies know how beautiful their artwork is!
We are not even half way through the month though!! I still have several Halloween projects to share with you, so visit again soon!
This is a picture of all the cards, except one. I'll post more about the table decor later!! ;)
First up is the card I made. As you may have seen in previous posts, I teased you a bit with cards that did not make the final cut. I hinted about images that carried forward to my final card. Do you see them now? I used the apothecary jar from the first card I showed with the candy in them. From my Halloween Characters card I stamped the skeleton dudes so they look like their floating in the jar. It was inspired by a card I saw on Pinterest {Consultant Mischelle Smith} and I loved the unique and unpredictable blend of images!
I tried to show the shine of the fundamentals paper in this photo. I love Halloween so the purple hearts were just perfect. The added glitter in the shimmer trim and inside the jar just screams Halloween too!
Janet's card~
Inside Janet's card~
Nikki's card~
Tommie's card~
Julie's card~
Nanette's card~
Pat's card~
{take a close look at this card, the entire front is a shaker card with pieces of straw inside!}
So as you can see there was a great mix of Fall and Halloween themes! Please leave a comment and let these ladies know how beautiful their artwork is!
We are not even half way through the month though!! I still have several Halloween projects to share with you, so visit again soon!
Labels:
bats,
card exchange,
fall,
halloween,
halloween owl card,
paper fundamentals,
pathfinding,
scarecrow,
skeletons,
spiders
Subscribe to:
Posts (Atom)