The Stamp of the Month for May is a super cute set featuring a ball/mason jar and some lemonade images. At first I was challenged with how exactly to use it and which techniques would work the best. As I started to play with it I realized that several techniques will work and I haven't even stamped all the images yet. Take a look at some of the creations~
This first card is a festive way to greet the summer season. I used a patterned paper to represent the pink lemonade in the jar. The lemons and ice were separately stamped, cut out, then added. You could just stamp the banner pieces which is included in the set, but I chose to cut them out from colored cardstock to make them stand out.
How about a sign posted near your jar of refreshing lemonade at your next summer bash. That is the name of the stamp after all!
For this jar I did lots of masking and watercoloring. It gives a much more mellow effect than the first card.
Finally, I stamped the jar image on a piece of paper with an ombre blue color. All three the exact same, then cut them out. Then I created 3 totally different cards with them.
I think its awesome to find so many uses for one stamp set or even one image alone! You can get this stamp set this month at a discounted price. Go to my website to find out more!
Showing posts with label banner. Show all posts
Friday, May 4, 2018
Saturday, September 12, 2015
Card Club Returns
Today my Crate Card Club returns. We took a little break over the Summer, but now we are ready to start back up! With all the new products from the Annual Inspiration just being released it is exciting to imagine all the possibilities. For my card I've incorporated lots of cuts from the brand new Artistry Cricut cartridge. I gave a little sneak peek of it on Instagram, but the ladies attending don't know that I have another little surprise in store for them! Here is your sneak peek too, but you will have to come back to see the surprise for yourself.
Labels:
banner,
cake,
crate card club,
cricut artistry,
happy birthday,
shimmer trim
Tuesday, December 30, 2014
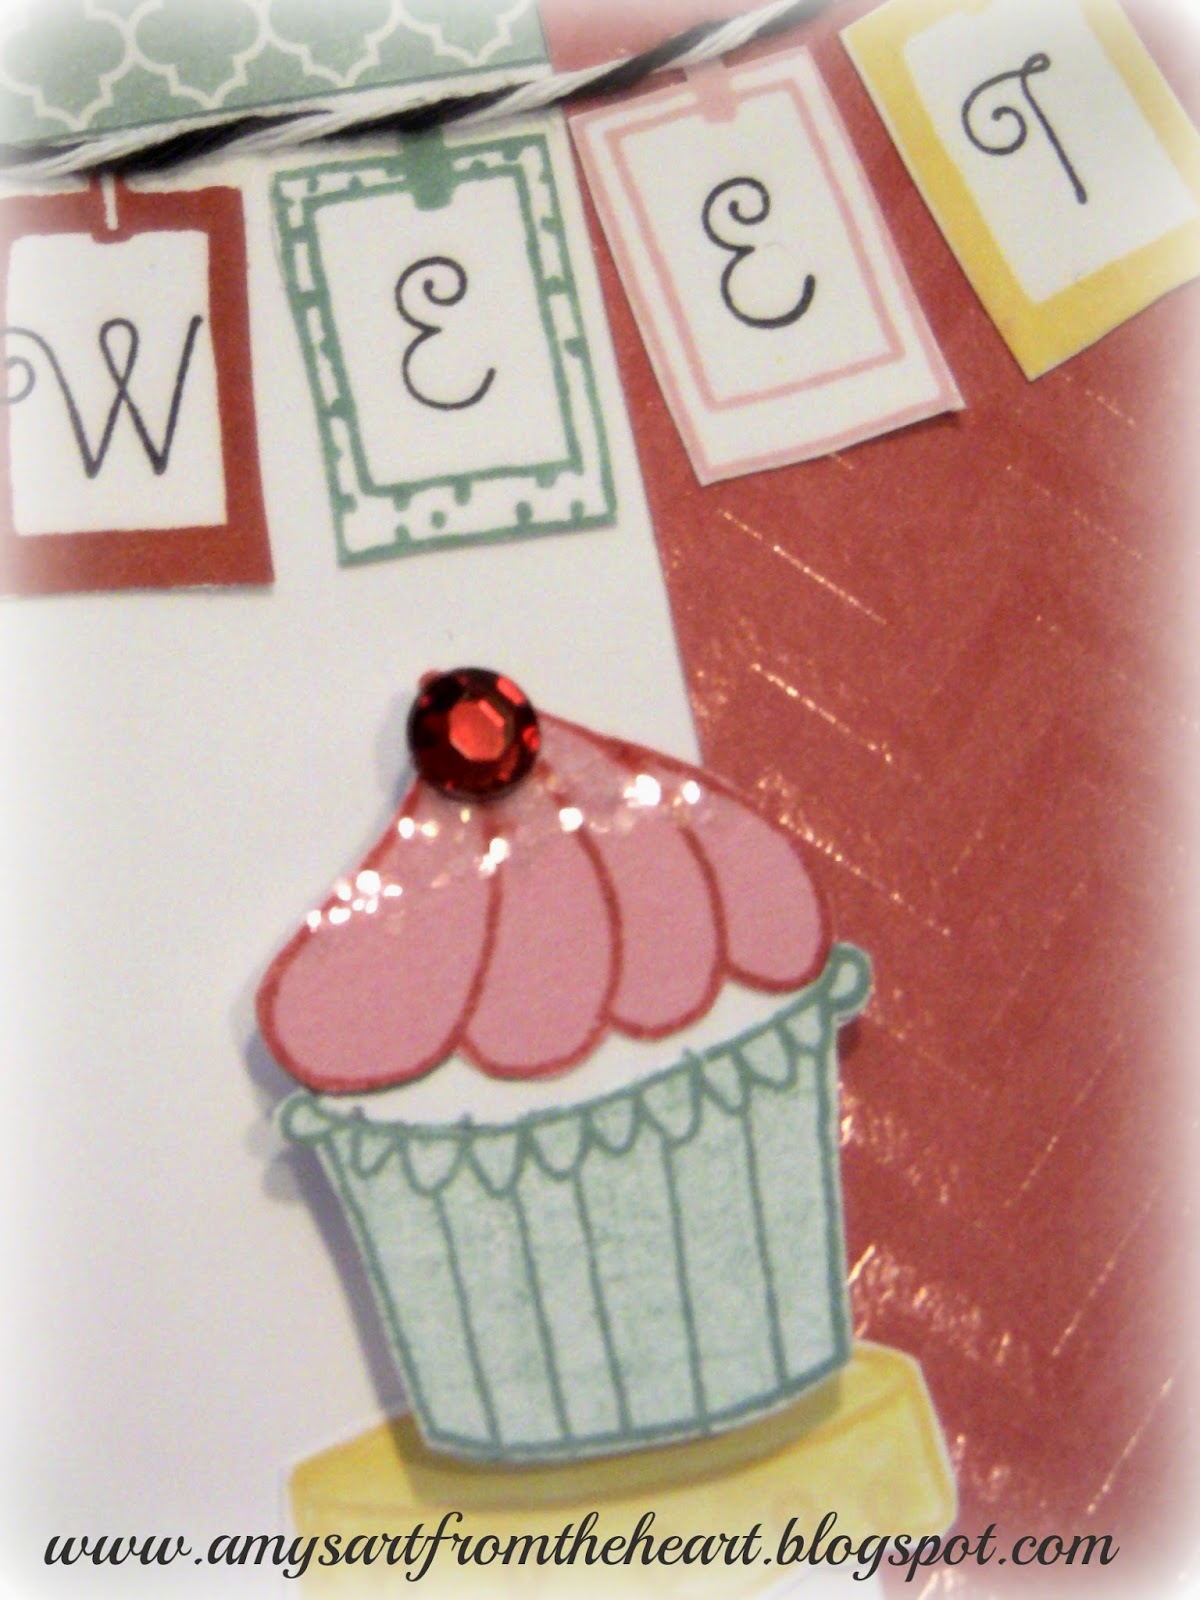
Hey There Cupcakes!!
It's almost a new month...a whole new year?! Don't let this month's stamp Cutie Pie not make its way into your craft room. Your going to need lots of sweet Birthday cards in 2015 and this stamp set is simply perfect!
Today I have lots of inspiration to convince you that you need this Cutie Pie of a stamp set!
Well, are you convinced that this is the cutest stamp set?! These cupcakes can be water colored with a water pen and ink pad or water color pencils. You can stamp on cardstock or patterned paper and piece them together. Finally, they can be colored in with the fabulous Shin-Han markers and then dipped in glitter or glitz to make them delicious! December 31st is the last day you can get this stamp for just $5 with a qualifying order.
Today I have lots of inspiration to convince you that you need this Cutie Pie of a stamp set!
4 You cutie!
For the love of cupcakes...enjoy!
Happy Birthday cupcake!
Hey there, cupcake!
Well, are you convinced that this is the cutest stamp set?! These cupcakes can be water colored with a water pen and ink pad or water color pencils. You can stamp on cardstock or patterned paper and piece them together. Finally, they can be colored in with the fabulous Shin-Han markers and then dipped in glitter or glitz to make them delicious! December 31st is the last day you can get this stamp for just $5 with a qualifying order.
Labels:
banner,
birthday card,
brushed,
cupcake,
cutie pie,
glitter,
paper fundamentals,
stamp of the month
Thursday, December 5, 2013
Holiday Frames
I love creating home décor, especially for the holidays! Close To My Heart has been offering the most beautiful selection of home décor items lately and they continue to add more ideas. One of my favorite items from the latest Idea Book is the Designed Décor Frame.
See how I framed them up for Christmas and played along with the challenge at Heart 2 Heart this week!
I hung our stockings from some shelves this year instead of the fireplace. Behind the garland and reindeer I propped the décor frames with each of our photo's above the proper stocking. We just took these pictures recently up in the snow covered mountains, but I think it would be fun to display older pictures of us when we were younger too! I created a simple banner on each frame using the Art Philosophy cartridge and some alphabet stamps.
Who knows what I will do with them next! See how the designers & guest at Heart 2 Heart got framed this week!
See how I framed them up for Christmas and played along with the challenge at Heart 2 Heart this week!
I hung our stockings from some shelves this year instead of the fireplace. Behind the garland and reindeer I propped the décor frames with each of our photo's above the proper stocking. We just took these pictures recently up in the snow covered mountains, but I think it would be fun to display older pictures of us when we were younger too! I created a simple banner on each frame using the Art Philosophy cartridge and some alphabet stamps.
Who knows what I will do with them next! See how the designers & guest at Heart 2 Heart got framed this week!
Friday, November 22, 2013
Gingerbread Man Crafts
As I started creating for my recent craft fair I knew I wanted to gear it for the Holidays. Before I knew it I crafted an entire gingerbread theme! The adorable Gingerbread man is found on the new Candyland MyAcrylix stamp set. {D1557}
This first project is a magnetic photo frame. It is created using some clear acrylic cards (no longer available), papers and ribbon. They are closed with Velcro under the little gingerbread man. They can easily be opened to insert a picture and has a magnet strip on the back to attach to a refrigerator.
My next project is a gift card holder that can hang in your Christmas tree. The big kids love their gift cards these days, so why not package them in a fun way!
I always save my toilet paper rolls for all sorts of crafts. Simply take your empty, clean roll and smash it down in an embossing folder and run it through your embossing machine. Cut a strip of cardstock to make a belly band and decorate as you desire. Don't forget some twine to hang it!
And finally a merry banner! I love creating banners and this one was so much fun! The tags were made from a mini book in the Artbooking cartridge. I stamped them and added a title with a little mint. The best part is the smell! That's right, it's scented with a peppermint twist!
I sold a few photo frames, half of my gift card holders and I only have my sample banner left! This stamp set is really fun to play with. If you would like your own Candyland stamp set you can order directly through me or shop online here.
This first project is a magnetic photo frame. It is created using some clear acrylic cards (no longer available), papers and ribbon. They are closed with Velcro under the little gingerbread man. They can easily be opened to insert a picture and has a magnet strip on the back to attach to a refrigerator.
{I placed an older picture of my kiddo's in the frame for a sample at the fair.
Why do they grow so fast?!}
My next project is a gift card holder that can hang in your Christmas tree. The big kids love their gift cards these days, so why not package them in a fun way!
I always save my toilet paper rolls for all sorts of crafts. Simply take your empty, clean roll and smash it down in an embossing folder and run it through your embossing machine. Cut a strip of cardstock to make a belly band and decorate as you desire. Don't forget some twine to hang it!
And finally a merry banner! I love creating banners and this one was so much fun! The tags were made from a mini book in the Artbooking cartridge. I stamped them and added a title with a little mint. The best part is the smell! That's right, it's scented with a peppermint twist!
I sold a few photo frames, half of my gift card holders and I only have my sample banner left! This stamp set is really fun to play with. If you would like your own Candyland stamp set you can order directly through me or shop online here.
Thursday, December 20, 2012
Merry & Bright
I wanted to share some clean and simple Christmas cards I made using up some scraps I've collected throughout the year! I've been doing this quite a bit lately hoping to empty my scraps bag before the new year!
I am entering these cards in the Heart 2 Heart Christmas challenge since they will not be posting a new challenge this week with the Holiday and all! Also, I was super excited to see that my "glitter" card was chosen in November's top ten, check it out here. Woo~hoo!!
Rainbow colors were a big trend this year! Why not incorporate that in Christmas cards, it makes them so bright and cheery. My cards were also inspired by a photo greeting card I received by one of my customers. Her beautiful family dressed in black & white in front of bright colorful panels and the sentiment "Happy Joyful Twenty Twelve Merry & Bright" in rainbow colors. It was so cute and different! {Thanks for the inspiration Nikki!}
I am entering these cards in the Heart 2 Heart Christmas challenge since they will not be posting a new challenge this week with the Holiday and all! Also, I was super excited to see that my "glitter" card was chosen in November's top ten, check it out here. Woo~hoo!!
Rainbow colors were a big trend this year! Why not incorporate that in Christmas cards, it makes them so bright and cheery. My cards were also inspired by a photo greeting card I received by one of my customers. Her beautiful family dressed in black & white in front of bright colorful panels and the sentiment "Happy Joyful Twenty Twelve Merry & Bright" in rainbow colors. It was so cute and different! {Thanks for the inspiration Nikki!}
Labels:
banner,
bird,
christmas cards,
dotty for you,
h2h challenge,
merry and bright,
snowflakes
Friday, July 6, 2012
Parade of Pages {Home}
There's no place like home! We spend a lot of time in our homes and work hard to fill them with our personal touches and captured memories. It's important to snap pics around the house and cherish them in a scrapbook page, because things can & will change over time.
The beautiful Elemental papers were used to complete these pages. My favorite is the Cricut cut chipboard banner in the corner!
Labels:
banner,
cricut,
elemental papers,
parade of pages,
two page layout
Thursday, June 7, 2012
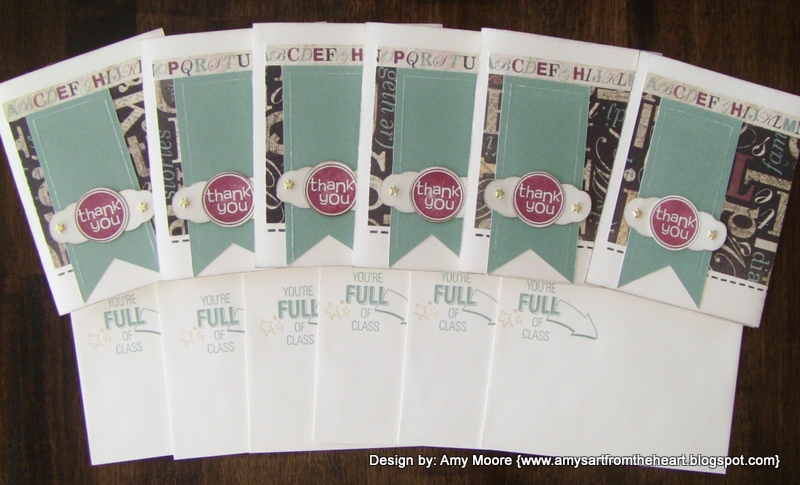
T is For: Typeset, Teacher & Thank You
Today is the last day of school for my kids. They both had a great year and accomplished so much. My daughter and I sat down to design some Thank You cards for her teachers. She had some great teachers this year and a Thank You card is the least we can do for their hard work and dedication.
{All product used is Close To My Heart with the exception of the brass star brads}
Sunday, April 22, 2012
Dotty Banners
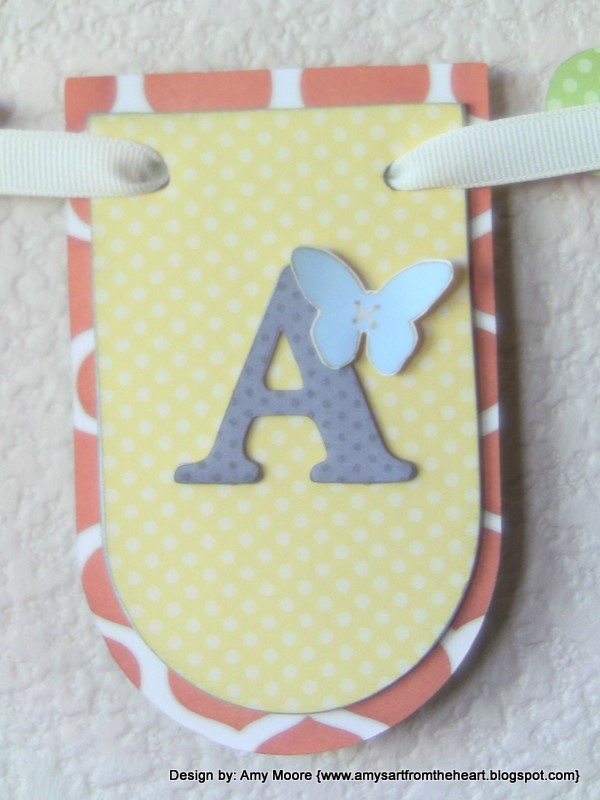
Hello! I just wanted to share some pictures with you today from my Dotty Banner workshop yesterday. The ladies were a little nervous at first creating their banners, but soon realized how great these products were, especially the coordinating Dotty For You papers! They could mix and match the papers to any banner shapes they desired. I had a selection of various embellishments to choose from and they all decided on their own "phrase" or "title". Here are just a few examples~
The Dotty For You paper kit is available until the end of May. Be sure to get this kit, you'll be so glad you did!
Labels:
art philosophy,
banner,
cricut club,
dotty for you
Thursday, April 12, 2012
Rock Star Party Pages
I recently saw this older paper used as a banner and thought how cool it looked with the colors. I also want to use up some of these older paper packs to make room for some new ones. How much fun are these party pages! This was a design from the Imagine book, however I changed it up a bit on the right page. I was also able to use up some of these overlays. They have itty bitty glue dots to secure them to the page, but will allow me to add photo's directly underneath them still.
Monday, April 9, 2012
Cricut Club Dream Banner
My Cricut Club this month will be creating this lovely Dream banner! We will be cutting our banner pieces and letters with the Art Philosophy cartridge. They will also be using an assortment of papers from this month's promotional kit "Dotty For You"!
As you can see this banner has tons of fun details. Customers attending this class will be personalizing their own banners however they wish. They can mix and match their papers and add a various amount of embellishments to their liking! How fun is that!!
Labels:
art philosophy,
banner,
cricut club,
dotty for you,
dream
Subscribe to:
Posts (Atom)