Showing posts with label card club. Show all posts

Monday, November 28, 2011

December Card Club

It is sometimes difficult to find the perfect gift for that special someone. I often find myself purchasing a gift card for that person or sending money. Rather than throwing that card or bills in an envelope, I think it's better to package it beautifully. That is my theme for my last Card Club class. Two of the cards are made to perfectly fit a gift card while the third is designed for the ever appreciated cash!

This first card/tag was inspired by the one and only Jeanette Lynton. In her Shape-a-Day series she featured a gorgeous Holiday tag using several shapes from the Art Philosophy cartridge. For my card I sealed the bottom and one end so I could tuck a tag in the middle. This creates the perfect place for my gift card.


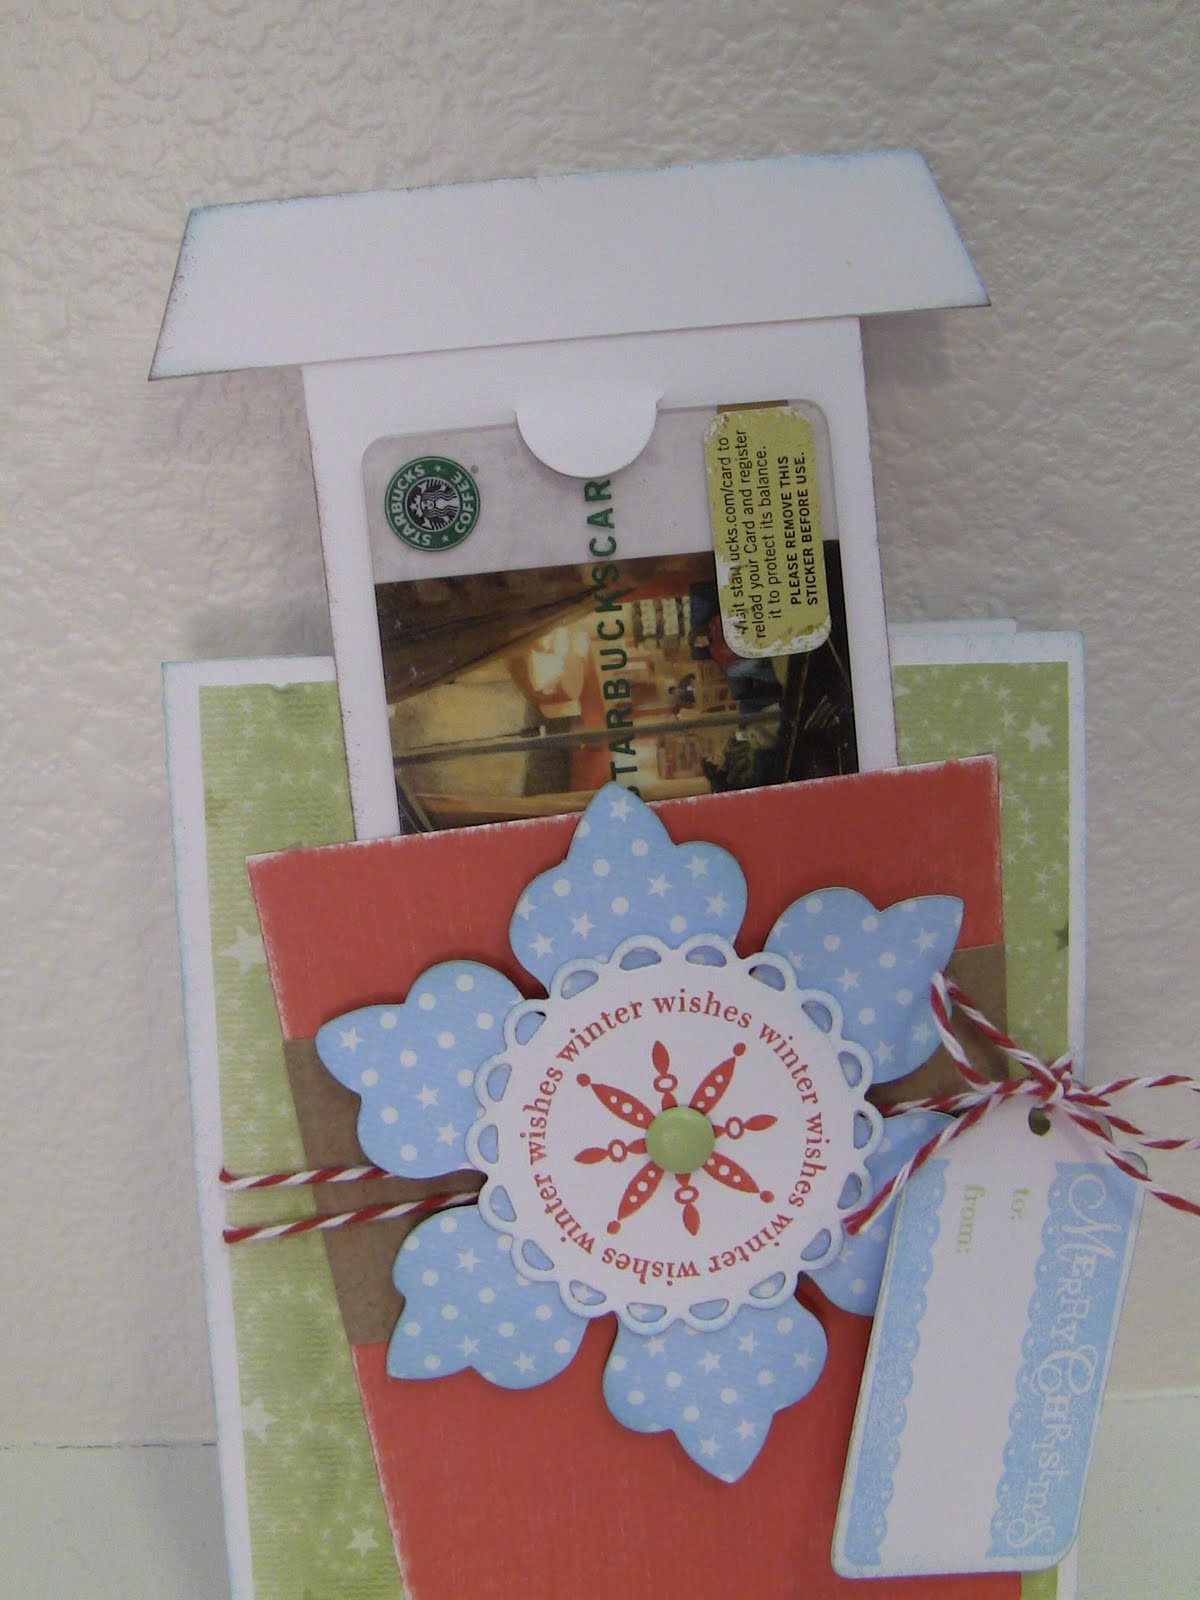
I've seen many different takes on the "coffee cup" card, but no templates did I find. So I just made it up as I went along. I've got a long list of recipients that would love a gift card to their favorite coffee house!


Last but not least, I wanted so badly to incorporate a Christmas stocking into one of my cards. The shape is cut from the Art Philosophy cartridge. I dolled it up with lace ribbon, buttons and holly leaves. It has an opening at the top perfect for some Christmas cash!


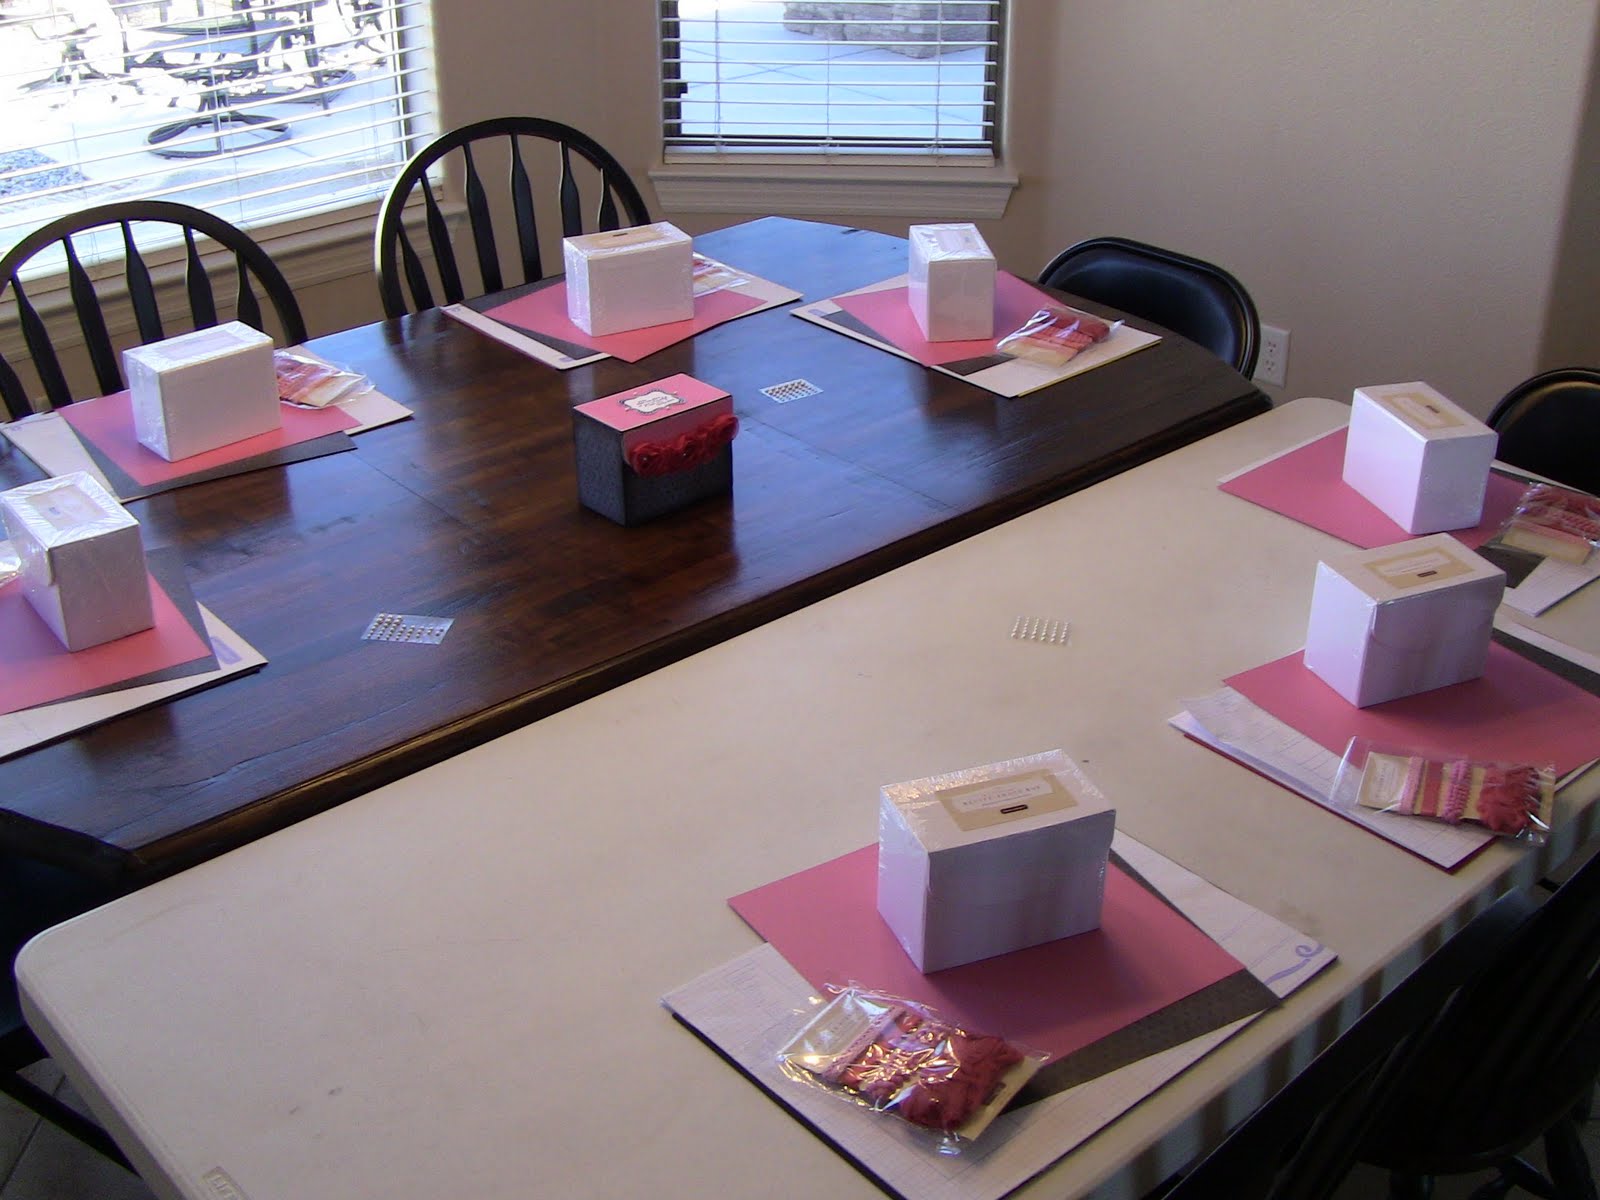
This should be a great class. The Card Club has been fun this year, can't wait for new classes next year!

Monday, October 10, 2011

Peek - a - "BOO"

My Card Club meets this month. In celebration of October and Halloween we are creating Peek-a-"BOO" cards. These aren't scary though! The entire card base is cut on the cricut using the new Art Philosophy cartridge. Even the center cut out is done for you.


Inside~


Inside~


Inside~


Sunday, August 28, 2011

Card Club ~ Circles

This month's card club is all about circles! The ladies learned how to create a simple circle card using a pre-cut colonial white card and a template from the Wishes book. They took on the challenging clear acrylic scallop card with multiple layers including a tricky button and ribbon embellishment. Finally, they saw how easy it was to make their own jagged circle card on the Cricut. This card also featured other elements cut with the Cricut then stamped with the coordinating stamp set that comes in the Art Philosophy kit.


This card also featured the new Remarkable Wreath stamp. So easy to use with such a beautiful result.


Friday, June 10, 2011

Scallop Punched Flowers

My Card Club meets tomorrow to make this set of cards using the Close To My Heart scallop punch. Using some different techniques they will learn how to create truly unique and beautiful flowers for their cards or any projects!


This flower was created by punching 4 scallop circles out of the Wings Basic papers. Each circle is folded just so, then mounted on a circle base. When looking straight on it seems to be flat, but if you take a look from the side you'll see that there is nice dimension.


This flower requires some precise cutting with you scissors and some curling. The result is stunning!


This last one is probably my favorite. It is five layers deep, you get to do some stamping with our fabulous background stamps and then you get to crinkle and crunch them in your hand. So easy to do, creating such an awesome flower!


Wednesday, April 20, 2011

Card Club ~ Fabulous Flourishes

Perhaps you will remember my pink and black card boxes that my Card Club created in February. {See the post here.} This club meets every other month, so this month we created some cards to go inside their boxes. I taught a very simple, but effective way to create your own background paper. We used the Friendship flourish stamp set from February. They learned to rock-n-roll in complimentary colors and stamped a 6x12 sheet of white daisy card stock. They then cut that sheet into sections to complete 3 cards. Ladies chose between the colors of green, blue or pink!


Sunday, February 13, 2011

Card Boxes and Cupcakes

Yesterday was my first Card Club class. To kick off this club all the ladies created their sweet little card boxes to store all the cards they will be making this year. Speaking of "sweet" I just had to make some Valentine cupcakes for the event.


The table is set: Ladies were given boxes, papers, pearls and the new Pink ribbon collection to complete their first project. As we meet each month for club they will bring the ribbons to use on various cards.


Chocolate cupcakes with pink butter cream frosting. Each one was finished with a laced chocolate heart.


Here are the ladies hard at work:


Some of the ladies chose to create their boxes with the reverse side of the B&T papers. I think the light pink boxes are darling and really shows the versatility of Close To My Heart papers.


Wednesday, January 26, 2011

Card Club Box

I held my first Calendar Club this past Saturday. So far everyone is off to a great start and I am excited about the next pages to be completed. I am equally excited to start my other club that will be alternating months with the Calendar Club.

The Card Club will kick off its first class by making this darling, oh so girly, card box. It is made from the same box I used last summer as a Recipe Box. I dressed it up in fancy new Sweetheart papers and adorned it with frilly ribbon and pearls. It is an awesome start to what will be a fun club.