Wednesday, December 29, 2010

Throughout the Year!

A new year is almost upon us. Which means new Idea Books, new products, new papers, new stamps and new classes! One of the clubs I am planning for this year is a Calendar Club. I did a calendar for my step mother a few years ago and she has asked for another ever since. Here is the one I made for her this year so that she can see up to date photo's of her grand kids throughout the year!

For her calendar this year I used some new products coming out in the Spring 2011 Close To My Heart Idea Book. The papers are from the new Wings workshop. The papers are wonderful and the stamp set included is very versatile. The Spray Pen included is also a super fun new product. After mixing some re-inker, shimmer paint and a little water you spritz your paper for an exciting and sparkly effect! You will also see some new pleated ribbon and images from a January Stamp of the Month.

Front of calendar~


All the pages~
January~
February~
March~
April~
May~
June~
July~
August~
September~
October~
November~
December~

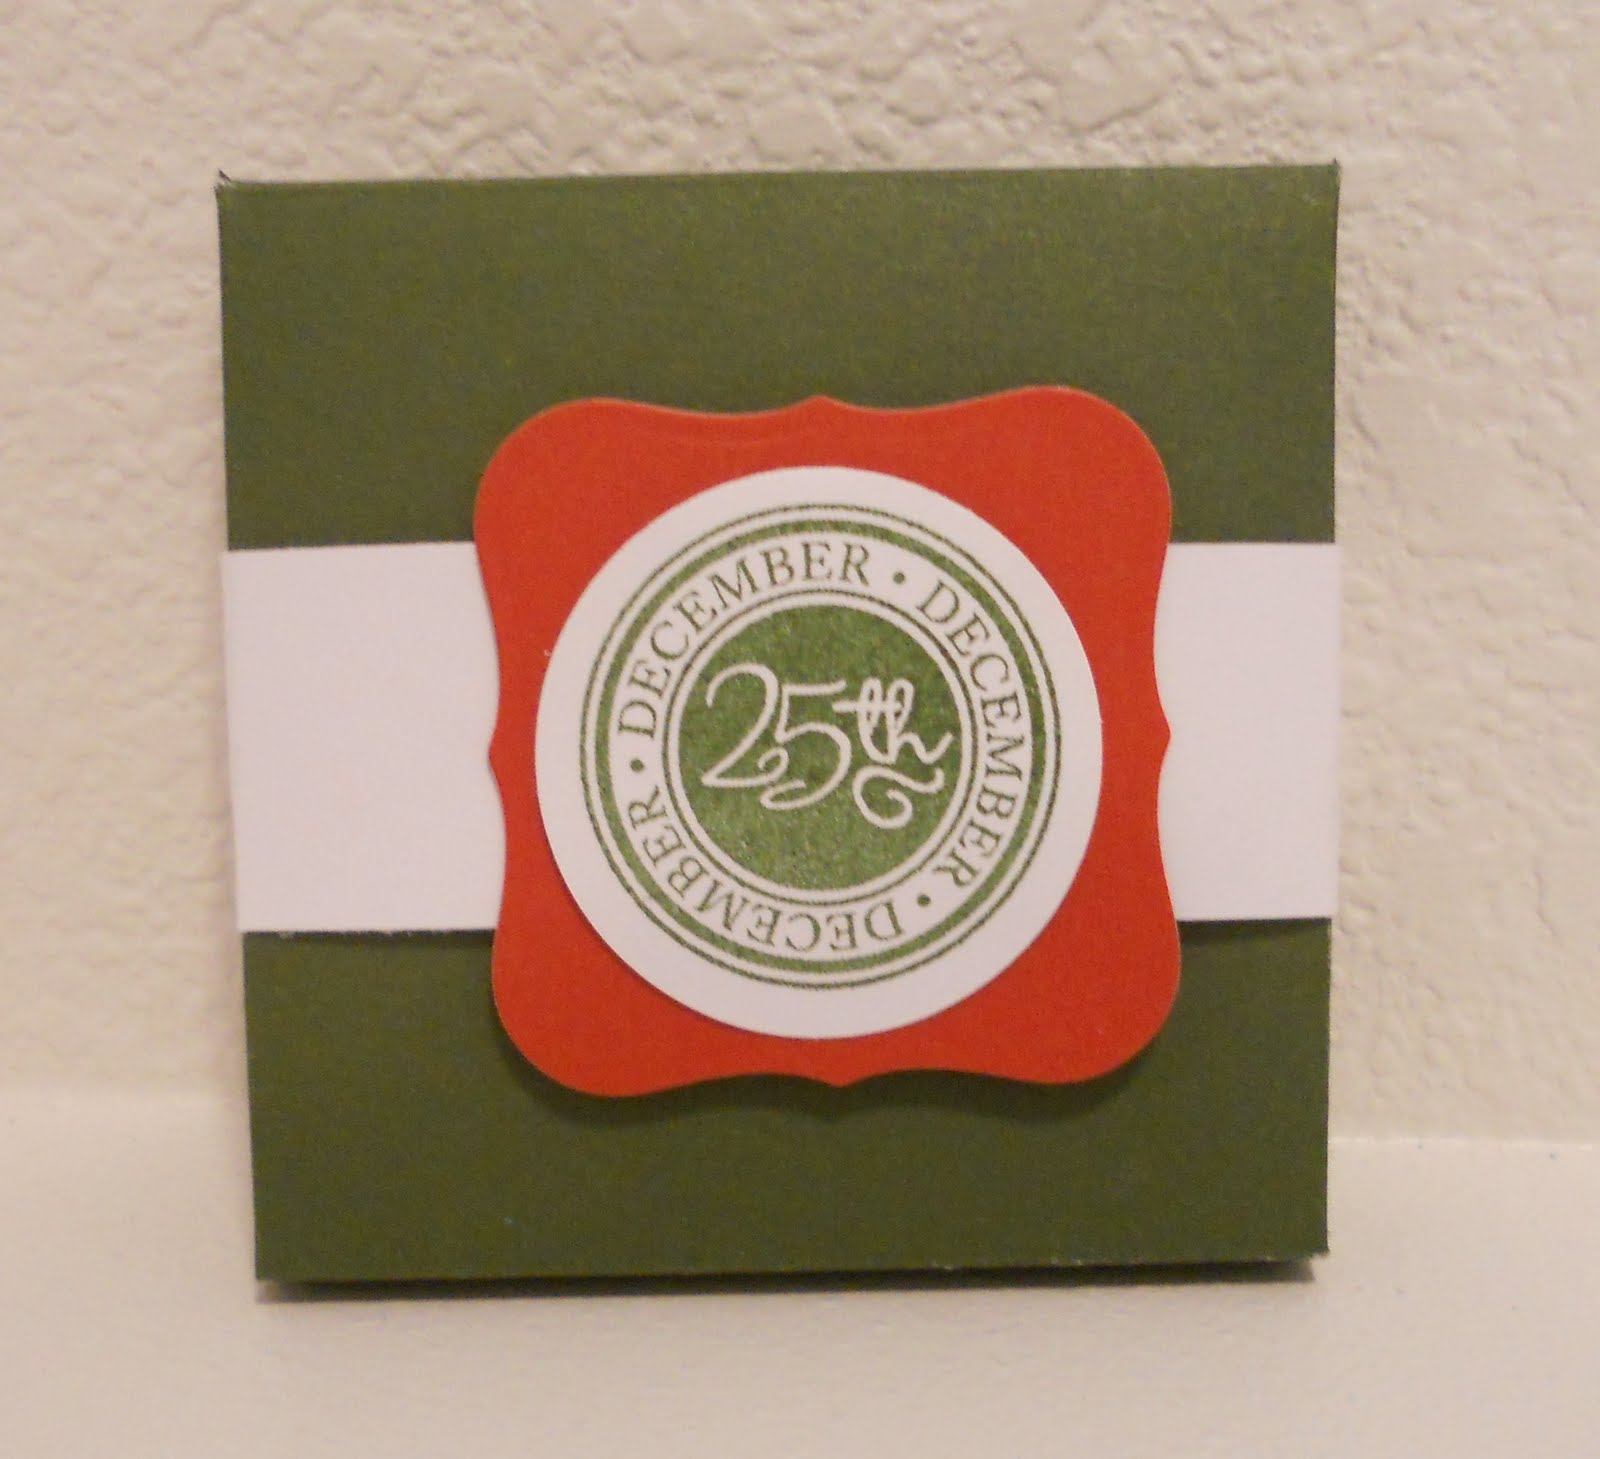
{The Calendar Club project will not look like this one}

Saturday, December 25, 2010

Thursday, December 23, 2010

Magical Christmas Mini

For Christmas break this year I wanted to keep a mini album of all the magic my family has shared. So far this is just the start, sort of like sneaking a peek at your presents! I've used some clear all sorts album pieces, chipboard and some pieces I've made myself using some spellbinders labels and thin chipboard with card stock. It will be tons of layers with gobs of accessories. I figure by the time I'm done I will need to upgrade my binder rings with the JUMBO sized ones!

This is the cover page~


A peek inside with pages from some of our baking we've done this season and pictures~


Here's the photo I used to make my Christmas stamps this year and the stamp of course~


I will post more pics of the pages that I've done and the entire album when it's complete!

Tuesday, December 21, 2010

Christmas Baking

This is the time of year that I love to make a mess in my kitchen and create goodies to munch on while we watch Christmas movies. Here are some new items I tried this year for the first time. I always make sugar cookies, but they are much more fun on a stick! I love making the cream cheese sugar cookies. They stay extra moist and are not as sweet. You can find the recipe here.
I whipped up a powdered sugar icing to sandwich 2 cookies together with a wooden stick between them. I just used can frosting for the outlining and letters to spell "NOEL".


Here's a super simple idea to jazz up your candy canes! I melted down semi-sweet chocolate and dipped the end of the candy cane. Let them set up on waxed paper in your fridge for awhile. Then melt down some white chocolate and drizzle back and forth. Again let them set in your fridge until your ready to eat them or dip them in a cup of steaming hot cocoa!!

Monday, December 20, 2010

Merry Christmas Banner Card

Christmas becomes a very Merry celebration when you see a banner! I created a few of these little cuties for my closer family members. It uses one of the newer Party Pennants stamp set and frame. It includes some heavenly blue ribbons, teeny tiny opaques pearls in licorice and a sneak peek of some super brand new Wings paper. The tiny black dot paper is one of the newest B&T papers available in the fabulous Wings Workshop on the Go! Finally it is adorned with a candy cane to make it sweet and to smell sweet too. I hid the candy cane scent from Scent My Cards under the Christmas label.


Saturday, December 18, 2010

More Felt Christmas Cards

Here are a few more Christmas cards I have created using the heartfelt die-cuts. Again I chose the Mistletoe papers with colonial white and chocolate. The first card uses a small tree decorated with cranberry brads. Another fun product I have been hoarding is the self adhesive linen. You can fray the edges and even stamp on it. What a cool product, I'm glad to finally use it.

These next cards use the twilight snowflakes. You simply punch them out, use glue dots to place them on your card and finish them with a beautiful pearl.

More inspiration can be found on the Heart 2 Heart Blog. Have a wonderful weekend!

Friday, December 17, 2010

Felt Christmas Tree

I have been trying to use up some products in my craft room. I just had to have these felt die cut pieces when they first appeared in the Idea Book, but like many items I just hoarded them. Well, time to let them go. They are really easy to work with and give your artwork a gorgeous appearance. Here I've added some of the pearls as ornaments. It is mounted on some Mistletoe papers and all tied together with cream organdy ribbon.


Need more ideas for your Holiday cards? Go to the H2H Blog for inspiration all this week and next. I will be posting a few more cards with more of these felt pieces as well.

Wednesday, December 15, 2010

Elf's LOVE Cocoa!

They like maple syrup too! I'm just putting those empty Crystal Light containers to good use. Here I decorated them with this darling little ice skating elf. He's dressed in crystal blue and chocolate with tiny candy canes tied to his feet. Some organdy red ribbon and a snowflake perfectly blinged out. It's cocoa for two inside, complete with two candy canes, YUM!

Saturday, December 11, 2010

Bottle Cap Christmas Countdown


I'm so excited to share this Christmas countdown with you. I have some cookie sheets from previous projects that I needed to use up and it also incorporates recycling which I love! Plus, it's a great way to get your husband to help with your craft projects. Their part is really quite simple, "Drink up hunny, I need your bottle cap!" Ha, Ha!


Supplies:


Cookie sheet

25 bottle caps

Black spray paint

Round magnets

B&T papers (I used Jingle, Topstitch, Mistletoe, Key to my Heart, Cherry-0)

Alphabet stamp with numbers (Delightful Alpha, Friendship Alpha)

Holiday stamps to decorate (Share the Magic, Just for the Holidays)

Ribbon (Heavenly Blue)

Button (Olive)

Stickease if desired (Jingle)

Chipboard arrow

Thursday, December 9, 2010

Christmas Gifts


It's gift week on the Heart 2 Heart Blog. Here is just one idea I thought I'd share.

There have been many posts and artwork out there for these darling little pizza boxes. Some are filled with mini 3x3 cards, some contain chocolates. My little boxes will shine some light on your Holiday Season!

I've personalized some tealight candles with stamped images. The Just for the Holidays stamp set was perfect for this project. I chose some different color themes to appeal to everyones decor. The random stamped box was a bit more work, but I think it might be my favorite!


Hey, there's that red and purple again! Please check out the other design team artwork on H2H and see what everyone has created. Who knows you might get some great ideas for someone on your Christmas list this year!

Wednesday, December 8, 2010

Christmas Ornament Exchange

Along with the Christmas card exchange this past weekend, we also did a secret ornament exchange. The ladies brought their ornament in a plain brown bag and then we drew tickets to see who received each bag. The creativity was amazing as each ornament was revealed. There were no rules to use Close To My Heart product, they could choose any medium they desired.

Here is the ornament I made, but as a consultant I did choose CTMH product simply to show off the product versatility! I used a couple pieces from the Mix -n- Mingle album, one is chipboard the other piece is clear. I covered the chipboard piece in paper from Magnifique. I then created a bottom border on the clear page with cardstock, the Captured Moments stamp and liquid applique. I finished the top corners with some heavenly blue buttons.


To attach the two pieces I used Velcro dots so that the top layer can be removed and the recipient can place a photo inside.

Here are the pieces separated. If you use a non permanent adhesive the photo can be changed from year to year if desired.


Sweet lollipop ornament~


Santa ornament~

Merry mittens~

Mr. snowman~


Lastly, this is the ornament I received in the exchange. Just lovely!

Pink poinsettia ornament~