Sunday, December 29, 2013

My Favorite Projects of 2013

Looking back through this year of several Blog posts, I have found some of my favorite projects. Some projects are still in my home or scrapbooks, while others are in the hands of the loved ones I made them specifically for. I enjoyed creating each of them from my heart and hope that the recipients of some of these items are cherishing them also!

In no particular order~


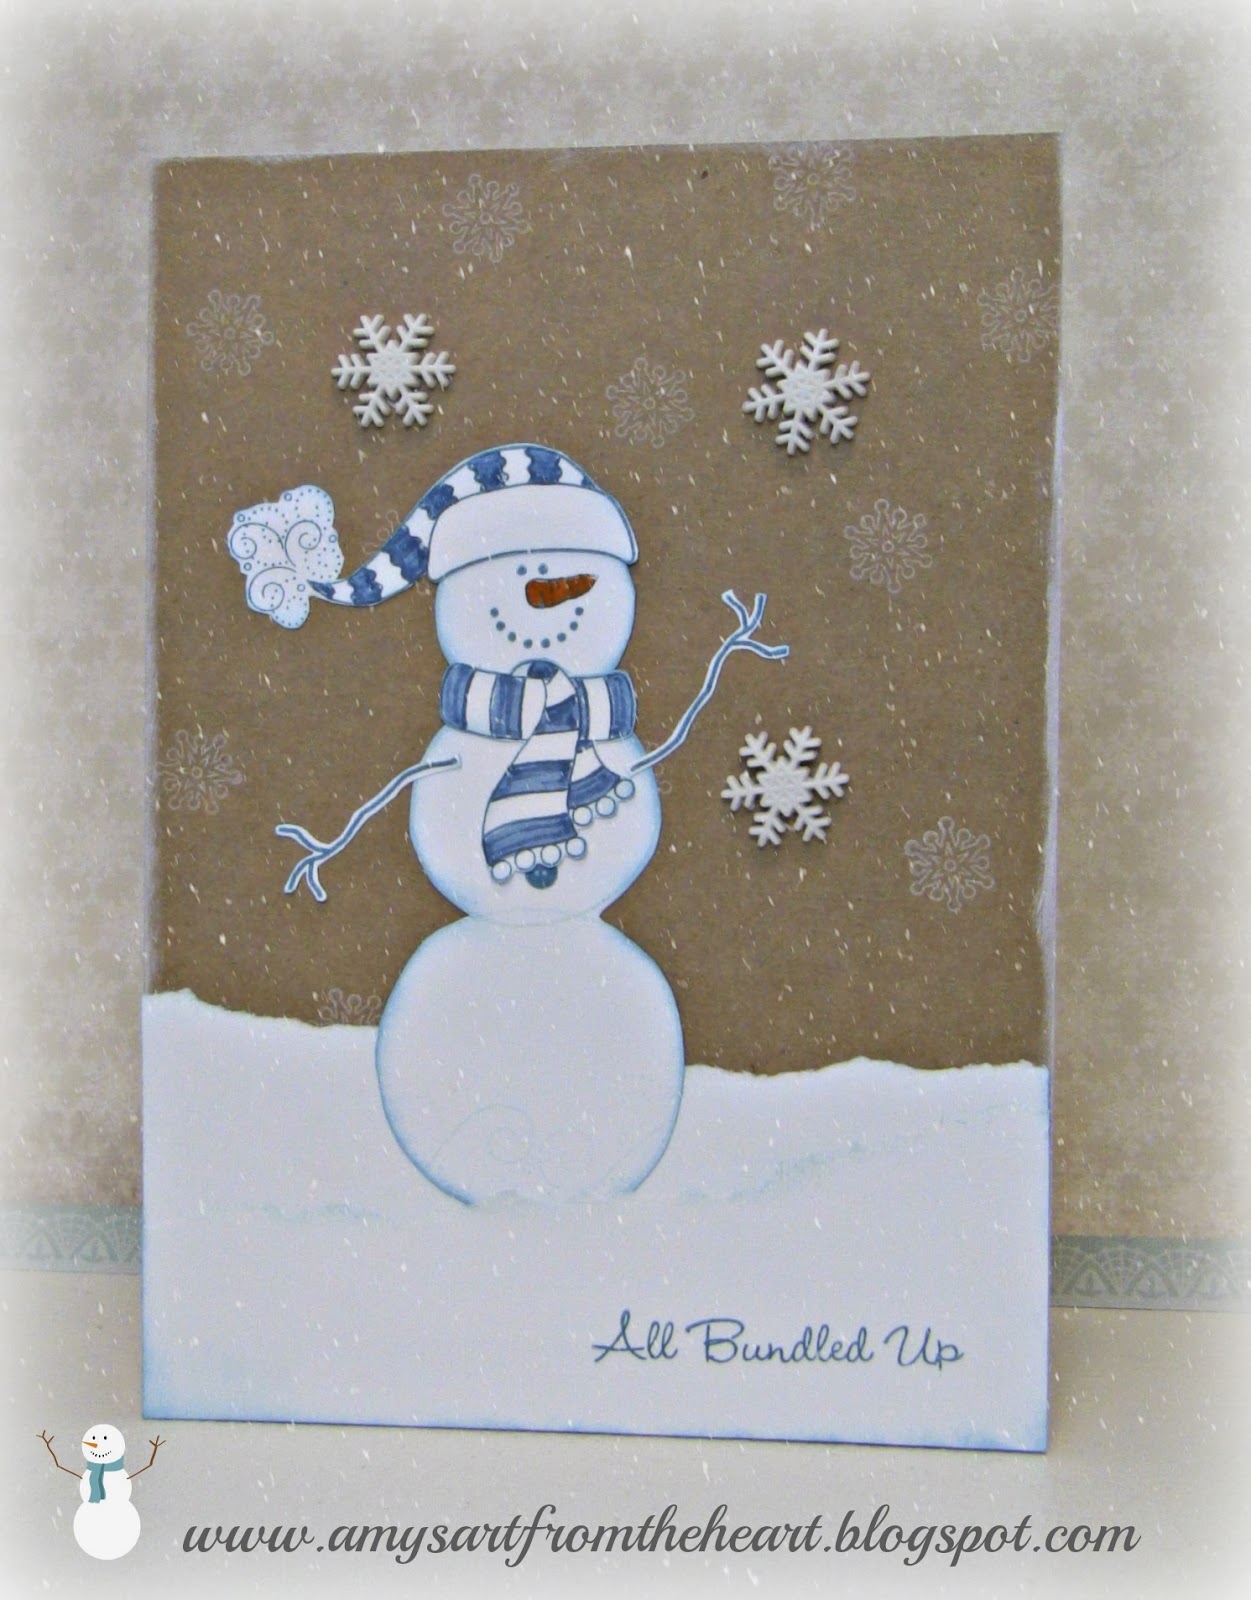
I took a risk with pairing some winter snow pictures on a black background, the result was awesome and that's why I love it!


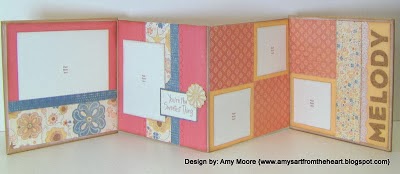
A folding album for a little baby girl turning one! Why I love it... The Clementine papers were so pretty and soft. It only needed a few embellishments, because the sweet girl will be the star of this album!


This card was from a Spring card exchange. I fell hard for the honeycomb trend! This card has multiple layers, lots of trendy supplies and fun techniques!


This layout is wild and is a favorite for many reasons! One of my first layouts using background layers created on the new Artbooking cartridge. It has a great pocket feature to hold more photo's and a informational booklet. It's also a favorite, because the pages capture one of the best adventures of our summer!

If you know me, you know that I love bicycles! I repainted this metal bike and display it in my craft room. I also incorporated a bicycle on some canvas artwork. Both are super fun projects!


I always look forward to the Stamp of the Month. This was one of my favorites all year...it has chocolate...who doesn't love chocolate!!


A Pinterest inspired project! How sweet are these onesie cupcakes?! Not too sweet, they are 0 calories!!


Close To My Heart has offered several home decor options this year. The display tray is incredibly easy to decorate and looks so nice in any decor!


I used the Frosted papers and a trio of trees stamp set to create this soft and elegant Christmas card. I love all the elements and dry embossing, it came together beautifully!


Another fun seasonal project was this "Be Merry" gingerbread banner. It just makes me happy!


Mini albums everywhere!! Thanks to the Artbooking cricut cartridge I am able to create several mini albums. This Halloween album was a workshop I did in conjunction with a card exchange. It was a big hit!


My Summer album has lots of fun elements. It also features the very cool Dream Pop papers that were a special promotion this year!


Often my inspiration comes directly from my customers. They always find interesting products and ideas for me. These Valentine heart trees turned out super cute! {Cra Cra Adorbs!!}


Finally, this Halloween luminary/card for Halloween was a great idea and later inspired a Fall and Christmas luminary.


I love looking back at past projects, they often inspire future projects! Who knows what this next year will bring. Please visit my Blog in 2014 to see new creations, amazing products and hopefully be inspired!


Monday, December 23, 2013

Special Care Card Kit

I was inspired by this month's Stamp of the Month and decided to use it for creating a sweet little card kit! The kit is contained in a Birchbox and includes 10 cards with envelopes, stamped sentiments, pre-cut cardstock and patterned paper, grey twine and accessories that include buttons and clothespins.

The cover of the kit {top of box} shows the design of the card. It is a simple template that can be altered. The colors are bright and colorful and can easily be mixed and matched. I used one patterned paper from the Sarita collection. It's a fun design and can be feminine or masculine!


Here are just some examples of how the cards can be assembled. Each one will be different making it a unique kit!

 
Here are all the pieces tied up with string. Everything fits nicely in the box.


The front cover of the box.

 
Those sentiments are super cute! If you haven't purchased your December Stamp of the Month yet you only have until December 31st. Shop online here.


Sunday, December 22, 2013

My Favorite

Switching gears from Christmas for just a bit! When I originally saw the sketch at Freshly Made Sketches this week, I was convinced that I would create a Christmas themed card. However, I went in a completely different direction once I sat down in my craft room. Instead my card has some lovely muted tones of greys, purples, greens and teal. Can you guess what papers I used to create the banner pieces? They are actually scraps from the My Crush Bluebird assortment. That's right, they don't have to be used for just the Crush book! They work great on cards, scrapbooks or mini albums!


Tuesday, December 17, 2013

Blue & Kraft Snowman

I have used this stamp set before and always enjoy creating these little snowmen. He has different faces, hats and scarves to play with! I put him in a layer of white snow and used kraft cardstock in the background with some soft snowflakes. Using the color combination at Dynamic Duos I added some blue on the stripes of his hat and scarf. It makes him so cute!


Monday, December 16, 2013

Cookies and Cards Mini Album

Today I am sharing the special surprise project I created for my Card & Cookie exchange! I have also been invited to be a guest designer at Heart 2 Heart Challenges Blog this week. Their challenge was to create a project using the Sparkle & Shine color combination. I took the challenge literally and used the papers, but you will see that I have incorporated a few other colors too!

Every year I hold card exchanges, but always do a Christmas themed swap at the end of the year. Each time I save all the cards and usually just store them in a ziplock bag. This year I decided to display them in a mini album made from the Artbooking cartridge. The keys to create this album include the pages and various little pockets. This was perfect to store each card and the recipe from the cookies that the card maker brought to share. The book is dated and I have little notes throughout indicating who made each card. I also adhered photo's I took at the event.

 
I added some Kraft papers to the Sparkle & Shine papers for this book. It blended well and allowed a nice stiff cover to the album. The cute gingerbread man is from the Candyland stamp set. The binding is simply 2 holes punched in the seam and tied together with some cranberry twine.


Here is a peek inside just a few of the pages. Photo's were taken before all the cards and pictures were added, but you get the idea.


Friday, December 13, 2013

Freshly Made Holly Jolly Christmas Card

I got to play with a newer stamp set from the Frosted card making kit and some older Dream Pop papers for this card today! I used the sketch at Freshly Made Sketches and a bright color combination inspired by the wrapping paper on the gift that would accompany the card. {sorry I didn't think to take a picture of the wrapped package} I love the cheerful colors and the bell really jingles!!


Thursday, December 12, 2013

Last Minute Christmas Gifts

You can get some last minute Christmas gifts at deep discounts! Go to my shopping site and check out the While Supplies Last page for some awesome products at rock bottom prices!!


Monday, December 9, 2013

The Big Event!! {Christmas card exchange 2013}

This may be a very lengthy post and I still might not be able to cover everything from this year's Christmas card exchange!

Every Christmas I hold a card exchange and event! This year I had 7 ladies participating in the card exchange. I had a mini album project, posted earlier, that was a big success! This year we also had a cookie swap. The ladies brought cookies and the recipe to share, it was delicious!

Where to start?? I'll save the best for last...the gorgeous artwork. So first up is a collage of the treats!

I decided that we would need something to drink with all the cookies. I set up a Hot Chocolate station. I made the hot chocolate in my crockpot so it was hot and ready and so easy to do! For the buffet of toppings and add-in's I had vanilla & peppermint marshmallows, crushed peppermints candies, Hershey kisses {milk chocolate and peppermint} and whipped cream. It was really yummy!


We had a fantastic variety of cookies; sugar, gingerbread, samoa truffles, dipped pretzels, almond cookies, butter cookies, low fat lemon and holiday snowballs. We sampled them all and took home recipes with us! Can you say sugar rush!!?


Now on to the art! I made a little gift bag for each of the girls to take their cards home in. They were all set out on my table and the ladies placed their own cards in front of their bag to display them.


There were so many cute and creative ideas this year. Sparkle & Shine papers were popular, but then there were some great older papers used, some surprising color combinations, interactive cards, fun puffy applications and paints, lots of glitter, and some Washi tape too!

This first card is mine. I used the Candyland stamp set. I made a boy and girl gingerbread people and stamped a sweet sentiment. I chose a different color combination and added some glitter and Washi tape. The bow on the gingerbread girl was my favorite! It was cut at the tiniest measurement possible on the Artiste Cartridge! I folded it carefully and added a teeny tiny pearl in the center.


This next card is by Stacie. I love that she included some older but still loved Jingle papers. Plus I'm a sucker for birds! She used a unique puffy paint application around them as well as her hand stamped sentiment. So cute!


Tommie used the awesome new "m" sized stamp set for her sentiment and added some color and liquid glass to the letters. She also had lots of fun ripping her Washi tape creating a very unique background! Her card is a perfect example of what you can create on a limited budget.


A step card from Pat! This card easily turns into art when you prop it open on a shelf or table. She used the bling around her tree and star and again a little Christmas birdie...{heart that}!! The extra cuts and folds may be a little time consuming, but it is so worth it in the end, this card is darling!


Nanette's card is so warm and welcoming. I love her simple details and embellishments. A classic color combination truly makes it feel like Christmas!


Next up is Barbara's card. Her card is a stunning blue with just hints of sparkling silver. I love the window cut out for her sentiment and the silver bird is a gorgeous addition! The blue was truly a stand out among the rest!


Janet's card was a fabulous surprise! The front of her card is covered in my favorite design of the Sparkle and Shine papers. That fun red, white and silver stripe. Then she embellished with sparkly snow flakes and swirls of bling. But the fun did not stop there. We were pleasantly surprised to find a mobile of dangling snowflakes on the inside! How clever is that?!


This is my talented crew of ladies. Not pictured is a new gal that joined us for the fun and project. We will reel her into our group and eventually she may want to participate in our exchanges too!


Here is a picture of the gift bags I created for the ladies. I used the big Merry & Bright sentiment stamp from the Sparkle and Shine Workshop on the Go. I cut strips of the other matching paper and layered them into banner shapes below. Inside each bag the ladies found a little surprise from me.


I saw these ornaments at Walmart and thought they would be perfect for the left over curls from our paper wreaths we made last month. I added some snowflakes inside and tied them with some gray gingham ribbon. Just a small gift to say that I appreciate them and their loyalty to my little crafting business!


Wait! That's not all! I had one more little project to share. Come back soon to see a special project I shared with all the ladies when they were here!

Saturday, December 7, 2013

Sparkle & Shine Flip Album

Today is the day! I am so excited!! It's my annual Christmas card exchange. I look forward to this event every year. I like to mix it up and do something different each time. In the past I've done a secret gift exchange or handmade ornament exchange, in addition to swapping cards. This year I've included a cookie exchange! I was busy baking and decorating yesterday and I'm preparing for a major sugar rush today!!

I also like to provide a fun project to make so we can hang out and create for awhile! This year I've decided to create a mini flip album. After a shopping trip to Ikea this summer, I accumulated several of these darling frames. Then with the premier of the Artbooking Cricut cartridge I knew that I wanted to create a mini album. Finally, the Holiday Gift Guide arrived and the Sparkle & Shine papers and embellishments were the final touch!


The assembly will be so simple. All the pages were cut on my Cricut and then I cut the photo mats from the left over pieces of cardstock. We are decorating each page with the coordinating chipboard, zip strips, washi tape, twine and ribbon...that's it....no stamping at all?! {whaaaat?!!}


Come back soon as I will share all the Christmas cards from the exchange, cookies and other festive surprises that even the ladies don't know about!! ;)