A few days ago I posted about this month's Miracle Kit promotion. I mentioned that it's a beautiful kit that enables you to create 2 two-page layouts full of embellishments, stickease, die cut papers and flip-flaps. Oh, let's not forget my favorite item, the Irresistibles chipboard die cuts. I also said that the kit could be used for other projects such as cards or even a mini album.
Well, I've done a mini album with this kit and I am so happy with every product. I used the All Sorts Mini Album as my base. I used a good majority of the cardstock included in the kit, but have some pieces left over. I also used just a small portion of the B&T papers included, but have enough to make some scrapbook pages. {look for those soon} I added just a few things that were not in the kit such as a brad from the new Splendor brads, some organdy ribbon, adhesive pearls, corduroy brad and rhinestone bling. I also added a few sentiments from the Treasures of the Heart stamp set and journaling lines from the Journaling Jots stamp set.
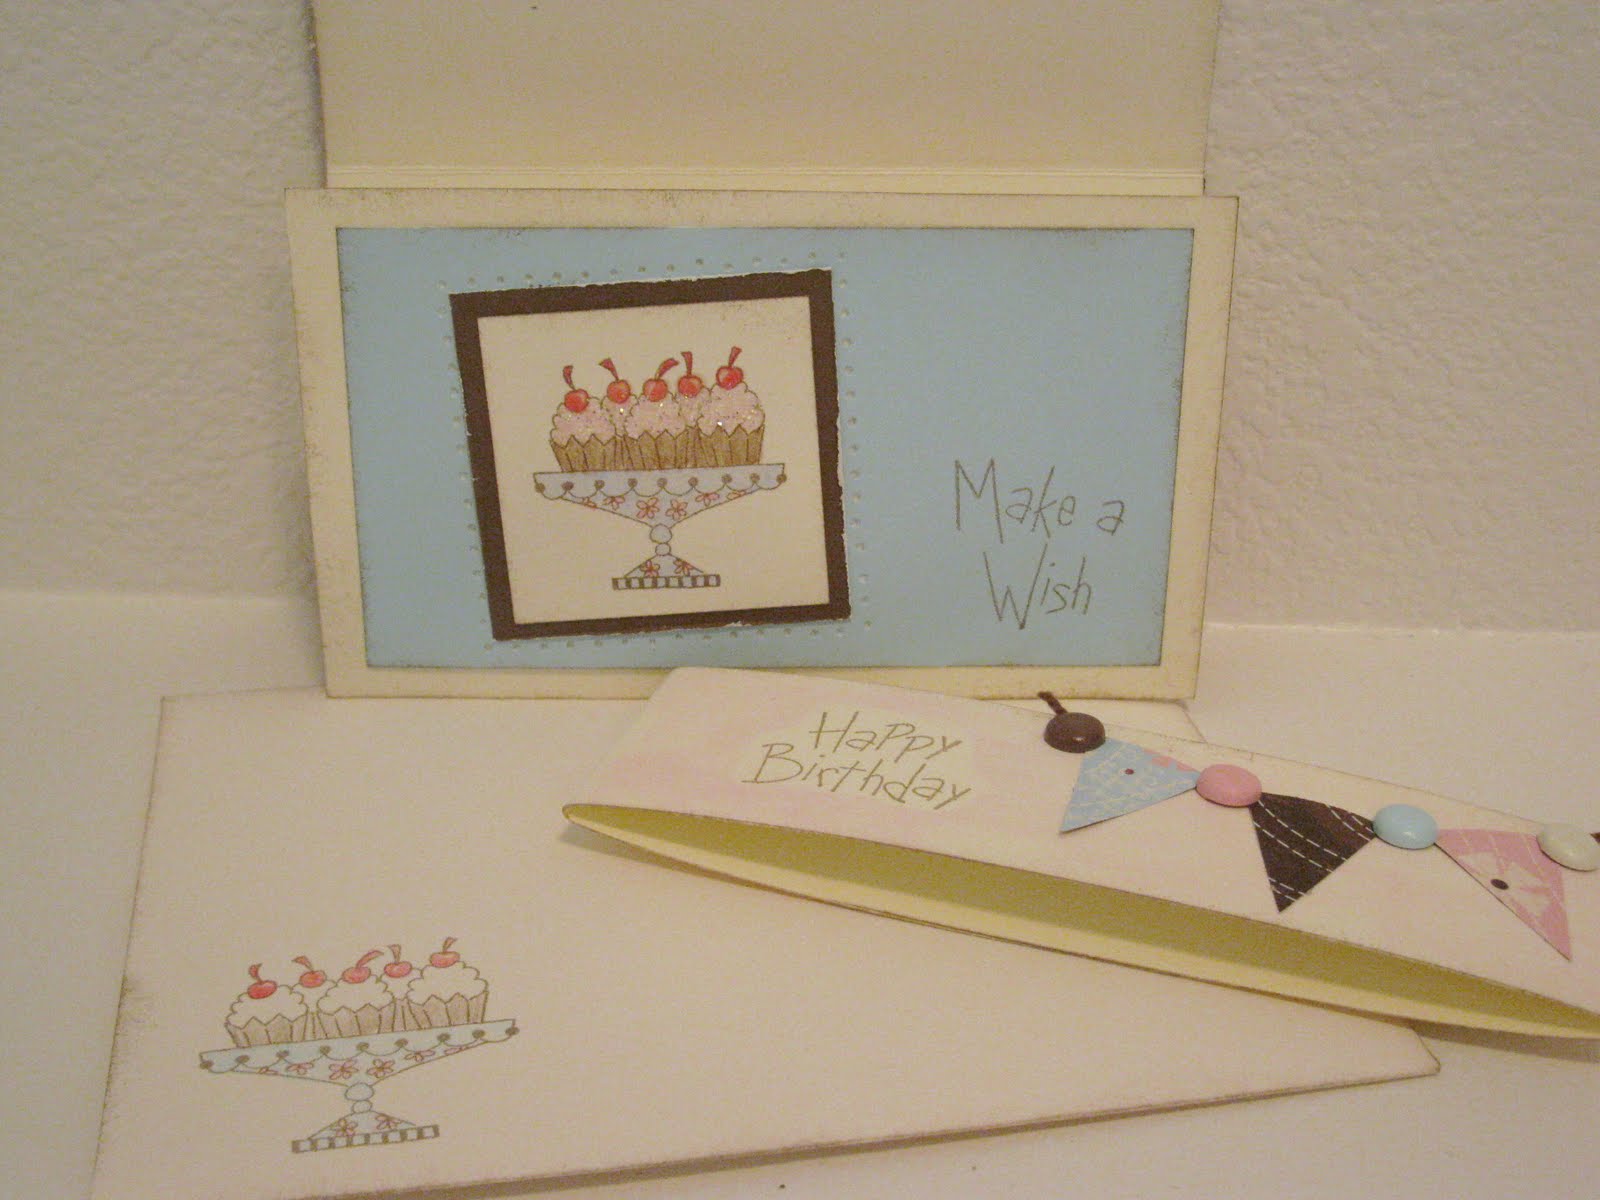
You will also see that I made a card to accompany the album for the recipient. I simply added more organdy ribbon, a paper flower and a corduroy brad to that.
The possibilities of this kit are endless and now having worked with it I am in love with the color combo and the products included.
~ The Cover ~

~ Page 1 ~

~ Page 2 ~

~ Page 3 ~

~ Page 4 ~

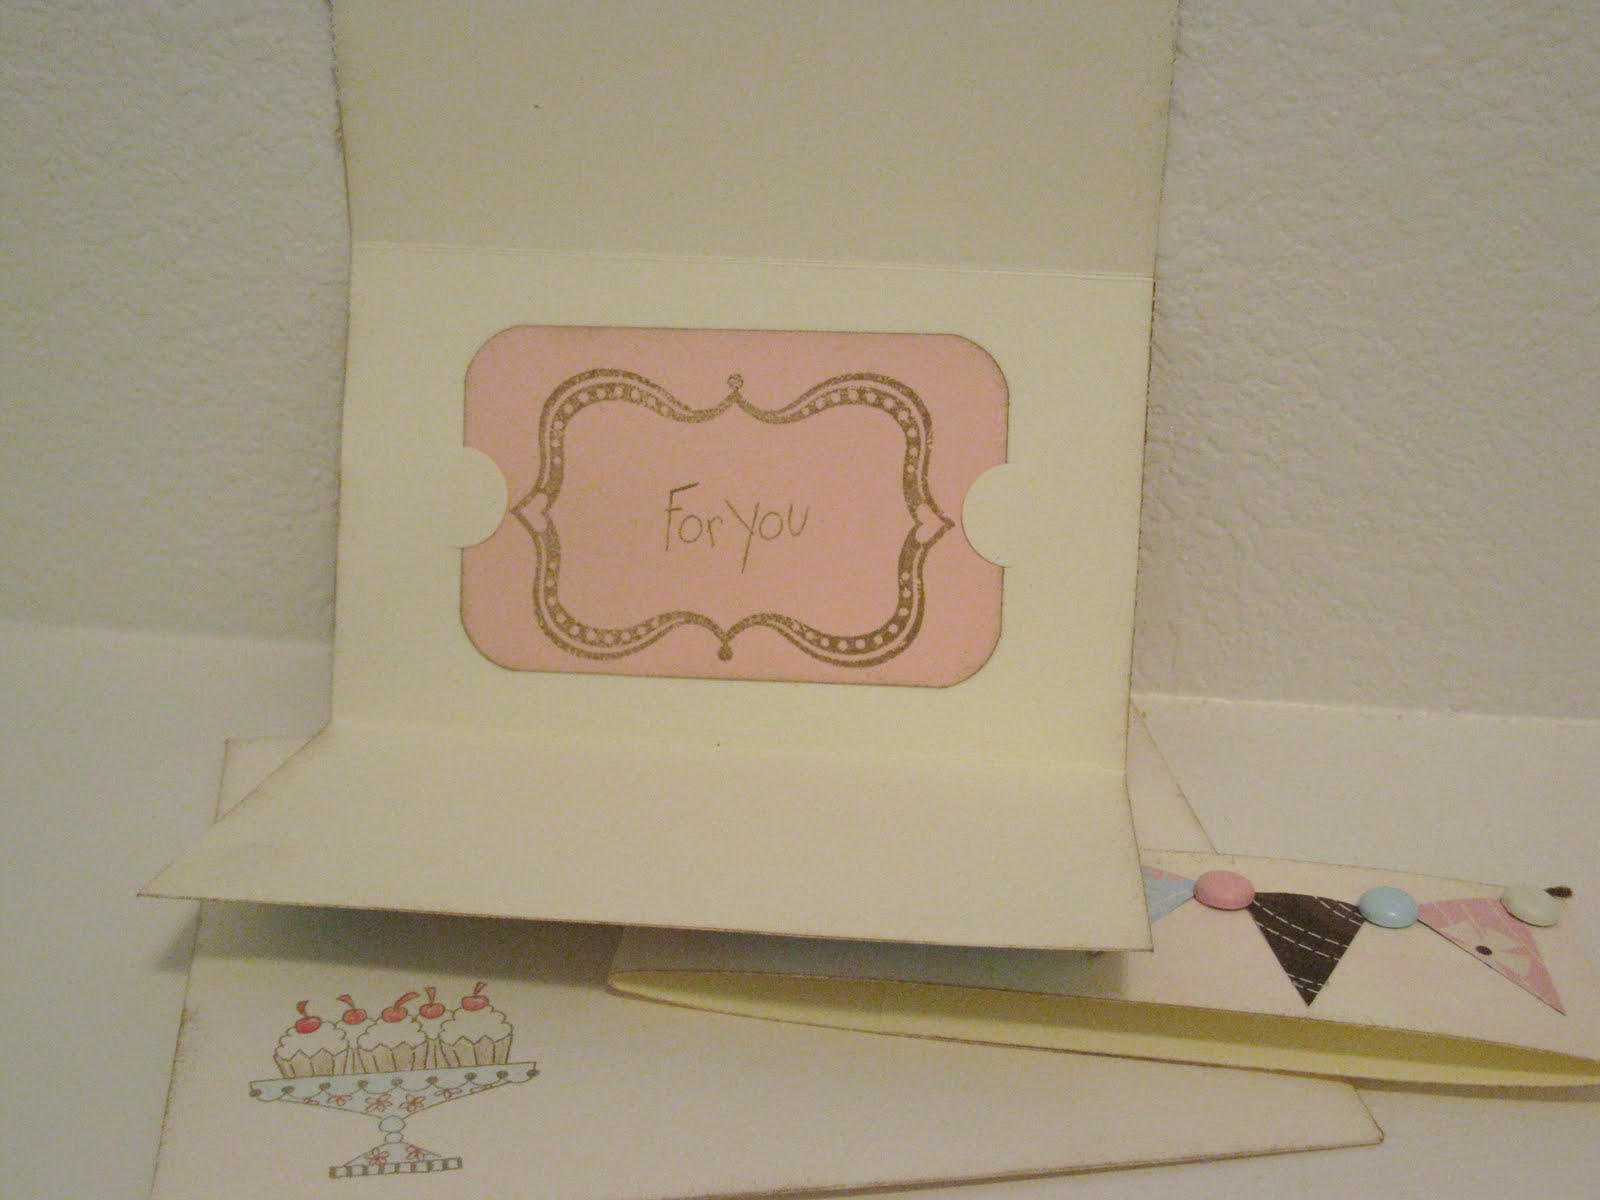
~ The card ~


 ~ Page 1 ~
 ~ Page 2 ~
 ~ Page 3 ~
 ~ Page 4 ~