Showing posts with label mad tea party. Show all posts

Thursday, May 26, 2011

Mad Tea Party Pages

It's an ABC challenge on Heart 2 Heart Blog this week. Make "Anything But a Card"!!? No problem, I love creating all sorts of projects that are not cards. However, being that it's National Scrapbooking Month I've made a promise to myself to get some scrapbooking done!

You may remember these pages I posted awhile back from my daughter's Mad Tea Party. These pages showcased the results of all our guests with their mad hatter hats. I still needed to scrap the photo's from the party.


So here is the companion page that will proceed the other one once it goes in my album. It shows some pics of the decorations, food, tea, guests, and fun! I used some great new products, stamps and some of my favorite techniques.

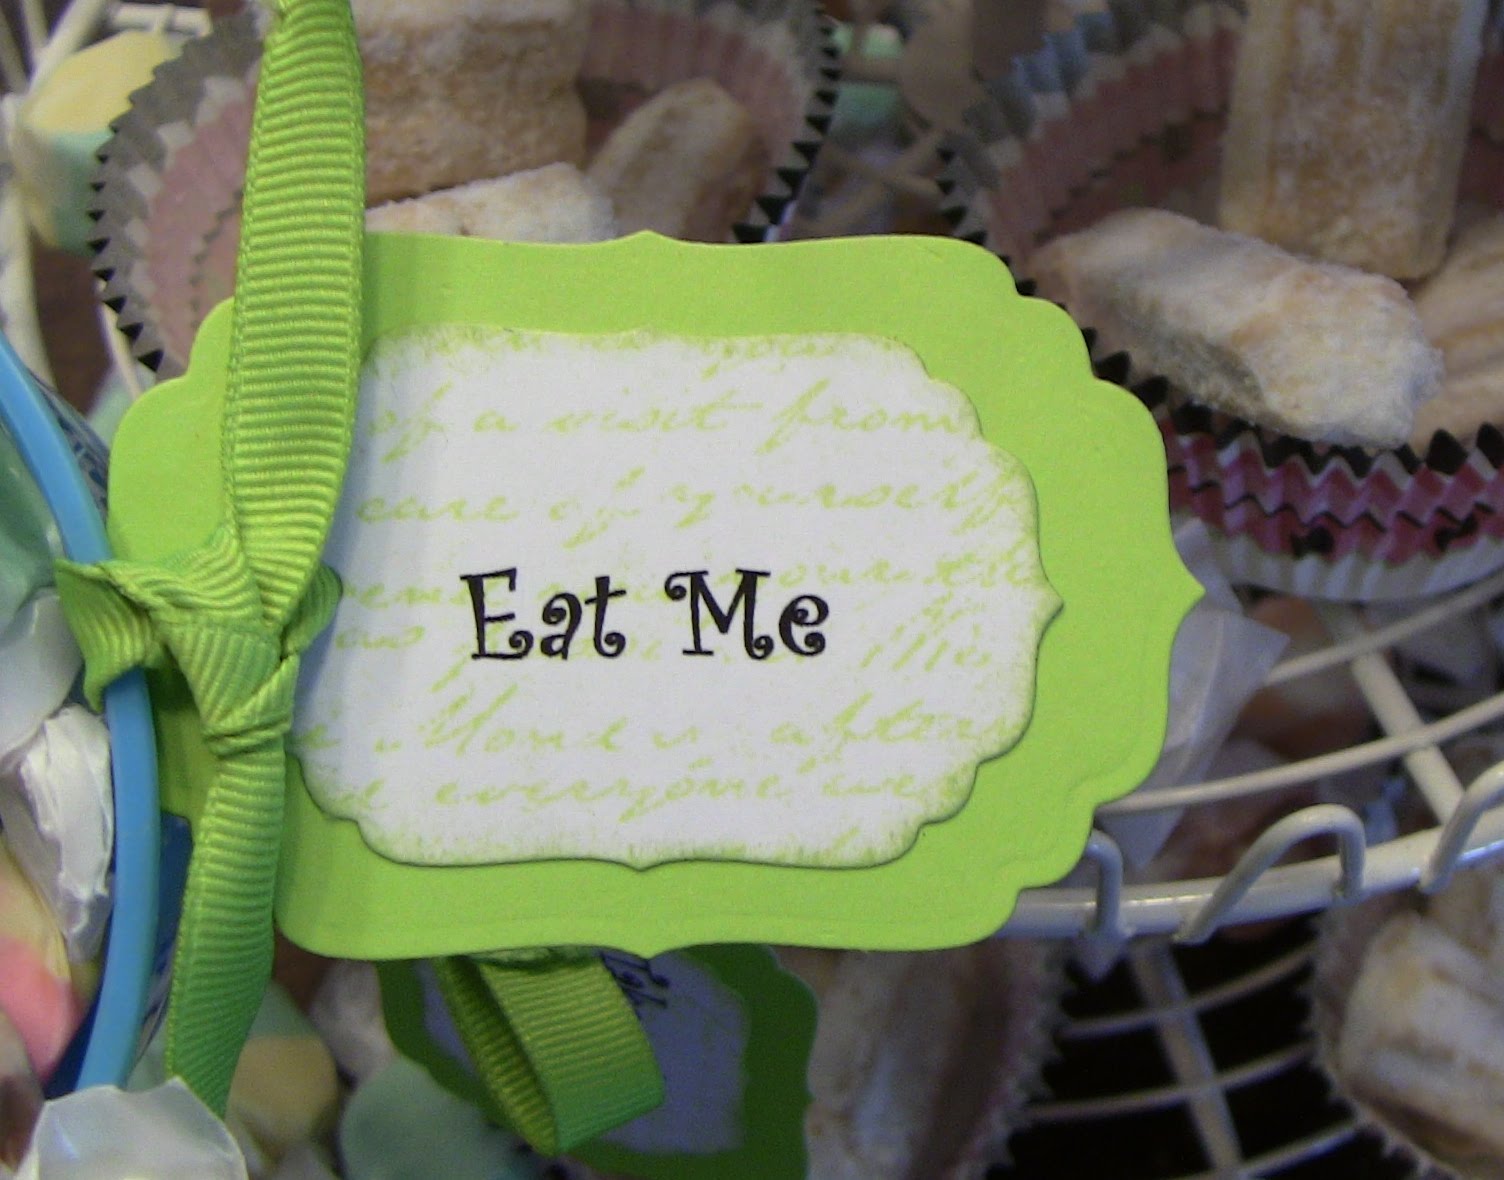
Here is a close up of the left page. Instead of creating new embellishments I used the tags I made for the party.


Here is what the tags looked like at the party~


Why double your work? I knew I saved these for a reason!!


I love the eclectic irresistible chipboard and dot alphabet!


and the right side~


I made these simple lanterns to decorate the party and wanted to capture them for the page also. I was unable to incorporate them on the page like the tags, but our new little lantern stamp worked perfectly.


Monday, March 14, 2011

Birthday Party 2011 ~ Food & Fun

More pictures from the Birthday Tea Party for you. This year I wanted to come up with an activity for the kids to do and also give them a little something to take home with them to remember the party. Mad Hatter hats was the perfect craft project. You have to make the food special too! Here is the Dairy Queen cake that my daughter designed herself. Oh! and if you've never had one of these cakes they are soooo yummy! It was layered with vanilla ice cream, chocolate ice cream and in the center crushed Oreo cookies and fudge.


Here are some more goodies for the guests. Little lemon, lime and sugar tea cookies filled these darling cupcake cups. We scattered old fashioned salt water taffy's in a bright array of colors. They were both a big hit. I however, was tickled with how my "Eat Me" tags turned out. Just like the original book and movies. I printed the phrase on card stock then die cut them out with a Spellbinders label. I stamped them in coordinating colors with the Universal Background stamp {D1477}. Then adhered them to another die cut label. Just some matching ribbon to finish them off.


You can't forget the tea at a Tea Party! We chose to have iced tea's though rather than hot considering the gorgeous warm weather we were blessed with this weekend! We had sweet tea, peach tea and raspberry tea. They had tags too! Fortunately no one shrunk or grew bigger than the house !?!


Now on to the FUN!! Preparation for this part took place a couple of weeks ago. I tracked down several paper grocery sacks. This was harder than I thought! Every one is switching over to plastic or recyclable bags these days and the paper sacks are harder to locate. Once I had 20 of them I rolled on a flat exterior paint on all sides and top. The paint gives them a canvas to work on and also makes them more sturdy. You can paint them any color you choose, but I opted for white so that all the embellishments they would add later would truly be the stars!


The table was set with embellishments that my daughter and I gathered from all sorts of craft stores. Anything found in the marked down clearance section is the BEST! The raised trays in the center of the table are actually really cheap plastic cups turned upside down and crazy glued to plates. They could be super easy dessert platters too!

Super fun embellishments include: foam shapes and alphabets, rhinestones, pipe cleaners, wiggle eyes, buttons, feathers, flowers, ribbon and pom poms.

All the essential tools were on hand.

Rolling the bottom of the sack about 3 folds will fit most heads. Once each child was fitted the creative process begins.

Here is my daughter with her hat all finished. I had all the kids pose with their hats on and took photo's. They actually turned out like comical Mad Mug Shots! I can't wait to scrap them all.


I hope you enjoyed these Birthday Party posts and gathered some fun ideas to try at your next event.
Daughter~ "I wonder what the theme will be for next year? Ooooh! Yeah, let's start planning it!"
Son~ "Hey, my Birthday is next month, let's talk about that."
Mom~ "Let me get some sleep first, then we'll think about it!"

Sunday, March 13, 2011

Birthday Party 2011 ~ Decorations

This was the scene that welcomed guests as they arrived to the party. The Mad Hatter was there as well as the Queen of Hearts. Look at the ceiling though and you'll see the fun paper globes.


Here is a closer look~


Doesn't the Queen look just like the one from the movie? She's so cool.

In the kitchen nook we hung some different lanterns in fantastic bright colors. I actually make larger versions of these with our first graders using construction paper. You could also set little battery operated tea lights inside of them and set them on a tabletop rather than hang them.


Curious what goodies are set out on the table? Come back tomorrow for the Birthday finale to see the food and fun we served up on this memorable day!


"Curious~er and Curious~er"

Friday, March 11, 2011

Birthday Party 2011 ~ Invites

As promised, more party pics! Well not actually the party, that happens tomorrow! However, I do have pictures of the invitations that were sent out weeks ago.

I did a full 12x12 sheet of card stock with a pattern stamping. I used one of the flourishes from the Wings Workshop on the Go stamp set. I did lots of rock & rolling to create a 'wave' of colors. Like a rainbow each color blends into the other. Once the entire sheet was covered I cut them into 2x5 inch sections. Lots of new summer colors here too; pear, sky, sunset, cotton candy, lagoon and sunflower.


I then adhered the stamped sections onto black card stock and then on a white card base. I used the Trees & Things stamp to create a banner of lanterns and simply stamped a sentiment. Here they are~


Here are just a few samples so that you can see how each card turns out so unique. Some have more yellow's and oranges, while others are blue and green or pink and purple!


I'm simply "Mad" for this technique! More of our "Mad Tea Party" pics coming soon!!