This past weekend I held my annual Christmas Card Exchange. I believe this is my sixth year hosting the exchange. There are girls participating that have been with me from the beginning and some new ones too! Every year I am always so excited to see what they will create!
My exchange rules are pretty simple. I ask that they create identical Christmas cards using as much Close To My Heart product as possible and that they include envelopes. This year all eight of us had something in common! You would almost think that I made a rule that they could only use "traditional" colors?!!
How funny is that! All the cards were red's, green's and neutrals. Some other common trends were dry embossing, using or stamping on kraft cardstock, bits of bling and the popular Pear and Partridge papers!
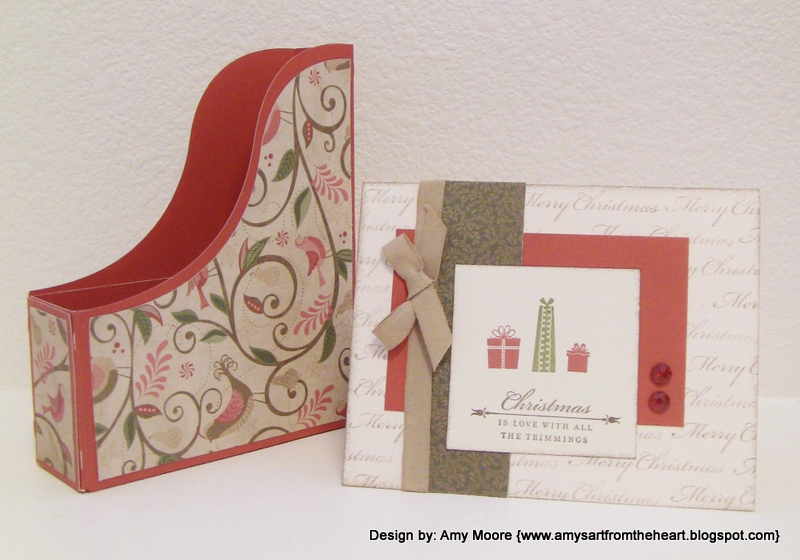
First up is my card~ I used some older background papers and the lovely wreath stamp set. The little bird is from a the more recent Perfect Fit Holiday stamp. The shaped piece in colonial white was dry embossed using a wood pattern folder.
Next is Nanette~ She also used some older background paper and an older stamp set. I told her that the sentiment and holly berry was so cute! She reminded me that it was an older stamp set that I had sold her!! I replied that maybe I want to borrow it then! Ha, Ha! I love that her card is clean and simple!
Janet's card is so fancy~ She incorporated various papers from the Pear & Partridge paper kit. She must have about 6 layers on her card including some dry embossing and glitter! Way to use that zip strip too Janet!
Christmas tree by Julie~ One of my favorite trends this year is stamping white or colonial white ink on kraft cardstock. It has such a stunning look! Julie's green tree with red bling really stands out against it. What a clever ribbon tree stump too!
Joyful embossing from Tommie~ A beautiful script embossing on red cardstock is the base for this card. Which is perfect for the red and green hanging JOY banner. Tommie was having fun with her Cricut shapes, but not so much fun with those bitty pearls!! But, they are worth it, they're the perfect touch to your letters!
Peggy's little stocking~Ahhh! So darling! She really knows her way around the Cricut craft room as this little stocking is welded to reveal a message inside. The glitter, ribbons and holly on the cuff is the perfect finishing touch!
Let It Snow by Aysa~ Her card reminds me of refreshing peppermint! She has dry embossing on the background as well as the center snowflake, really making it the star of the card!
Last is Pat~ She has created a quilted masterpiece! This also has been a recent trend in paper crafting, giving cards such a dynamic look! She used some of the Pear & Partridge papers and also embossed some kraft cardstock. Pat says all of the paper piecing was time consuming. I'm glad she is patient, because her card is gorgeous!
We also had a Mystery Mini Gift exchange, made a banner and had other treats to share. Come back soon to see these items!
I am always grateful to these ladies for their participation. They inspire me and I hope they have inspired you today.